


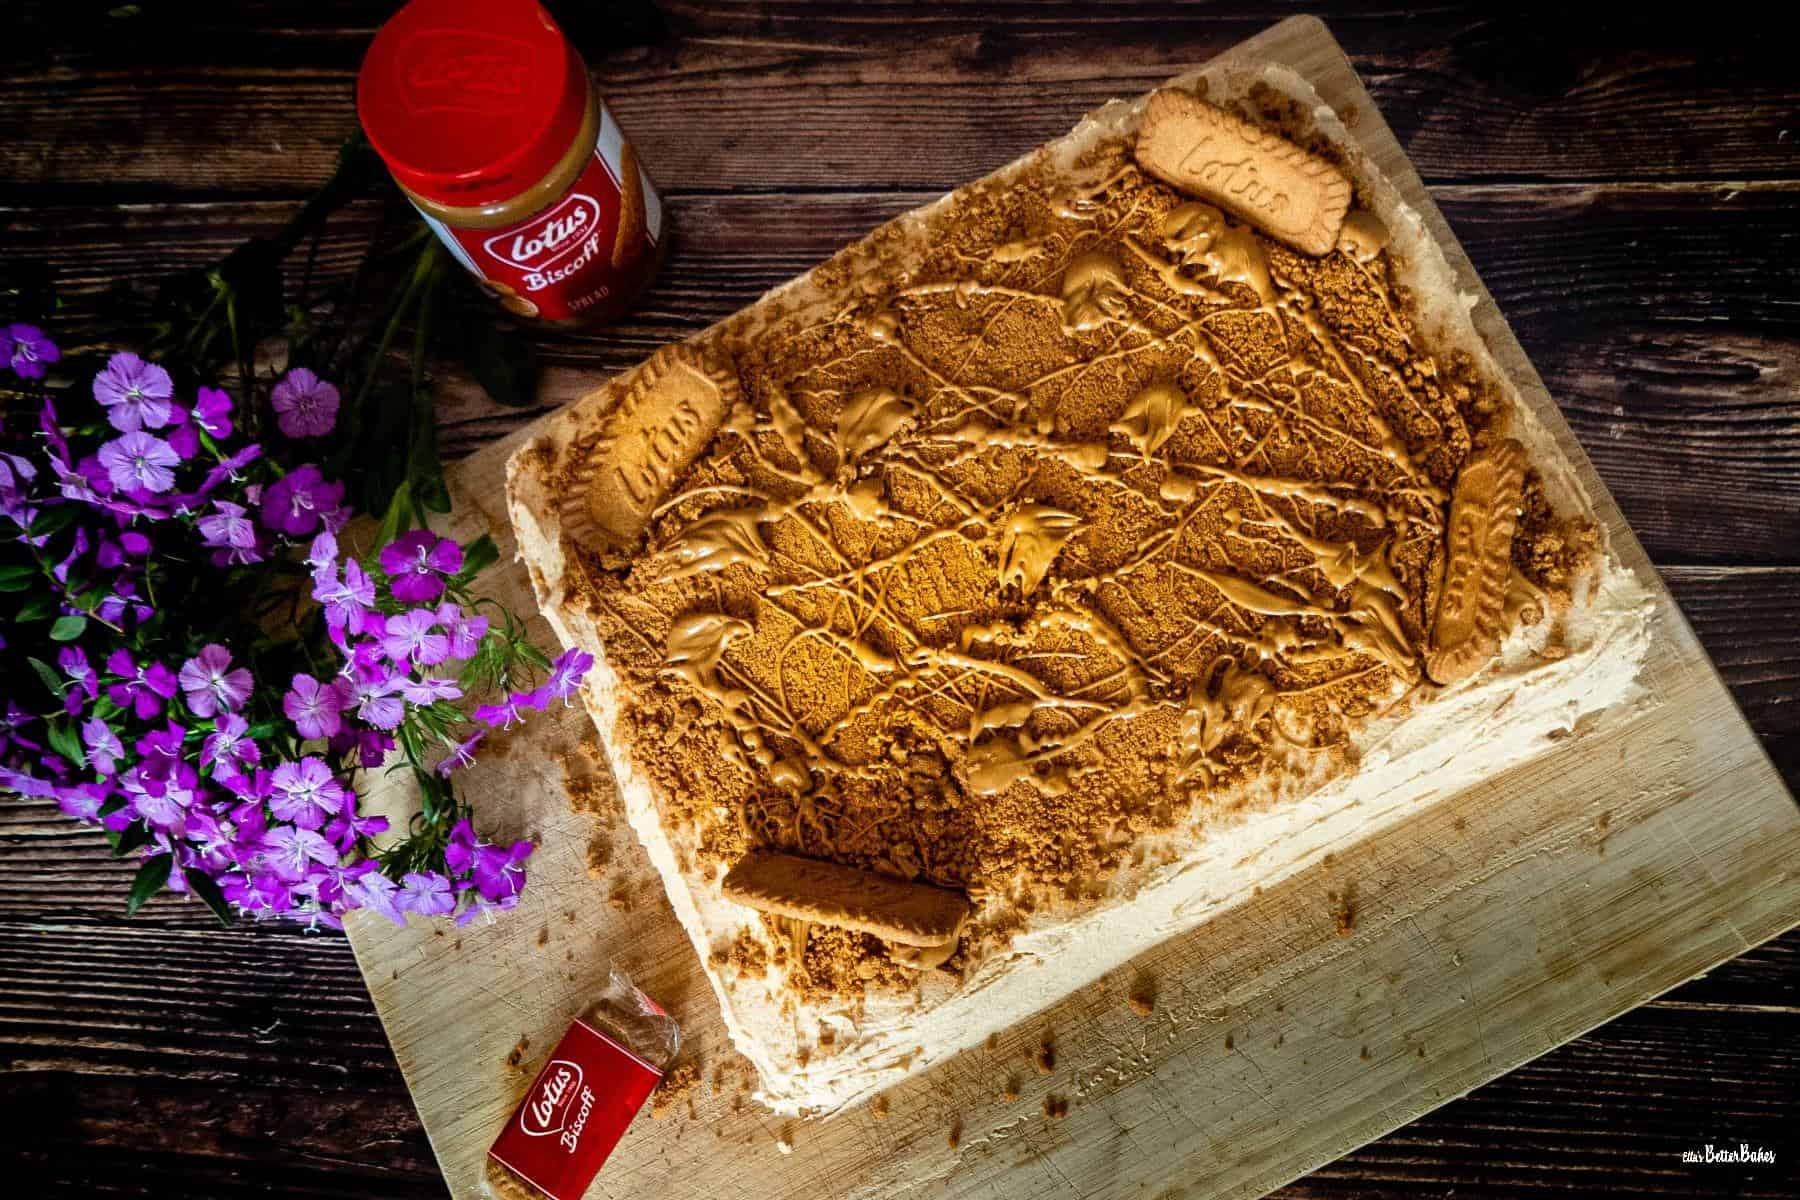
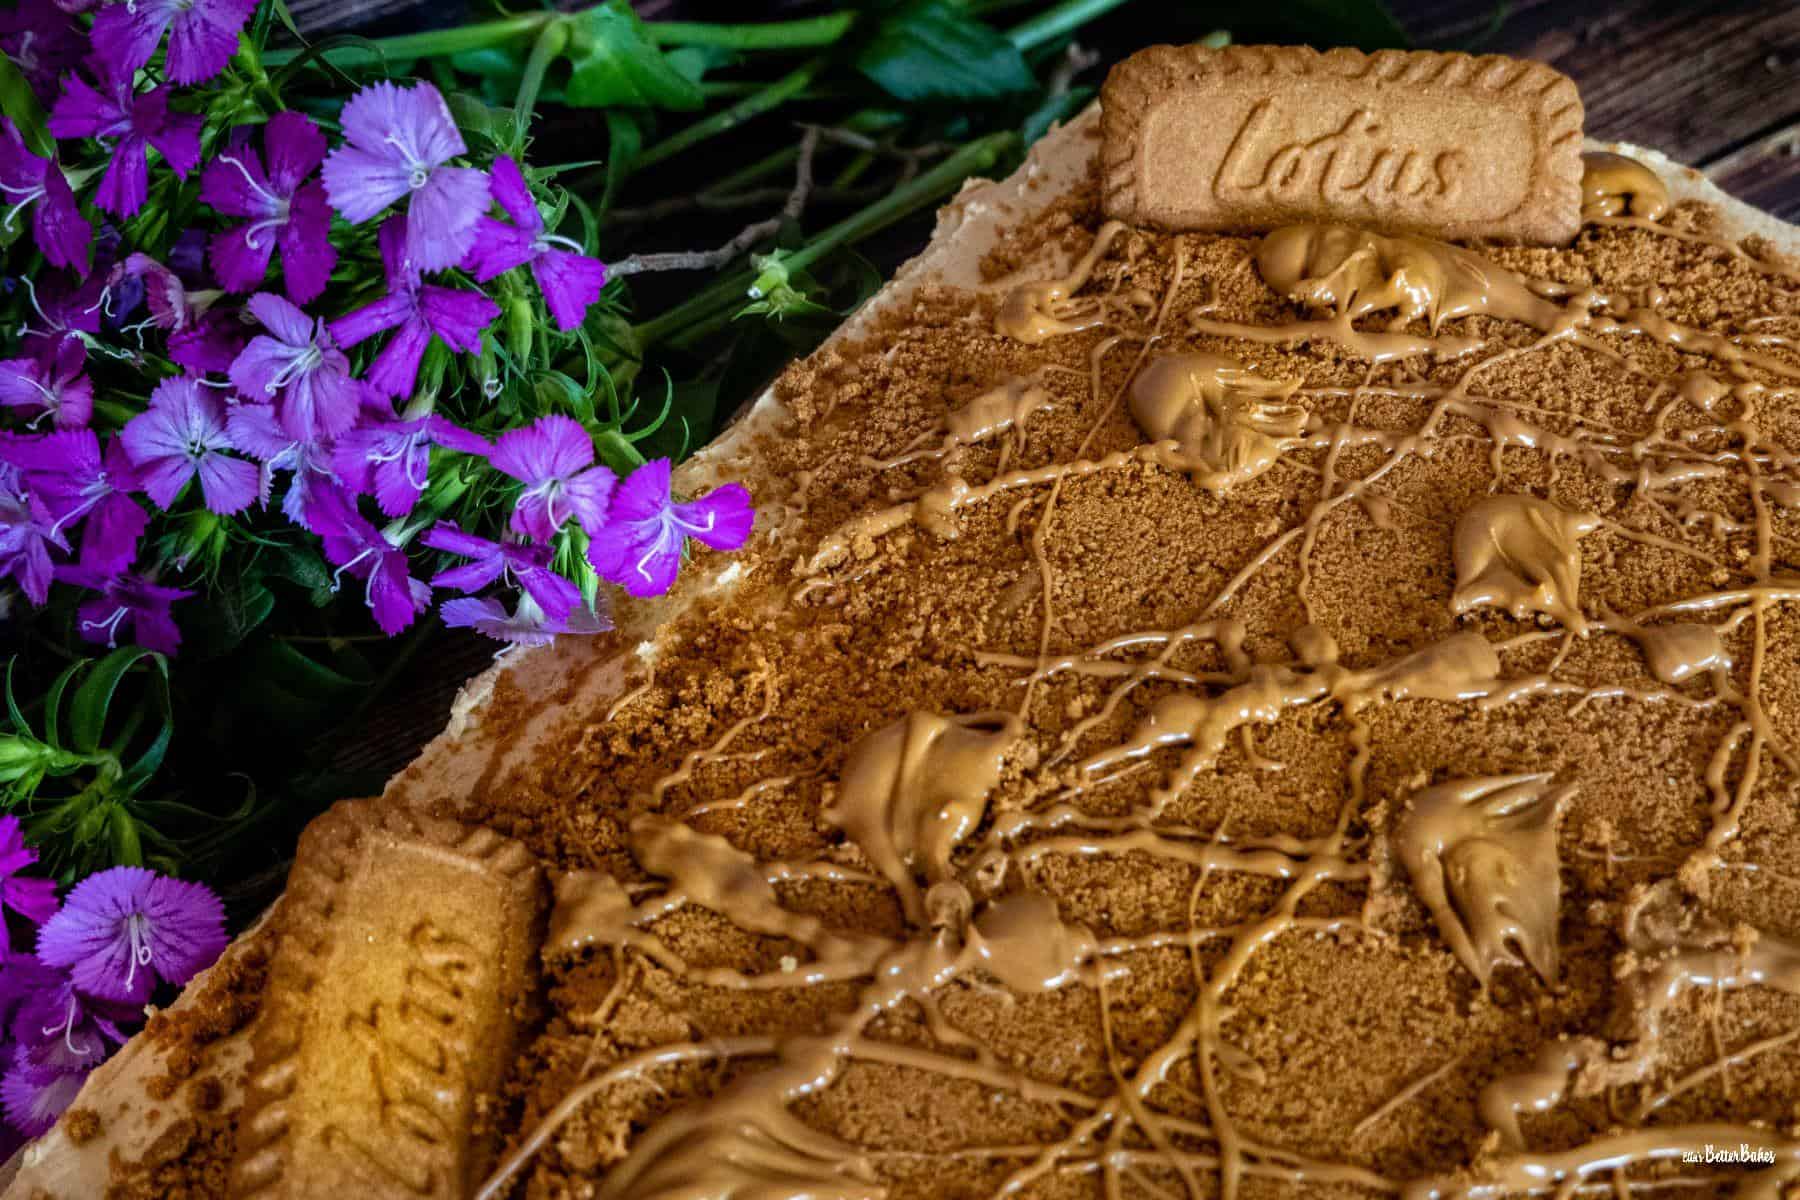
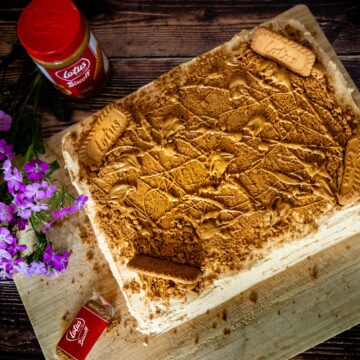
This Biscoff traybake is BISCOFF LOVERS HEAVEN! It delivers a really soft Biscoff cake with a complementary cinnamon undertone. It hides a secret Biscoff surprise, is thickly frosted with a creamy Biscoff butter icing and is covered in a crunchy Biscoff crumb and drizzle.
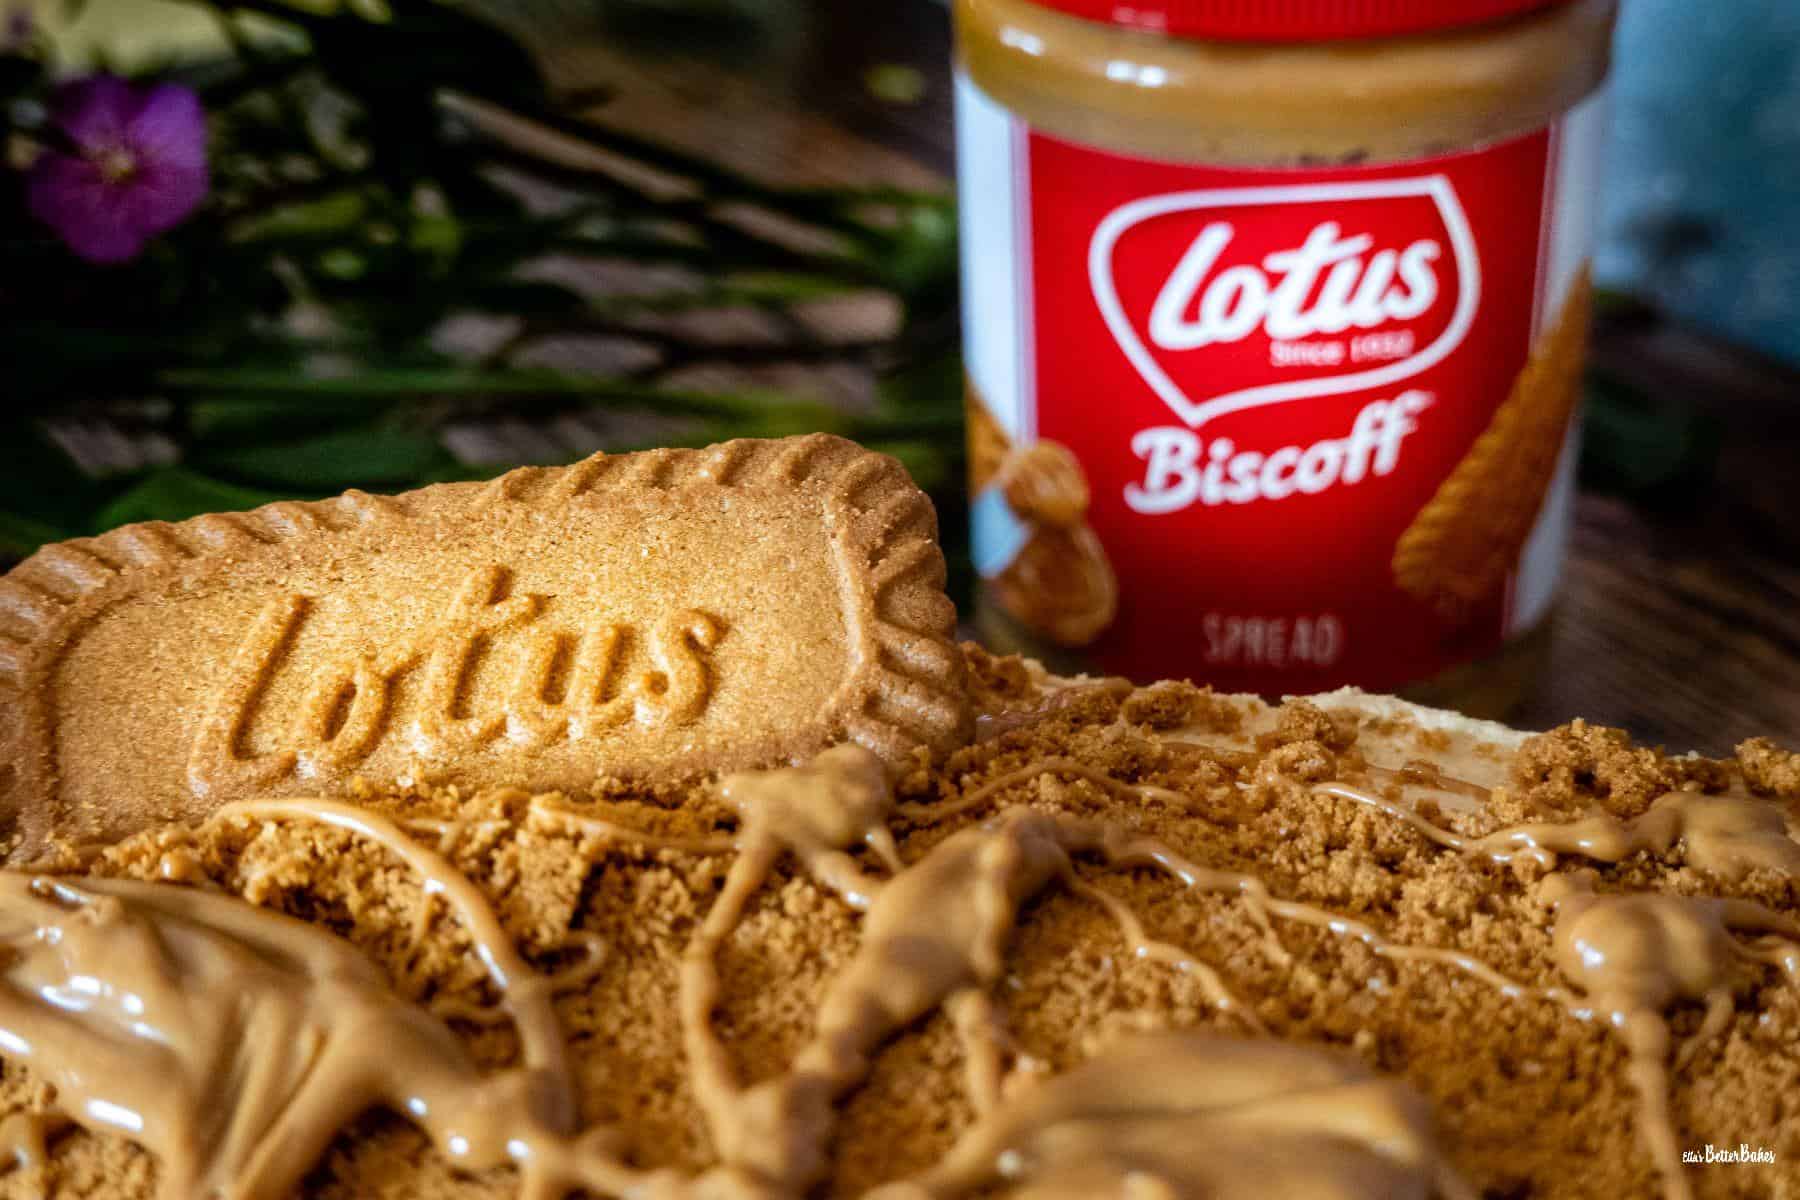
Now who doesn't like a bit of Lotus Biscoff? This wonderful crunchy cinnamon and caramel flavoured biscuit is now a baking sensation. And I have become somewhat obsessed. I find myself wondering what else I can make out of it other than my Biscoff Apple Crumble and my Lotus Biscoff Ice Cream with Milk Chocolate.
I am considering a milkshake next, made with home make Lotus Biscoff Ice Cream with Milk Chocolate, watch this space 😛.
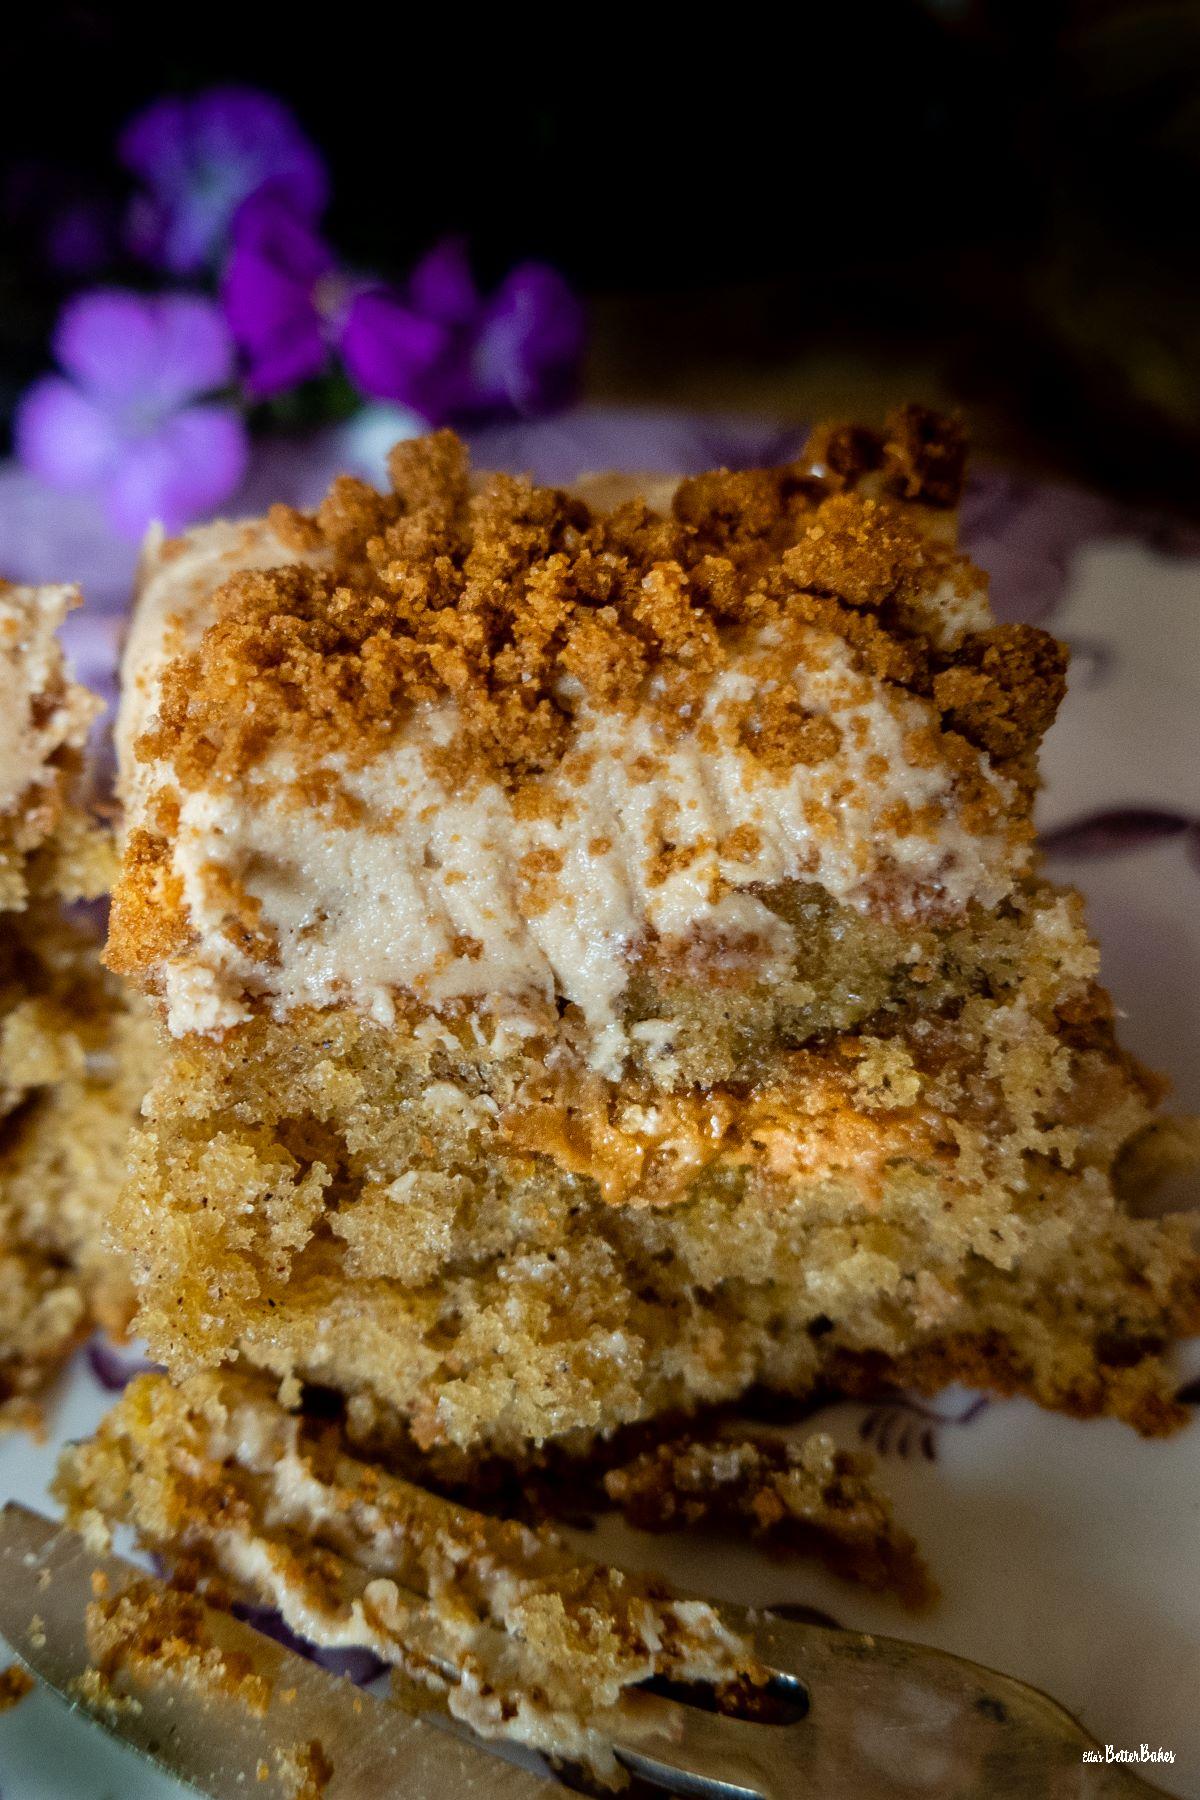
Anyways, let's get on with talking about the benefits of Biscoff cake, or rather Biscoff traybake in this case. This cake uses just ONE JAR of Lotus Biscoff spread, after all this stuff isn't cheap, right?!? And.... because I like playing with my bakes...it hides a little Biscoff spread hit in each piece in the form of a teaspoon of soft caramel Biscoff spread.
This cake works well in a traybake form, but you can separate it into two 20cm sandwich tins if you prefer. I don't recommend baking in one large tin because the cake tends for form quite a deep crust before it is cooked in the centre.
What makes this Biscoff cake work so well?
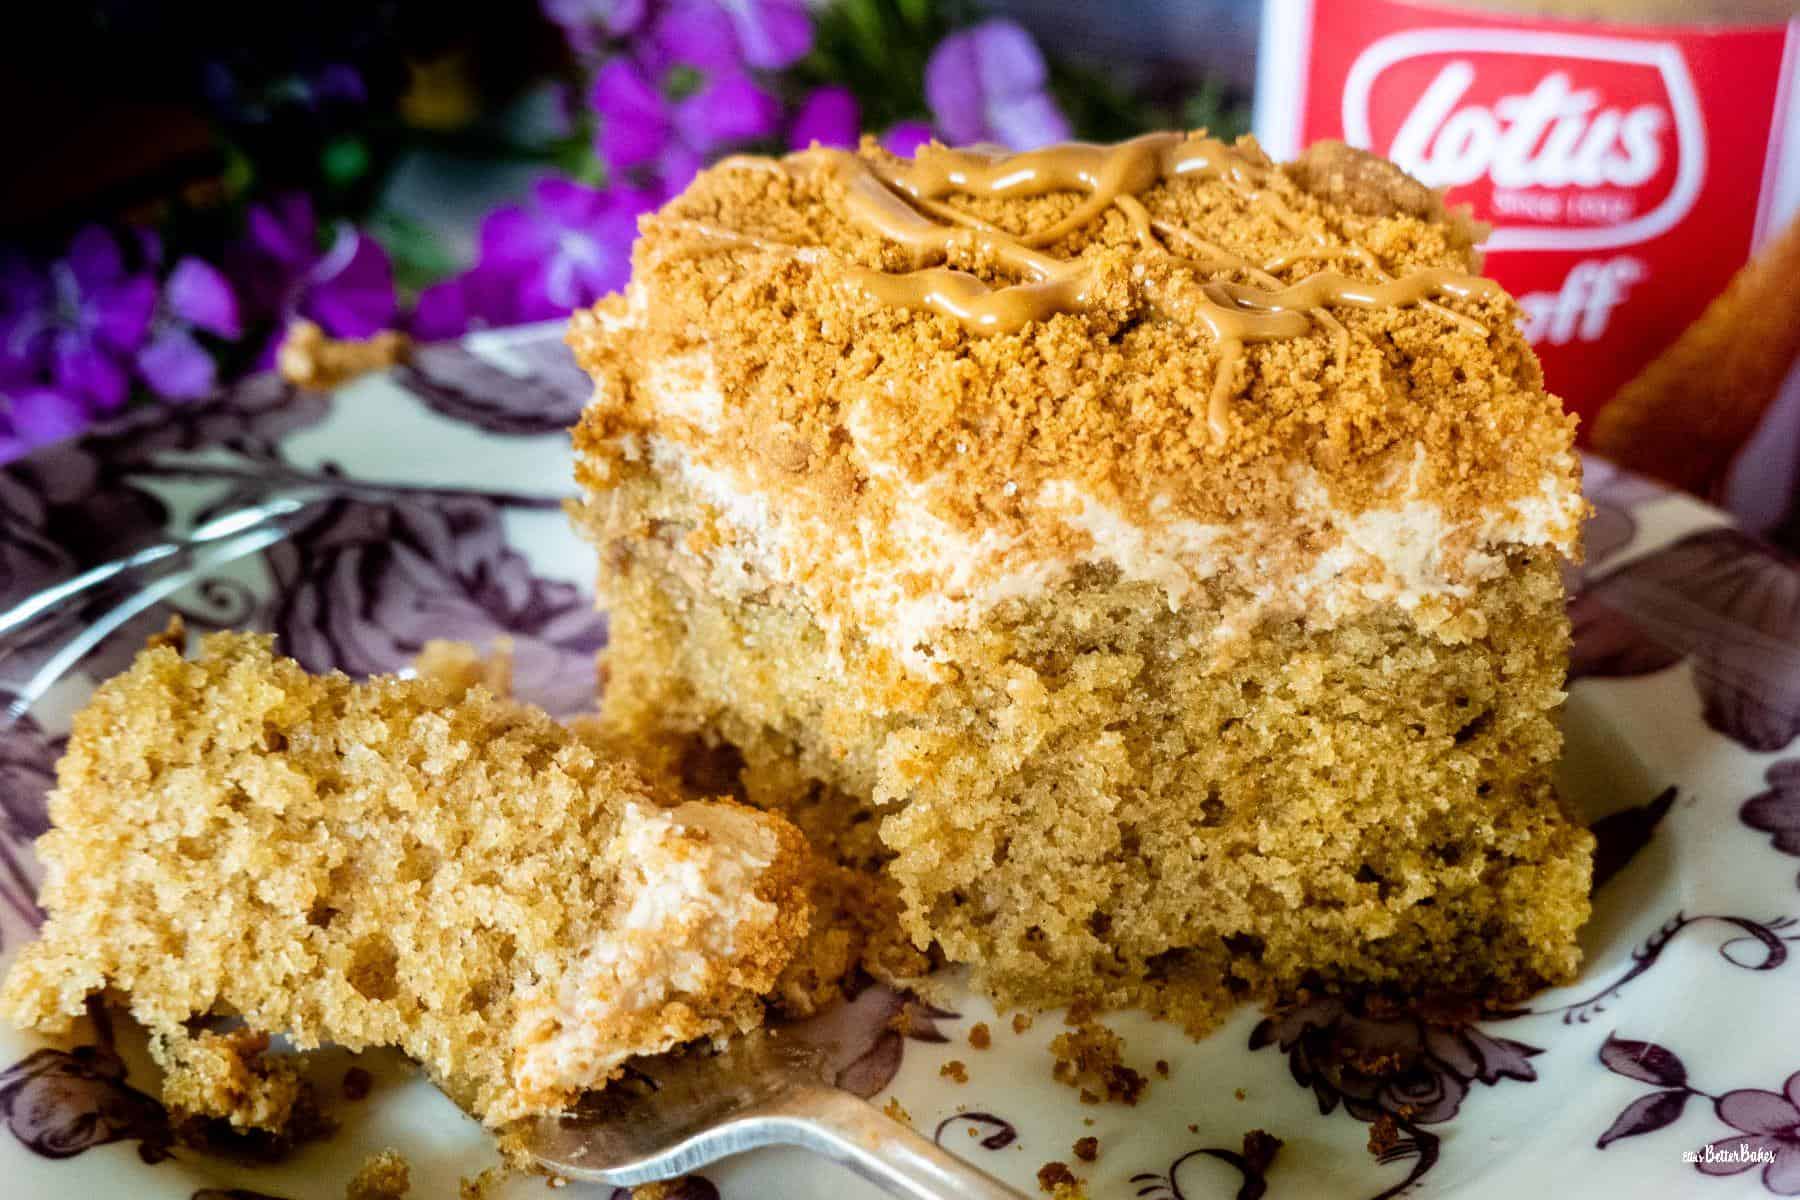
This recipe produces a lovely light and airy crumb cake with a spicy cinnamon flavour and, of course, lots of lovely Biscoff flavour too.
Cinnamon: most Biscoff cake recipes I have come across so far don't add cinnamon. However cinnamon is one of the main flavourings of Lotus Biscoff biscuits, so it seemed like a a good idea add it. Only a teaspoon is needed to give just a hint, you don't want it to be too strong and take over. Alternative: if you don't have cinnamon you can use some mixed spice instead. Or you can leave it out entirely.
Beating your butter and sugars first: the reason we do this is to add air. The beating process traps little bubbles of air in the butter and that is what helps give the Biscoff cake a good rise.
Sifting the dry ingredients: sift your flour, cinnamon, baking powder and salt altogether in readiness. Again this ensures they are all mixed together and provides the cake with an airy lift when baking.
Soft brown sugars: I love baking with brown sugars, the molasses give the cake moisture and a lovely nutty flavour. Brown sugar also really complements the caramel flavour of the Biscoff. Alternative: you can use caster sugar (golden or white) if you prefer.
How to make Biscoff traybake cake
Preheat your oven (see recipe card).
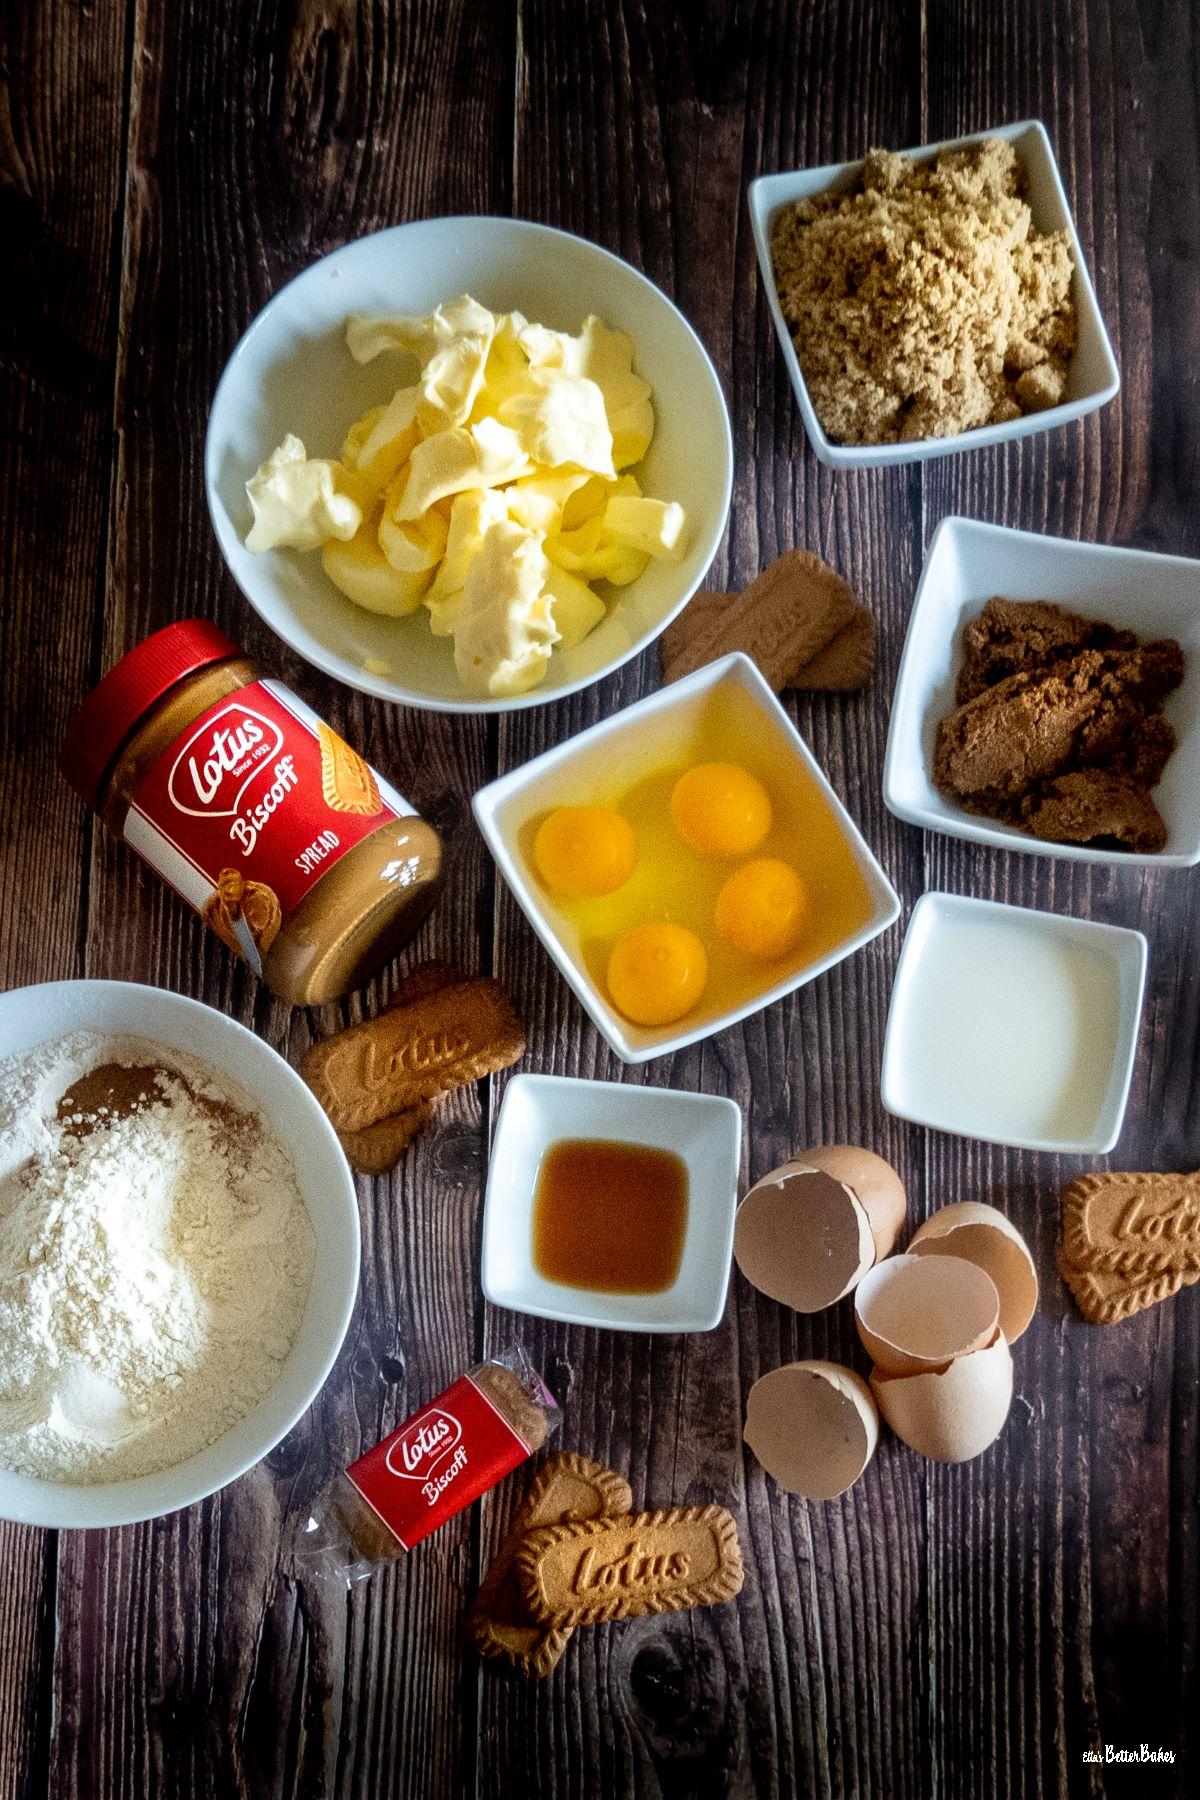
Prepare all of your ingredients ready.
Grease your baking tin all over. Line your tin with a sheet of greaseproof paper. The piece must be big enough to cover the sides at one end.
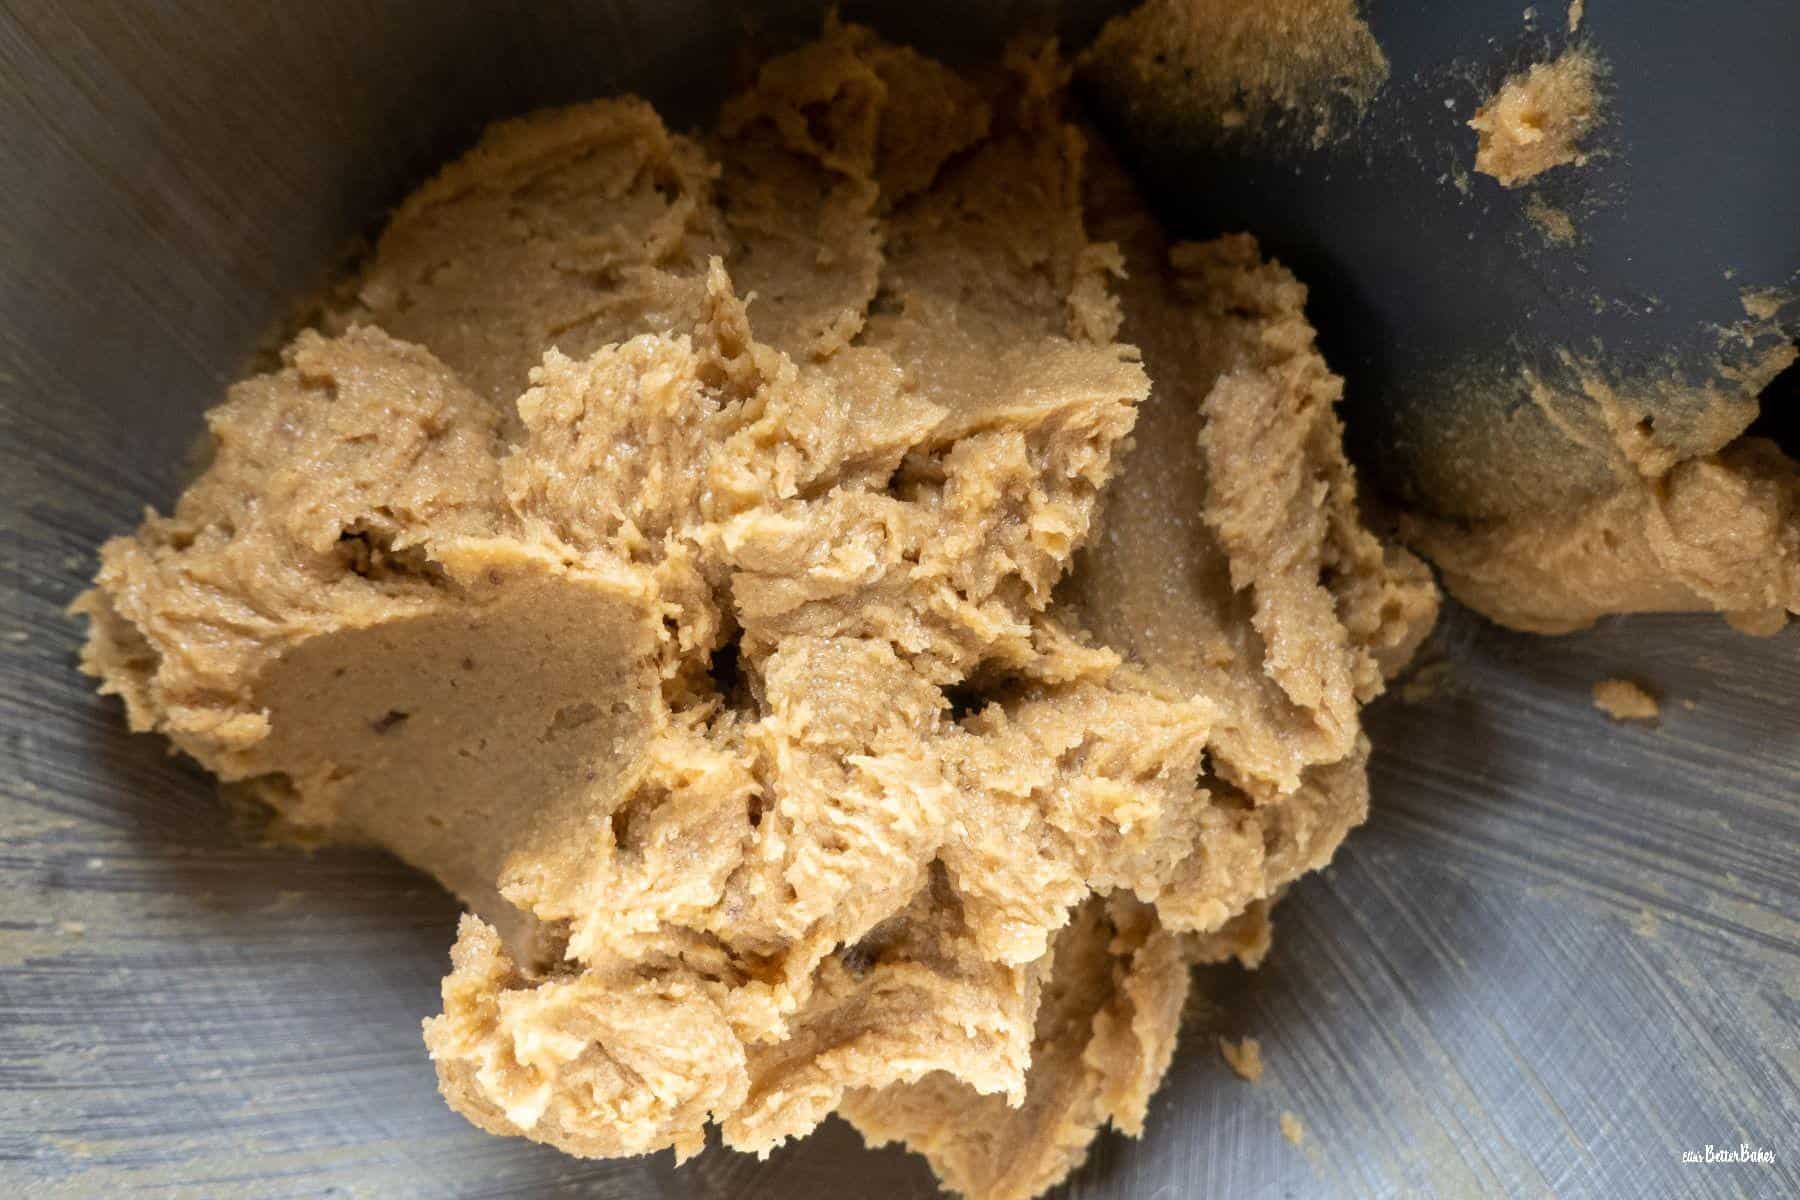
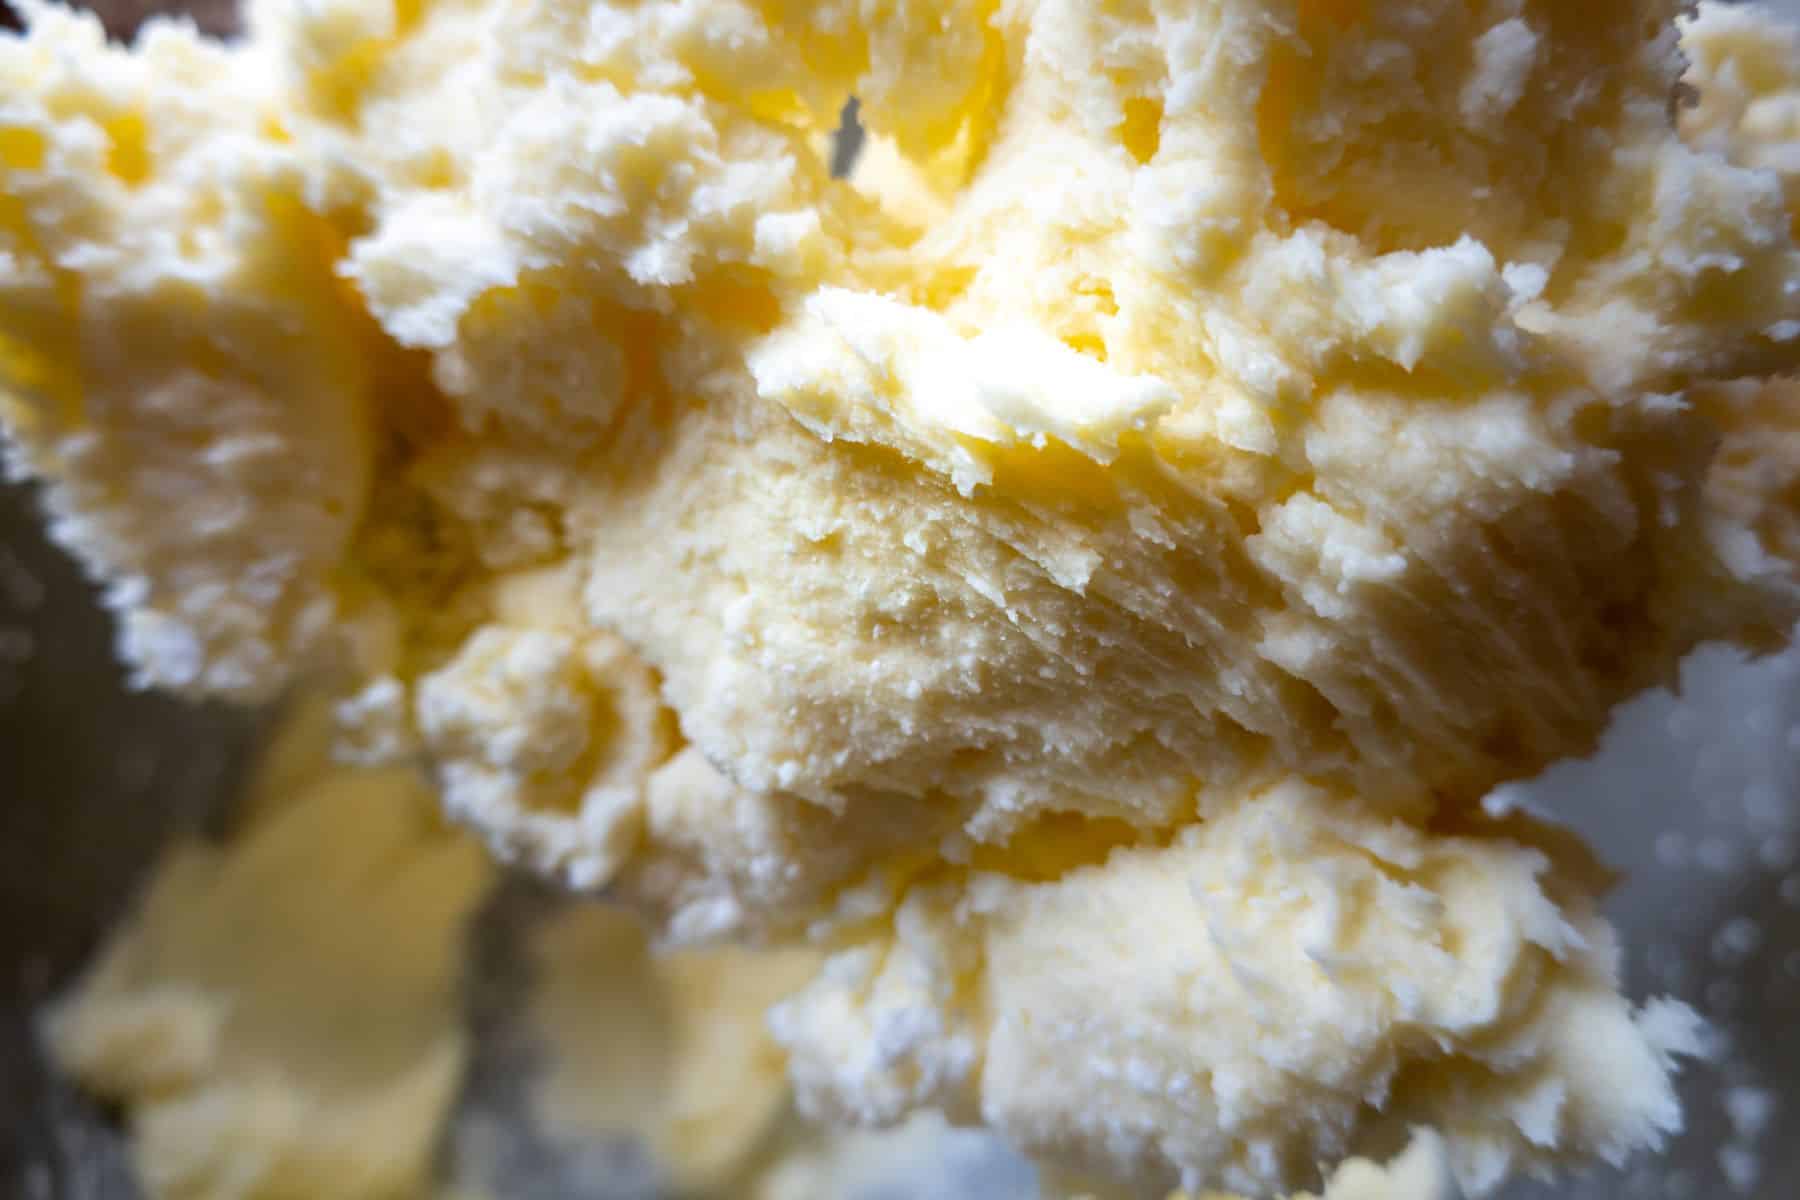
Then add your softened butter and sugars to your stand (or hand) mixer bowl and beat until soft and easily spreadable. This will likely take 2-3 minutes on a medium speed.
You will need to wipe down your bowl with a spatula half way through beating. This is to ensure that the butter and sugars on the sides and base of the bowl are all incorporated.
The reason we beat the sugars and butter is to add some air to the butter, which then in turn works with your baking powder to ensure your Biscoff cake is light and fluffy. You MUST ensure your butter is properly soft otherwise it will take too long to beat and then you will have too much air altogether and, well, disaster awaits your Biscoff traybake. Baking is a science and has its rules.
Sift your flour, cinnamon, baking powder and salt together.
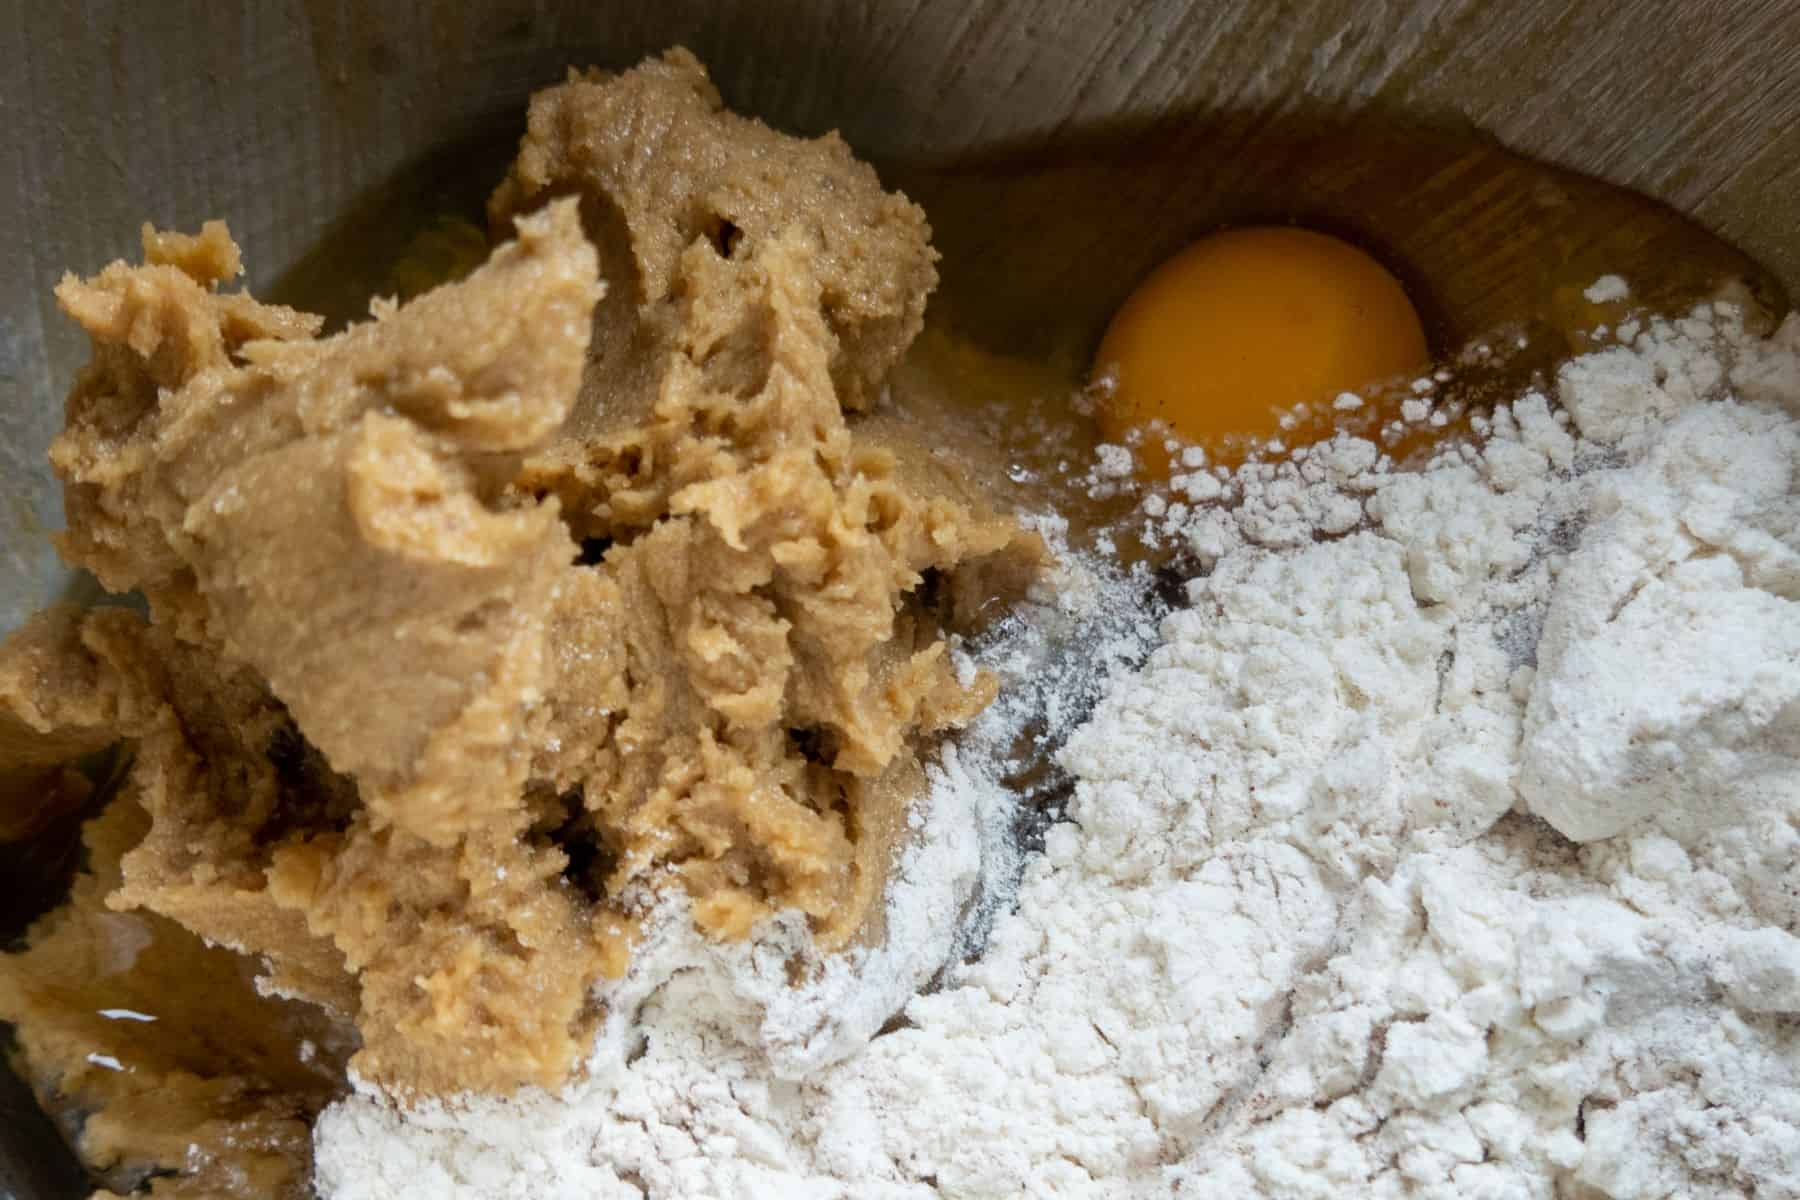
When your butter and sugar is soft and spreadable go in with your vanilla extract, eggs and a few heaped table spoons of the flour mix. Adding flour stops the egg curdling. Give it all a beat on a medium setting just until combined.
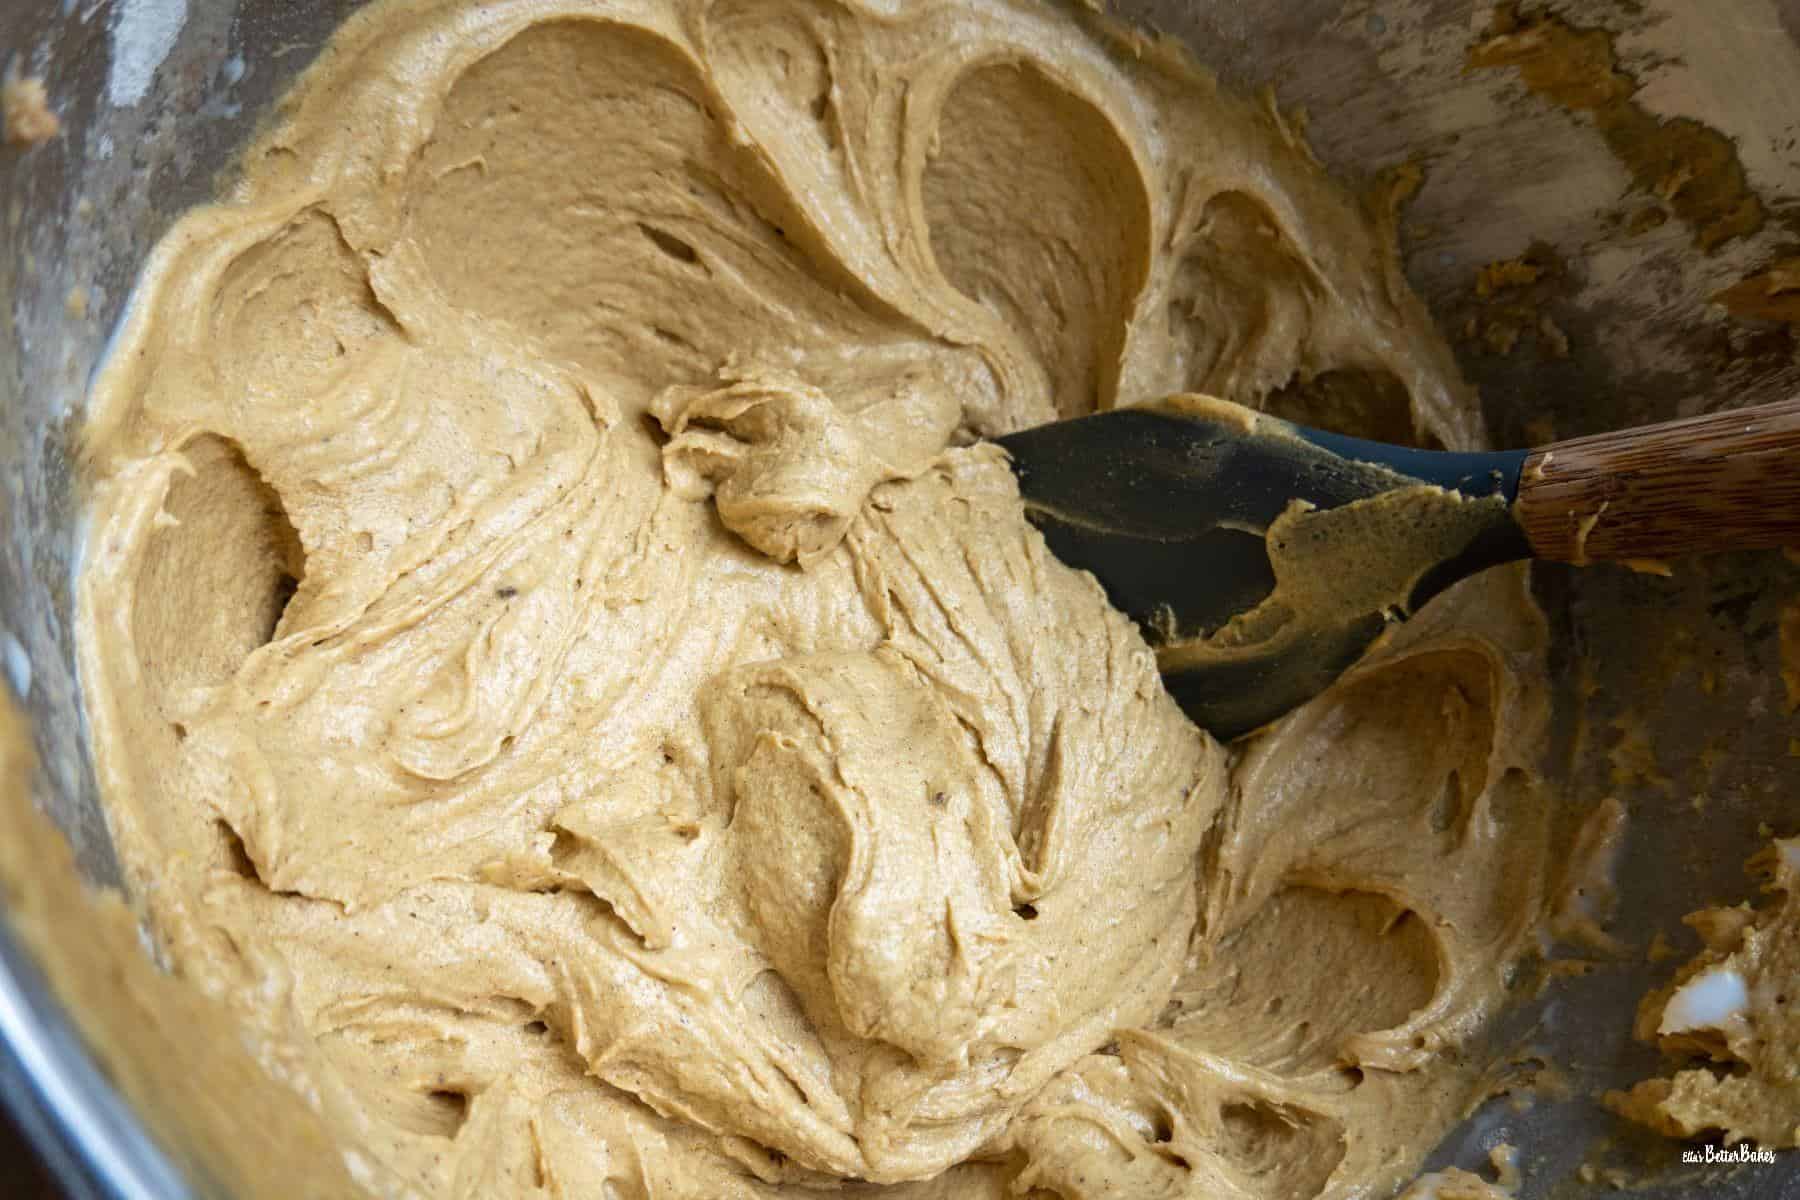
Beat in the rest of your flour until all is combined. You will need to beat it on a medium-high setting to achieve this. Wipe down the bowl with your spatula to ensure that everything is mixed in.
Add the Biscoff cake mixture to your prepared tin and level out. Bang the cake tin on onto the kitchen counter to ensure any larger air pockets are removed. Bake for 25 minutes, or until a skewer comes out clean.
Leave your cake to cool in its tin for 10 minutes, then turn out onto a cooling rack. To do this place the cooling rack over the cake in its tin. Then flip it over quickly. The tin should come away easily if greased and lined. Leave the cake upside down for the next stage.

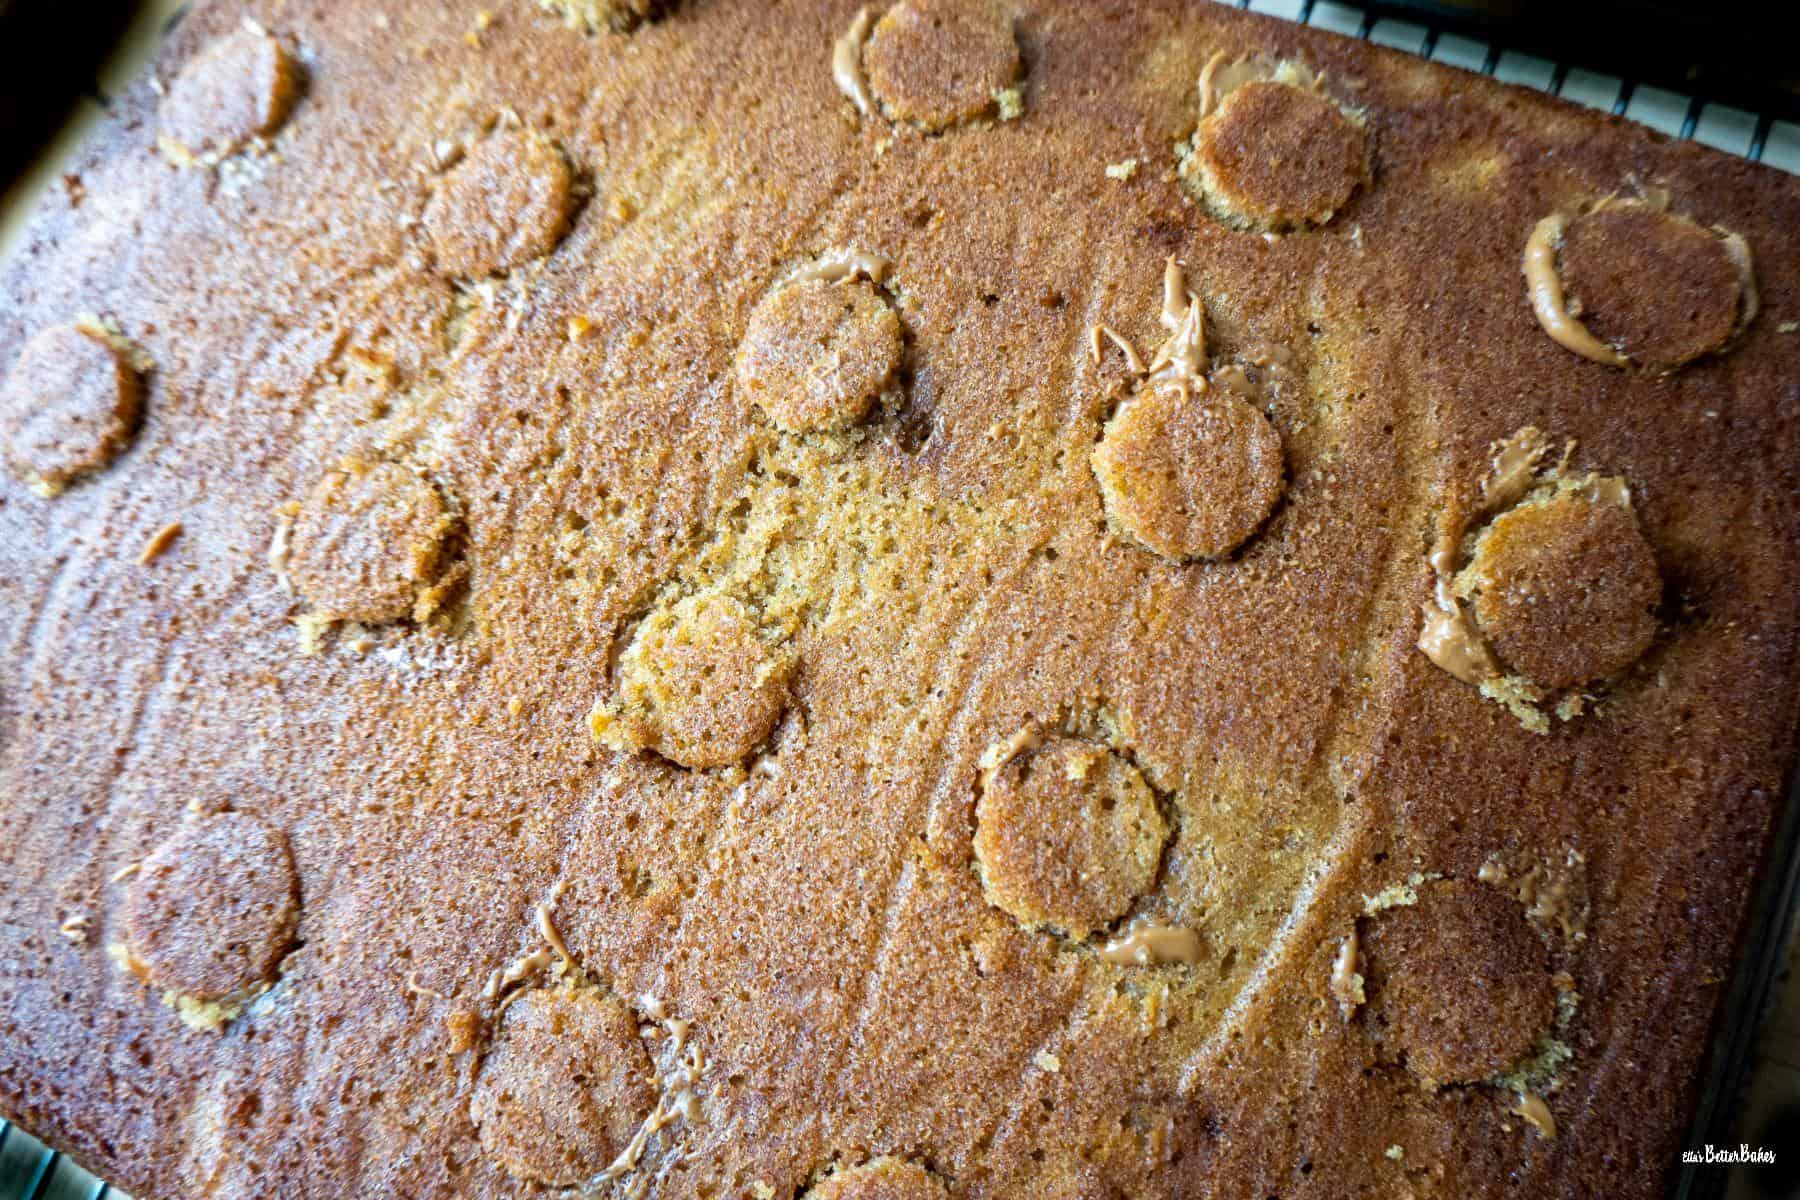
Now we want to add our Lotus Biscoff spread secret surprise pockets.
To do this I used a large icing nozzle and gently insert it into the cake in rows of 4 x 5 to a depth of about 1cm. You can use cut holes with a just with a sharp knife instead though. Give the nozzle a gentle but swift twizzle and then remove the round chunk of cake. Set aside this piece of cake.
Heat your Biscoff spread for about 10 seconds in your microwave so it is slightly runny. Add in about a half a teaspoon of Biscoff spread into each cavity then press the cake lid back on top.
Biscoff buttercream topping
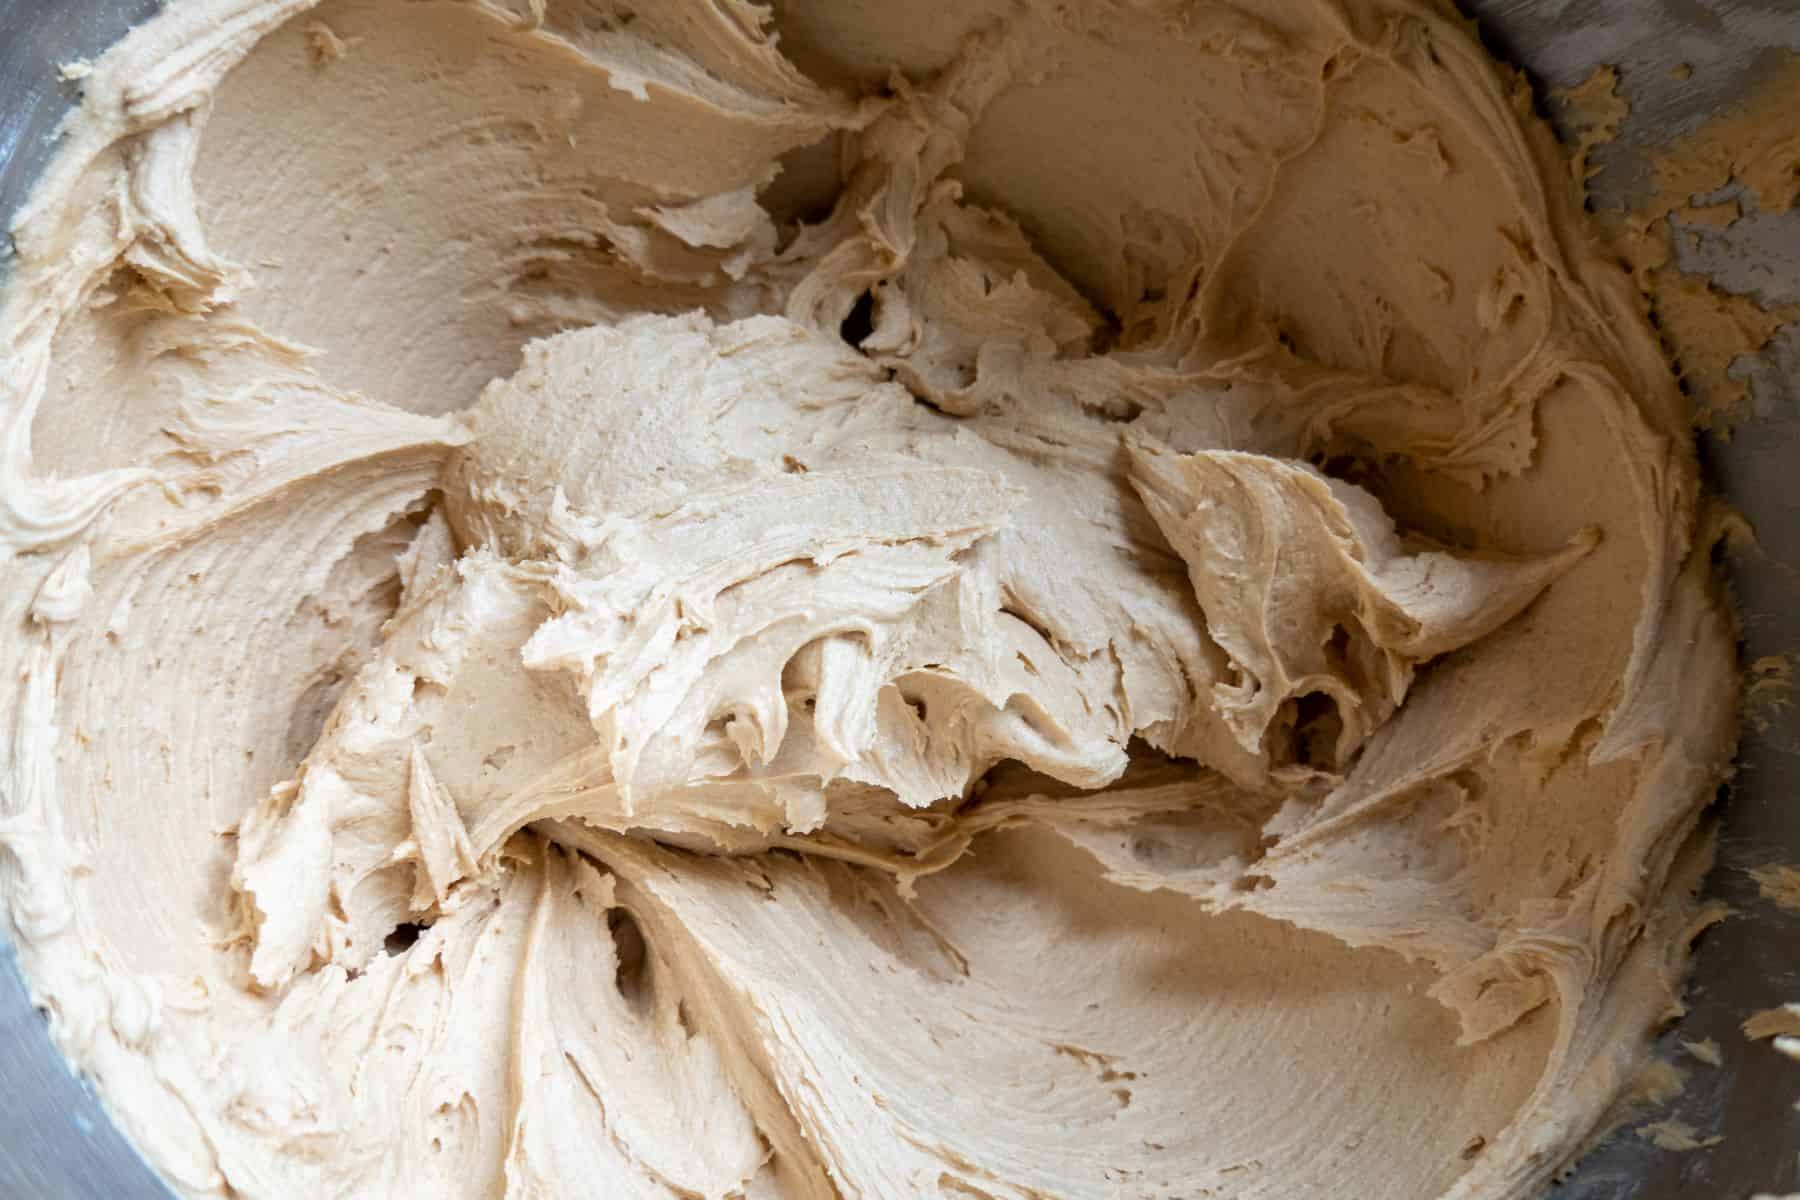
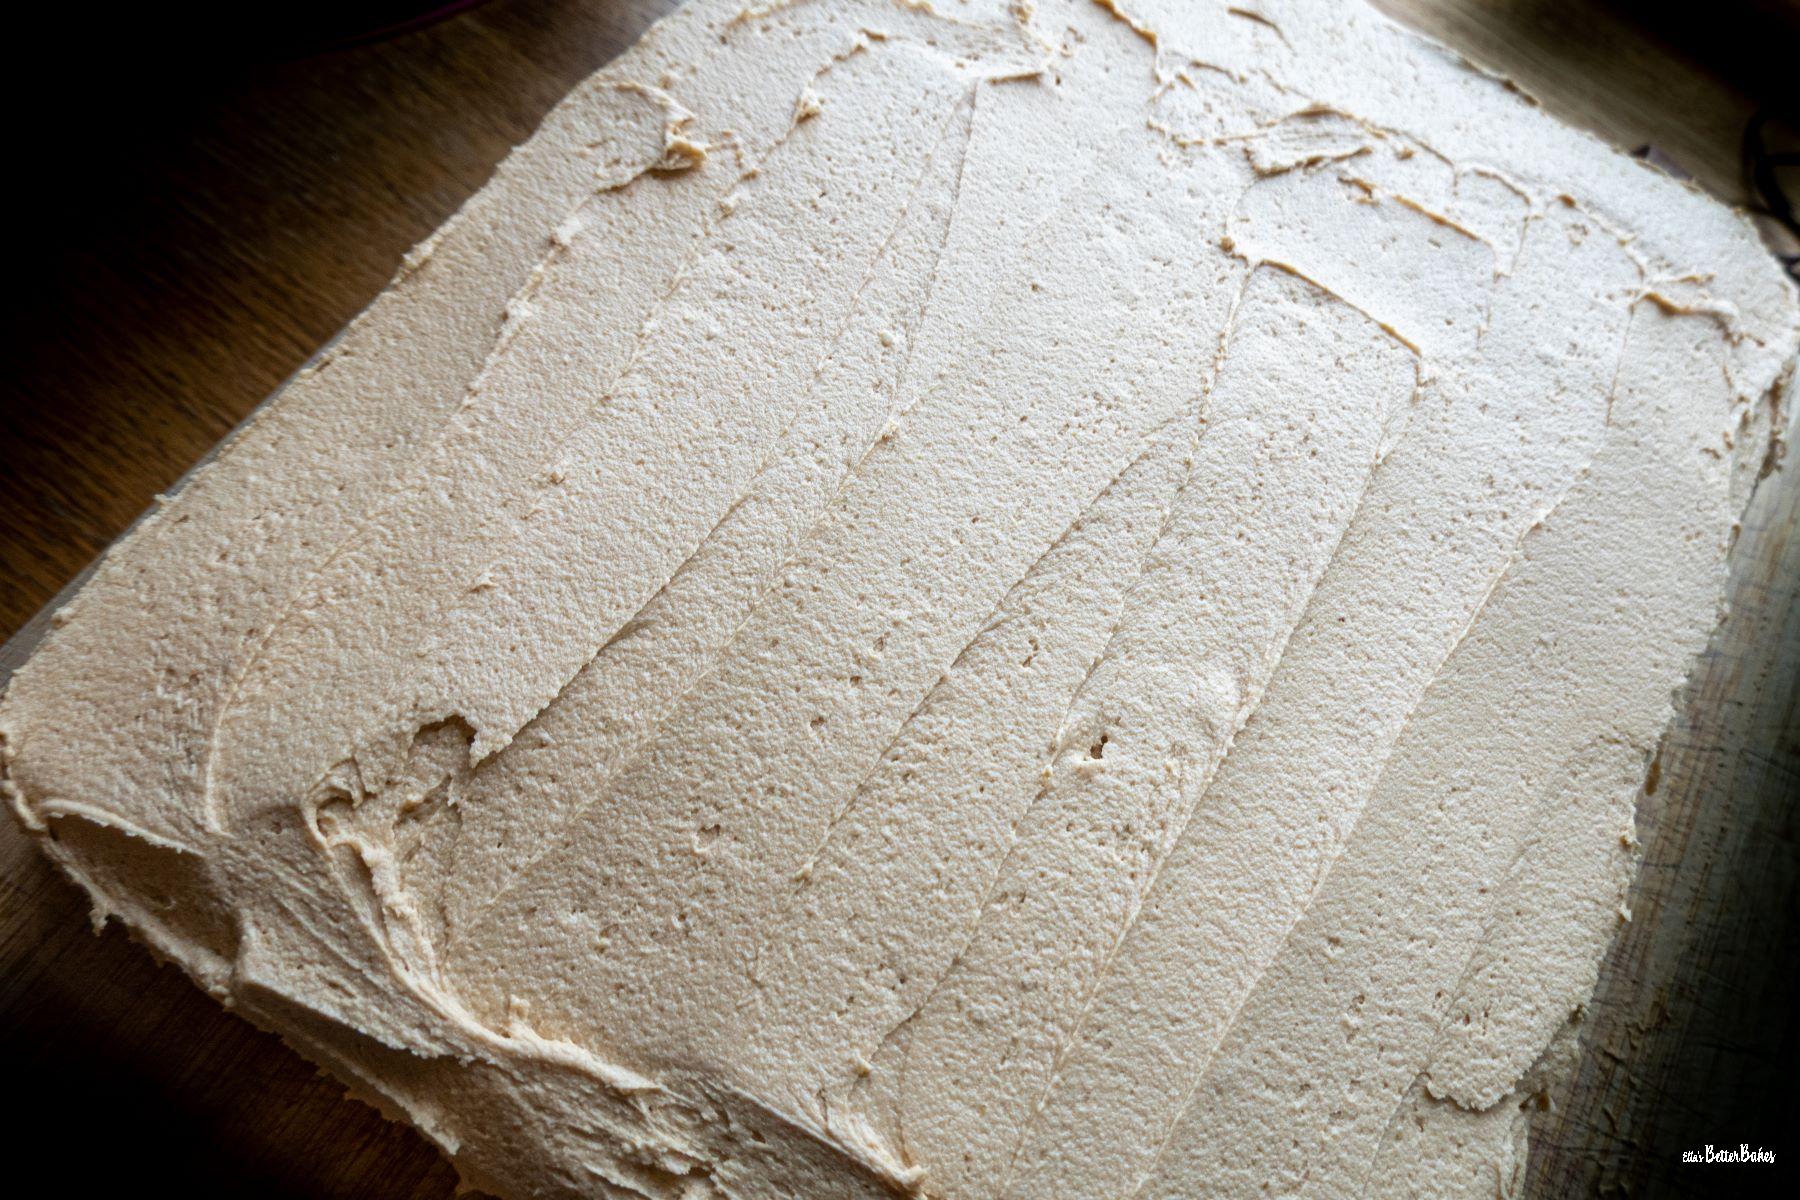
So for your butter icing you need to beat together your softened butter and icing sugar just until just combined.
Then drop in your Biscoff spread and milk and beat until soft. This might take 1-2 minutes depending on how soft your butter was to start with.

Take a spatula and spread evenly over your Biscoff cake, across the sides and top. Use the back of a desert spoon to level out. It will be covered in Biscoff crumb so doesn't need to be perfectly neat.
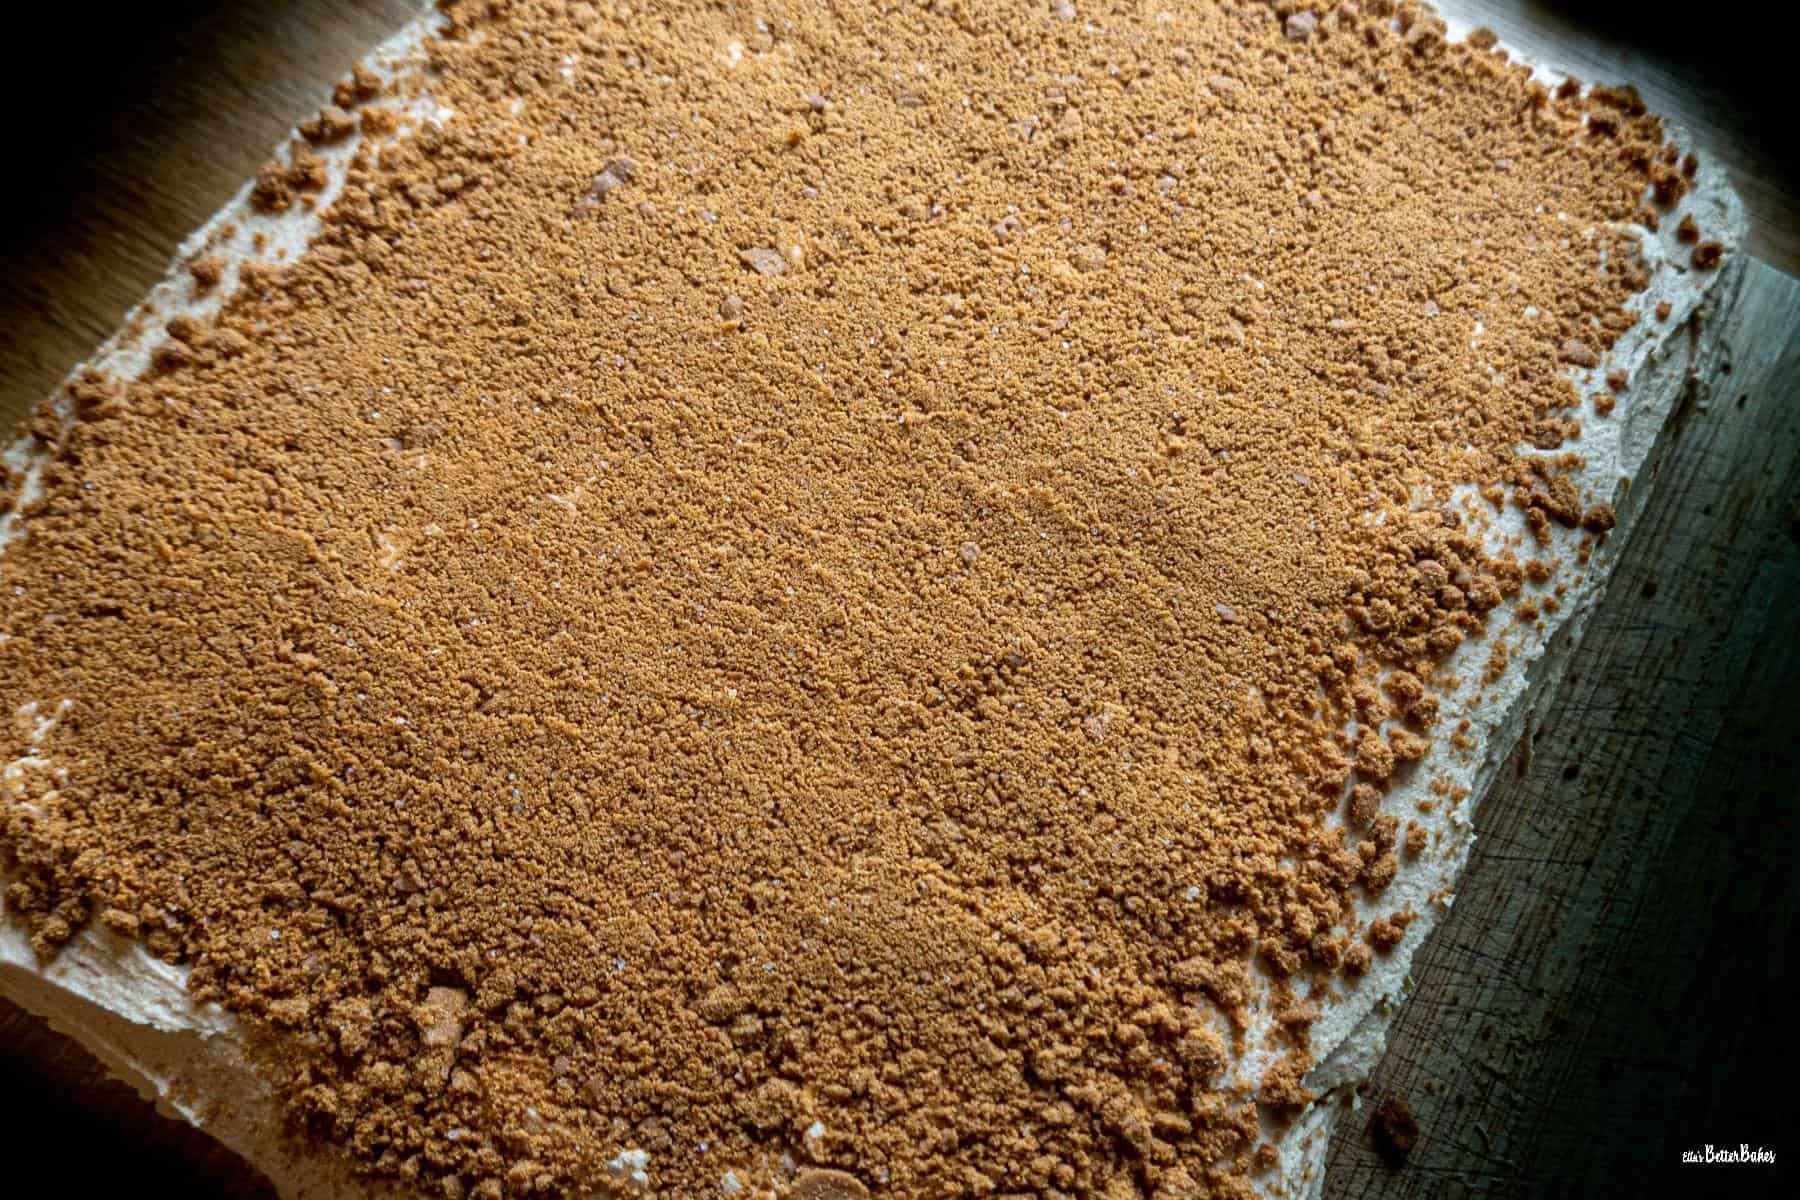
Take your 12 Lotus Biscoff biscuits and either crush in a pestle and mortar or pop into a sandwich bag, seal and bash with a rolling pin. This is a good one for busting stress too 😃
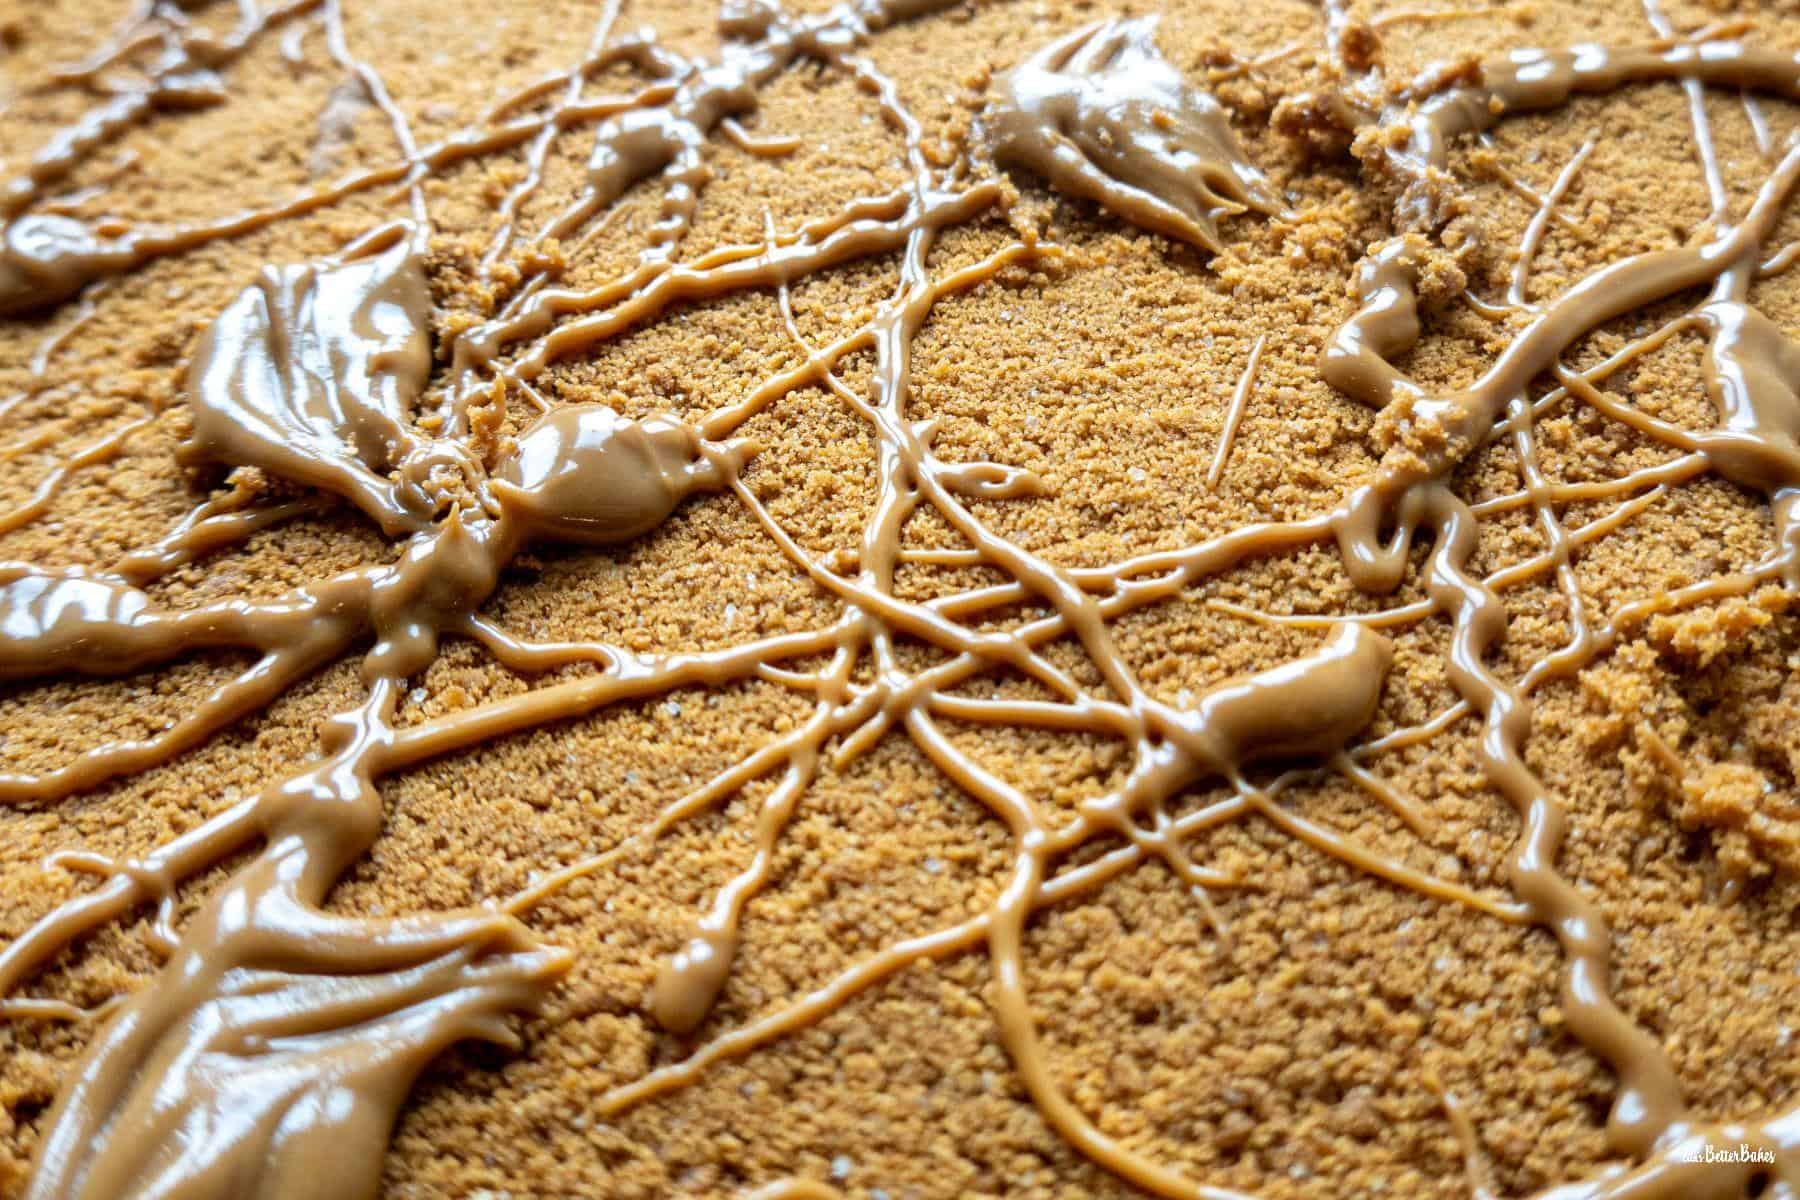
Sprinkle your crushed Biscoff biscuits over the top of your cake. Then take a rolling pin and gentle roll over the top to settle them into the butter cream. This will stop the biscuit from falling off when the cake is cut.
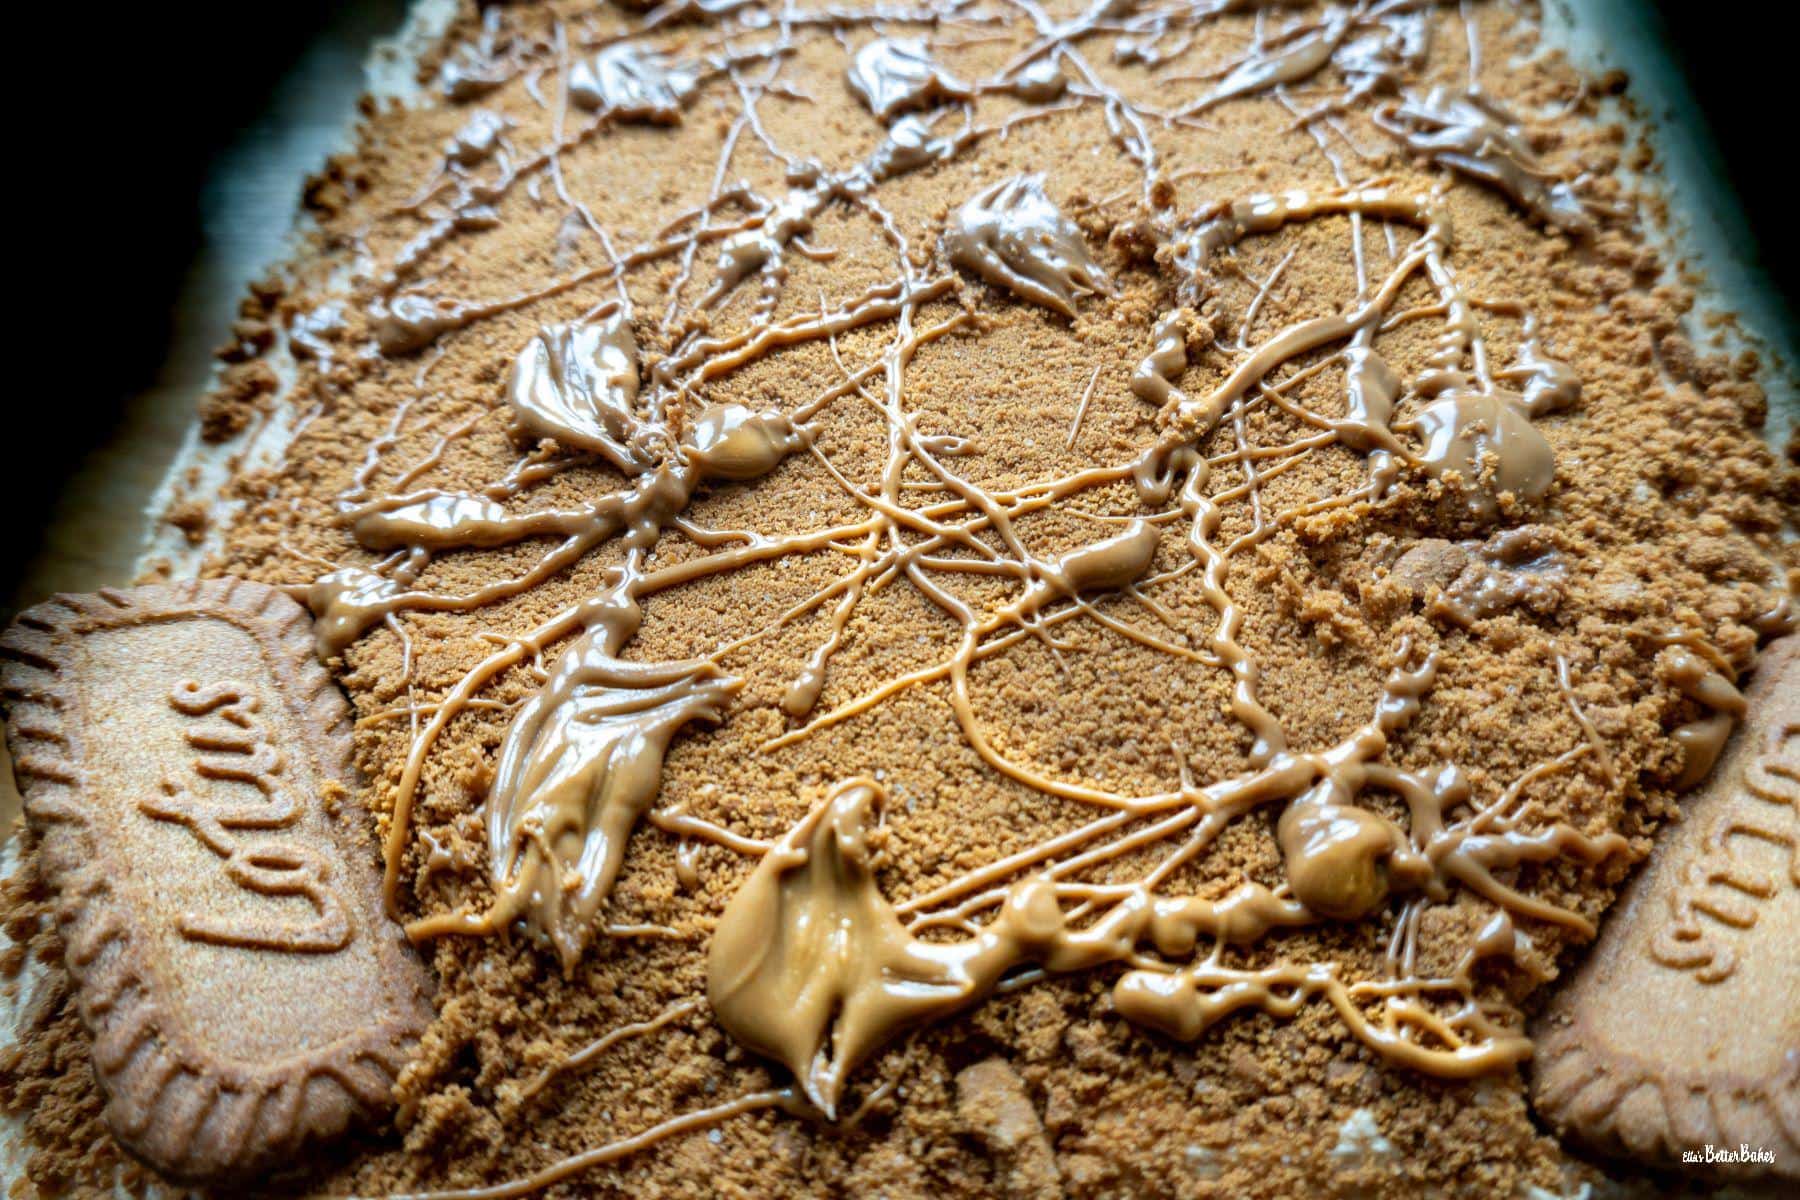
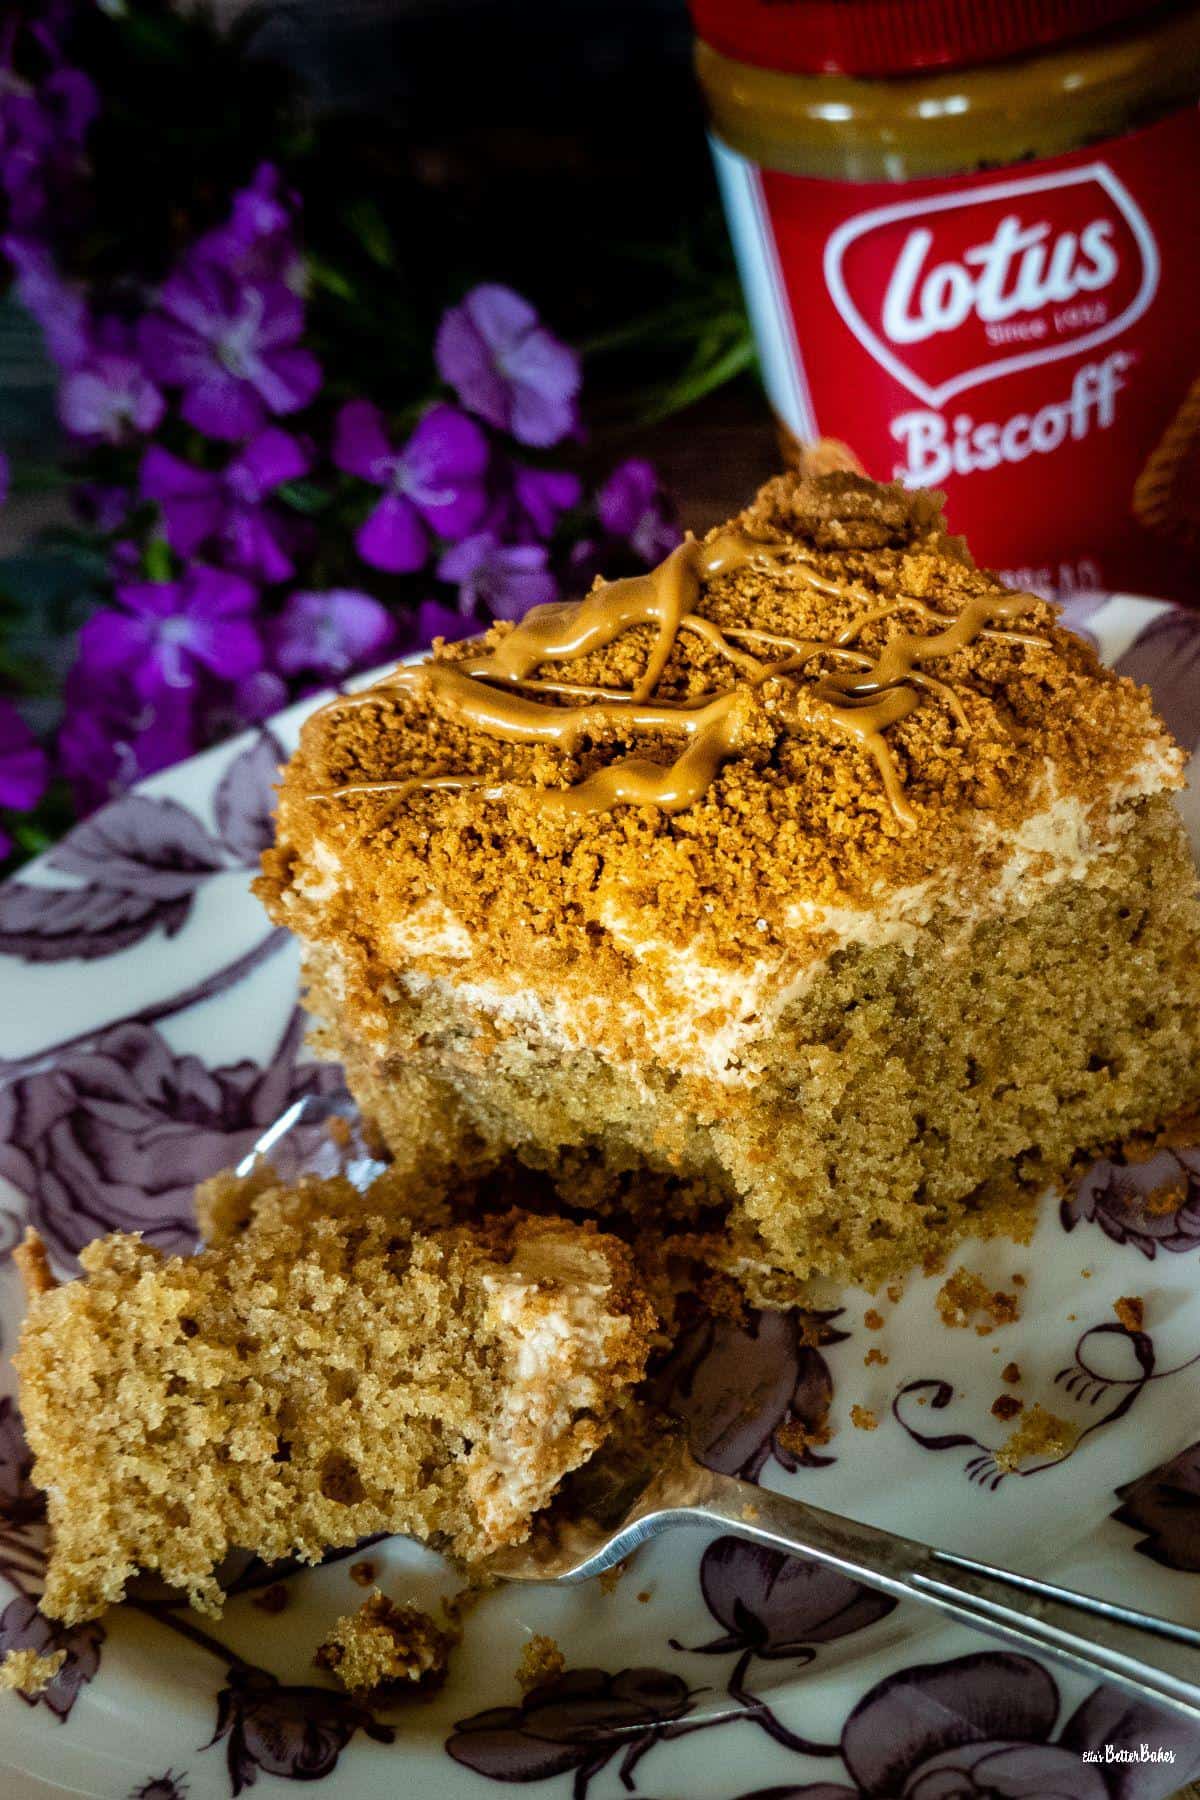
Take your topping Biscoff spread and heat in your microwave until runny. Drizzle over your cake. Decorate with Biscoff biscuits.
If you make this cake please do rate the recipe below, thank you. Enjoy lovely people!
📖 Recipe
Biscoff cake (Lotus Biscoff traybake)
Here's what you'll need...
- Large icing nozzle or sharp knife
Ingredients you'll need...
Biscoff cake
- 250 g unsalted butter softened
- 180 g soft brown sugar
- 70 g dark brown sugar
- 275 g self raising flour
- 1 teaspoon baking powder
- ¼ teaspoon fine salt
- 1½ teaspoon cinnamon
- 4 eggs at room temperature
- 2 teaspoon vanilla essence
- 4 tablespoon milk
- 150 g Biscoff spread
Biscoff buttercream
- 150 g Biscoff spread
- 300 g icing sugar
- 2 tablespoon milk
- 150 g unsalted butter softened
Biscoff drizzle
- 100 g Biscoff spread
- 12 Biscoff biscuits finely crushed
- 4 Biscoff biscuits whole
Here's what we do...
Preparation
- Weigh out all of your ingredients.
- Set your oven to 180°C/160°C/350°F/Gas mark 4.
- Grease your baking tin and line with greaseproof paper (baking parchment).
Biscoff Cake
- Beat your softened butter and sugars for a few minutes on a medium setting, until soft and an easily spreadable consistency.
- Sift together your flour, baking powder, salt and cinnamon.
- Add your eggs and vanilla extract to the butter and sugar mixture.
- Add 3 heaped desert spoonfuls of the flour mixture.
- Beat on a medium setting until just combined.
- Add the rest of your flour and beat for 10-20 seconds on medium-high until fully mixed in.
- Scrape down your bowl with your spatula to ensure all of the mixture from the sides and base is incorporated.
- Add the cake mixture to your prepared tin and even out with the back of a large spoon.
- Bang the cake tin on onto the kitchen counter to ensure any larger air pockets are removed.
- Bake in the centre of your oven for 25 minutes or until a skewer inserted into the centre comes out clean.
- Allow to cool in the tin on a cooling rack for 10 minutes.
- Place the cooling rack on top of the cake and flip over, to remove from the tin.
- Take a baking nozzle (or sharp knife) and cut holes through the cake in 4x5 rows. Just go down a centimetre. Remove the piece of cake and set this aside.
- Melt your Biscoff spread in your microwave for about 10 seconds, just so it isn't stiff.
- Fill the holes with Biscoff Spread and replace the cut out cake piece as a lid.
- Leave your cake to cool completely.
Biscoff Buttercream
- Beat your softened butter and icing sugar together until combined.
- Add your Biscoff spread and milk and beat again.
- Using a spatula spread evenly over the top and sides of your Biscoff cake.
Biscoff Topping
- Take your 12 Lotus Biscoff Biscuits and crush, either in a plastic bag with a rolling pin or in a pestle and mortar.
- Sprinkle over your Biscoff cake.
- Gently roll your rolling pin over the cake to press the biscuits into the butter cream.
- Place your Biscoff into your microwave and soften for 10-15 seconds, until runny enough to drizzle.
- Drizzle over the top of your cake by dipping a teaspoon into the Biscoff and holding it high above the cake.
- Decorate with 4 whole Biscoff biscuits.

Comments
No Comments