
Biscoff® spread and biscuits Ice Cream (no churn)
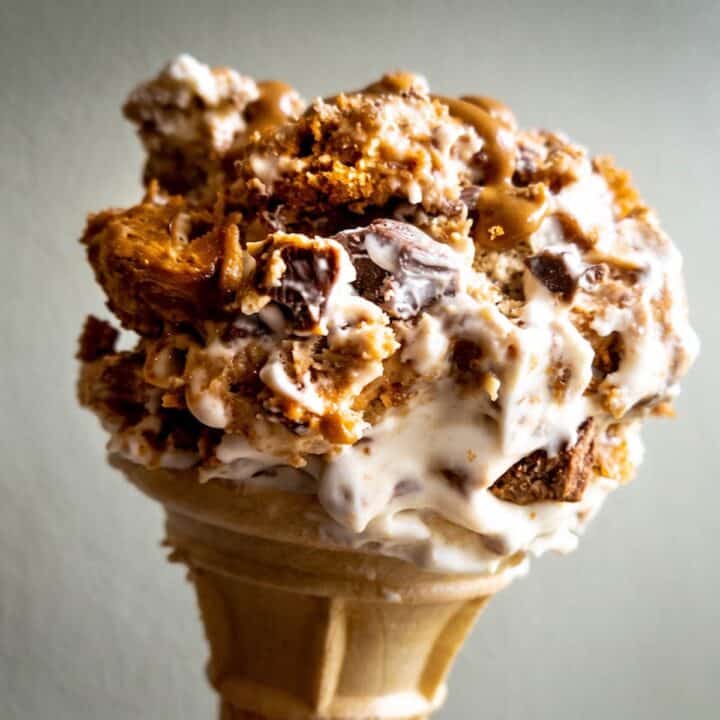

No-churn, easy Biscoff® spread ice cream with Biscoff® biscuits and milk chocolate, all swirled through a creamy vanilla ice cream. Incredibly easy and so tasty!
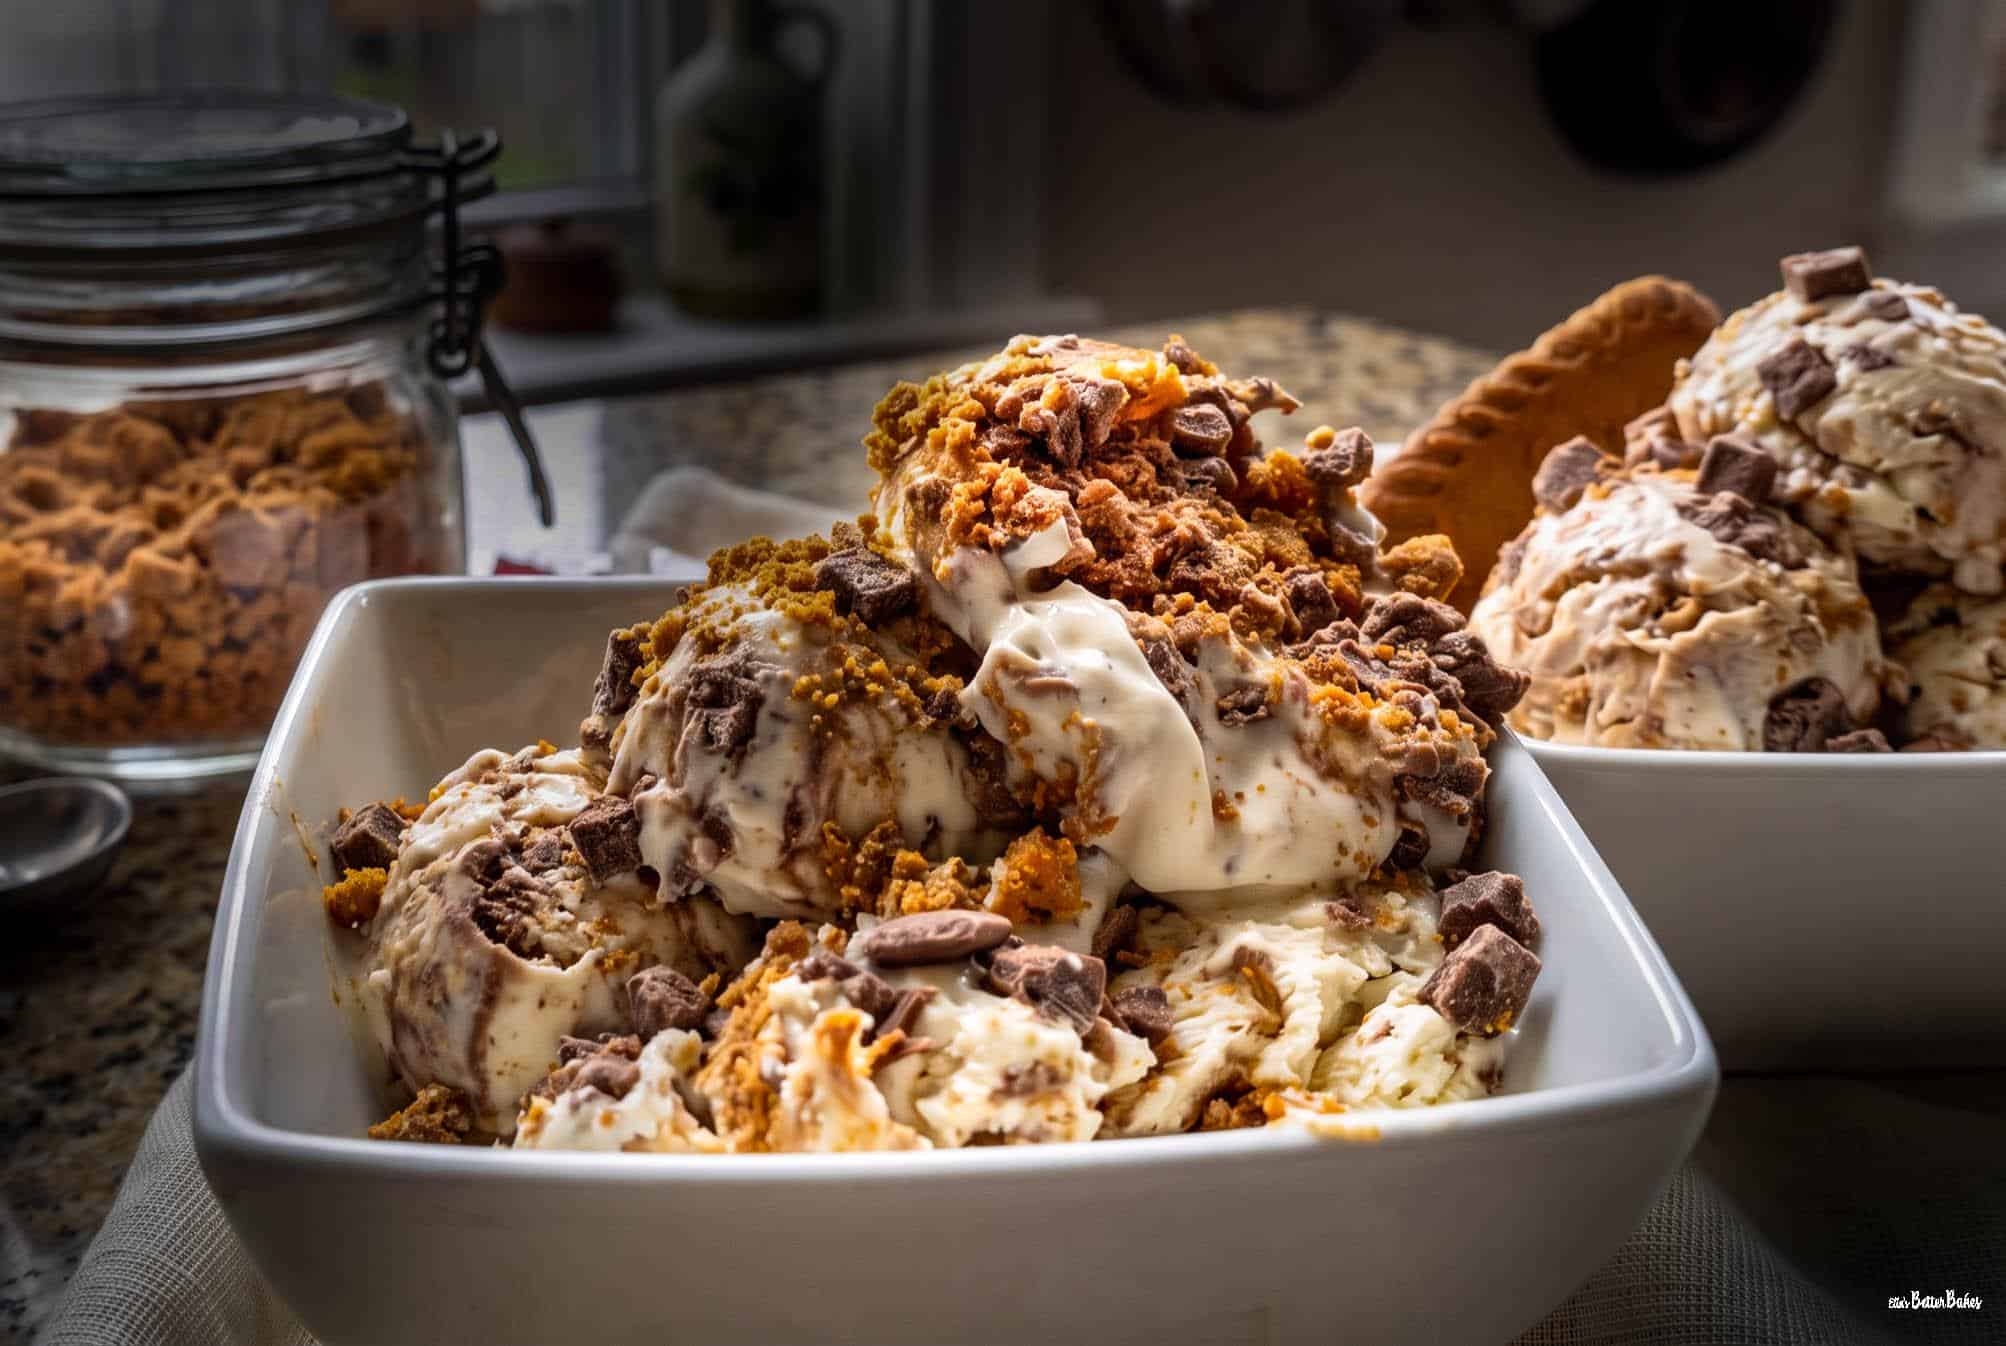
No-churn Biscoff® spread and milk chocolate ice cream that literally takes only 10 MINUTES to make! This recipe creates a whole 2lb loaf tin's worth of ice cream. Far more than the supermarket standard tubs and far more scrummy!
I mean, just take a few seconds to feast your eyes on this beauty. If you saw this Biscoff® spread ice cream in your local ice cream parlour, there would be no competition.
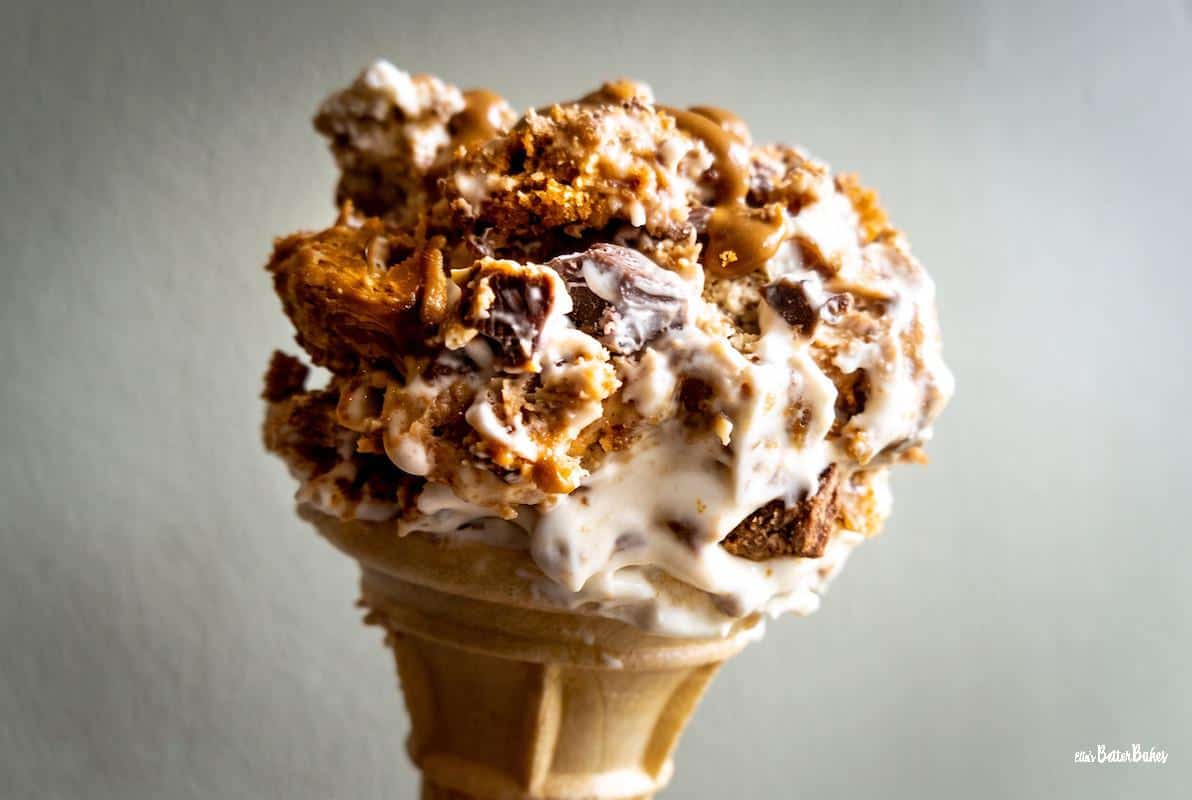
And yet you can make your very own in - LITERALLY - 10 minutes (plus another few hours of freezing time, of course). I know I keep banging on about how quick it is, but I'm truly amazed at just how easy homemade ice cream is to make. Who knew 😲 ?!? Not me until recently anyway! What a lovely surprise! Except I now can't stop eating it because it's yum on another level. Stratospheric yum.
All these years I have always assumed a) I'd need an ice cream maker, b) it'd be a faff, c) it wouldn't taste as nice as shop-bought ice cream.
Soooo wrong! I have wasted so much of my life buying tubs and tubs of the stuff when homemade ice cream is an absolute dream!
So the reason I decided to make Biscoff® spread ice cream is - in all honesty - because we were going away for a few days at the weekend. Yay, our first break in months, no more locked in lockdown! Felt like being an escapee. Almost seems daring and a bit naughty to actually venture out. Anyway, as such, I needed a fast, fun, quick, and easy recipe which also involved copious amounts of Biscoff® spread and biscuits. You may have noticed that I am currently doing everything possible with the stuff. It's a fad; I may grow out of it. I may not. It tastes way too good.
By the way, if you love Biscoff® spread, you will definitely love my many other recipes using this amazing stuff, such as my Apple Crumble with Biscoff® Spread and my Cupcakes with Biscoff® Spread.
And because Biscoff ice cream takes 10 minutes to make (have I mentioned that already?!) it was the perfect choice.
And it was wonderful to return home from lovely, sunny Dorset and be able to indulge in a Biscoff ice cream treat. It kept the mini-break going just a little longer.
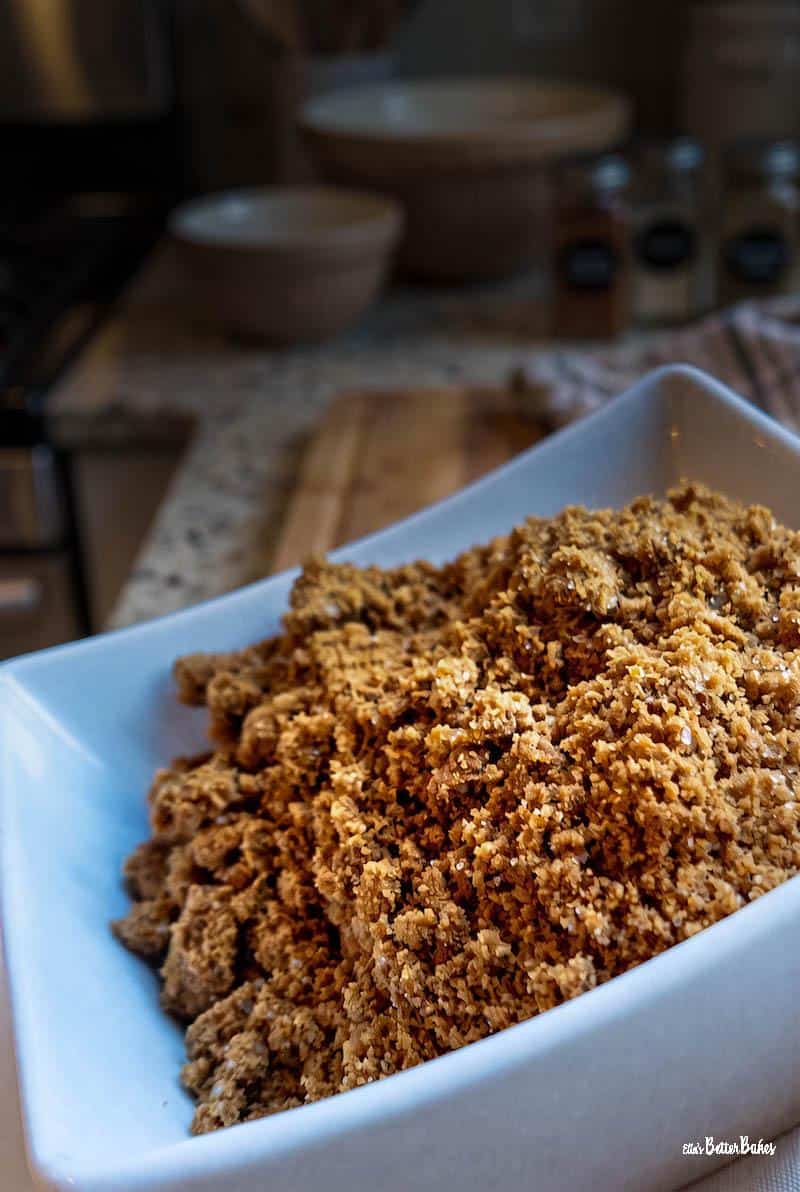
How to make Biscoff ice cream
So this will be the quickest recipe-how-to summary so far.
You literally take your double (heavy) cream, condensed milk, and vanilla bean paste and add it all into a large mixing bowl. Begin beating, slowly at first, with the whisk attachment. Once the mixture starts to thicken a little, speed up the whisking and continue until you are pretty much at full speed. Once the cream is thick and reaching gentle peaks, it is ready. It will resemble clotted cream when done.
And that is the ice cream all made! So simple!

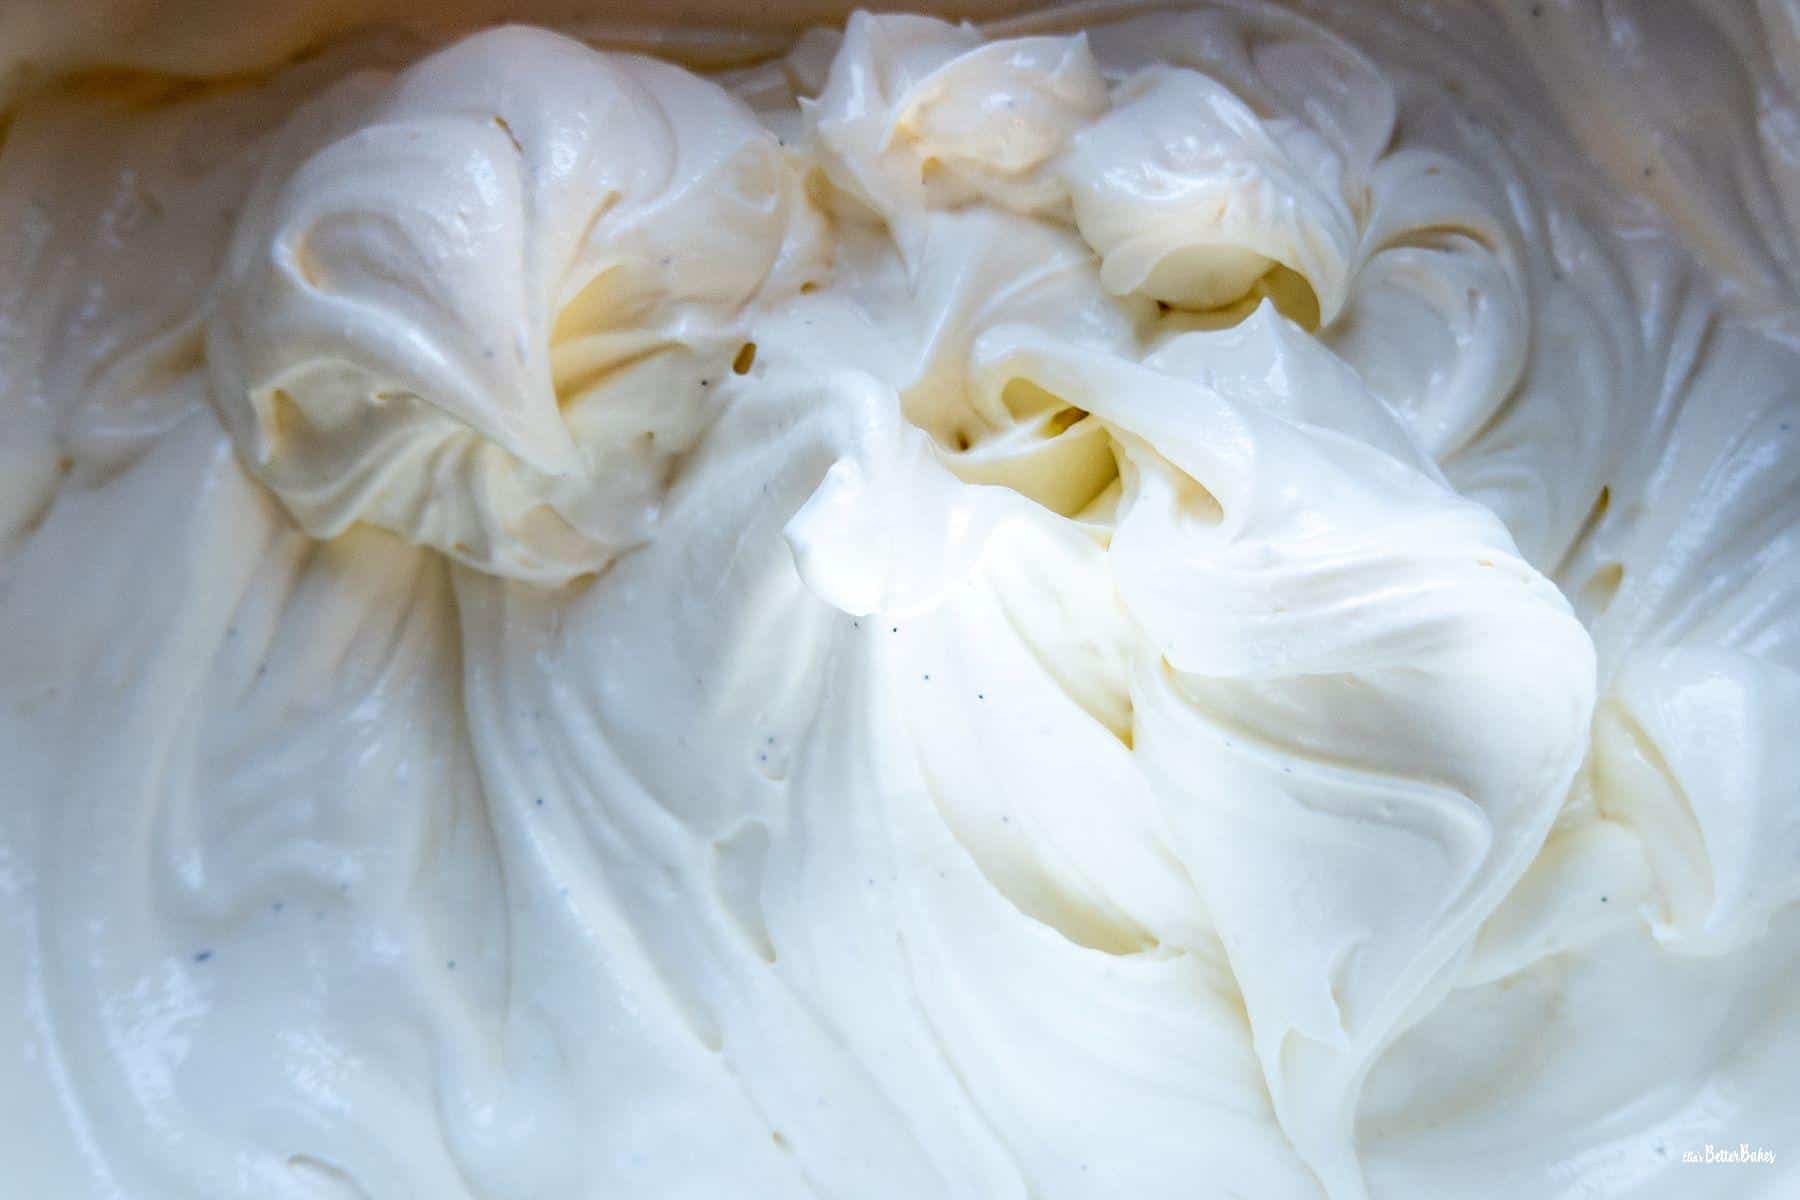
You can whisk by hand, but there's an awful lot of cream and milk to beat, and it will take a long time. On the upside, the exercise you will have done will permit you to indulge in more ice cream. So every cloud...
Chop your milk chocolate up. Keep it in little nuggety chunks. Pop your Biscoff® biscuits into a sandwich bag, seal the bag, and bash with a rolling pin. You want to bash them until you have a mix of very small pieces and Biscoff dust. Melt your Biscoff® spread in a microwave so it is just runny enough to pour; about 15-20 seconds should do it.
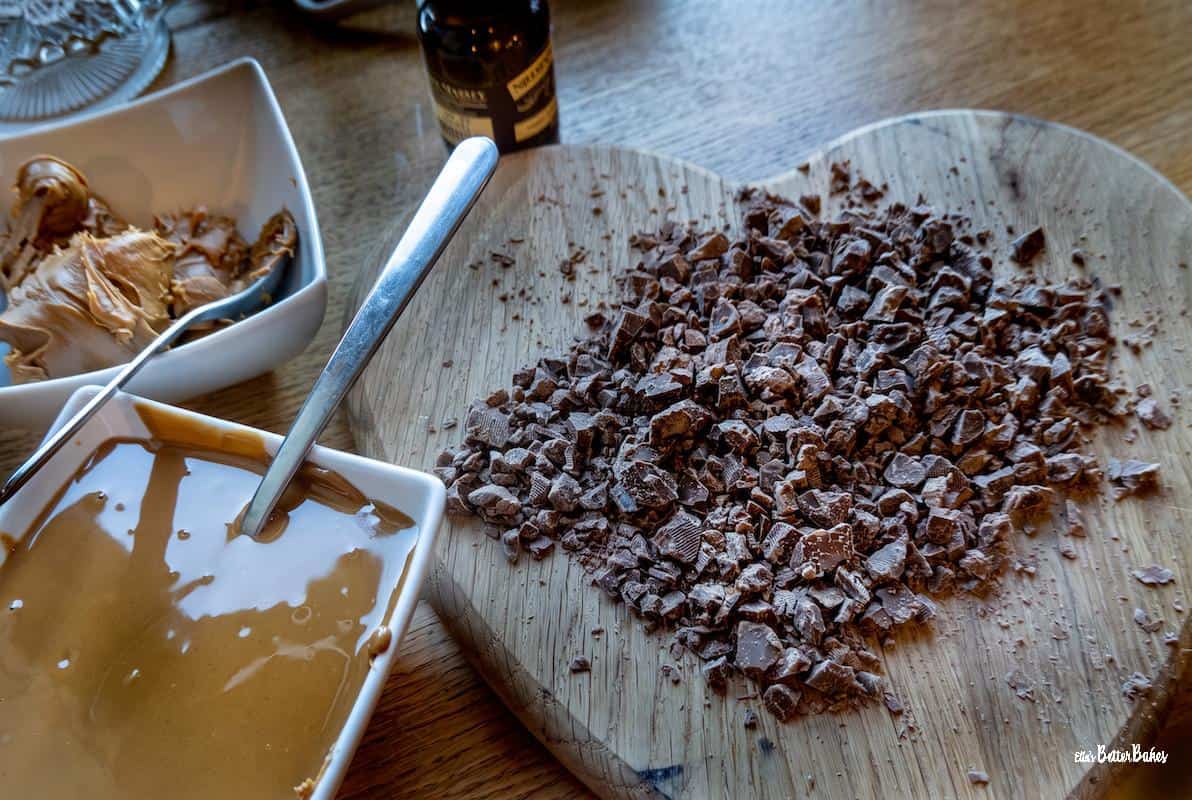
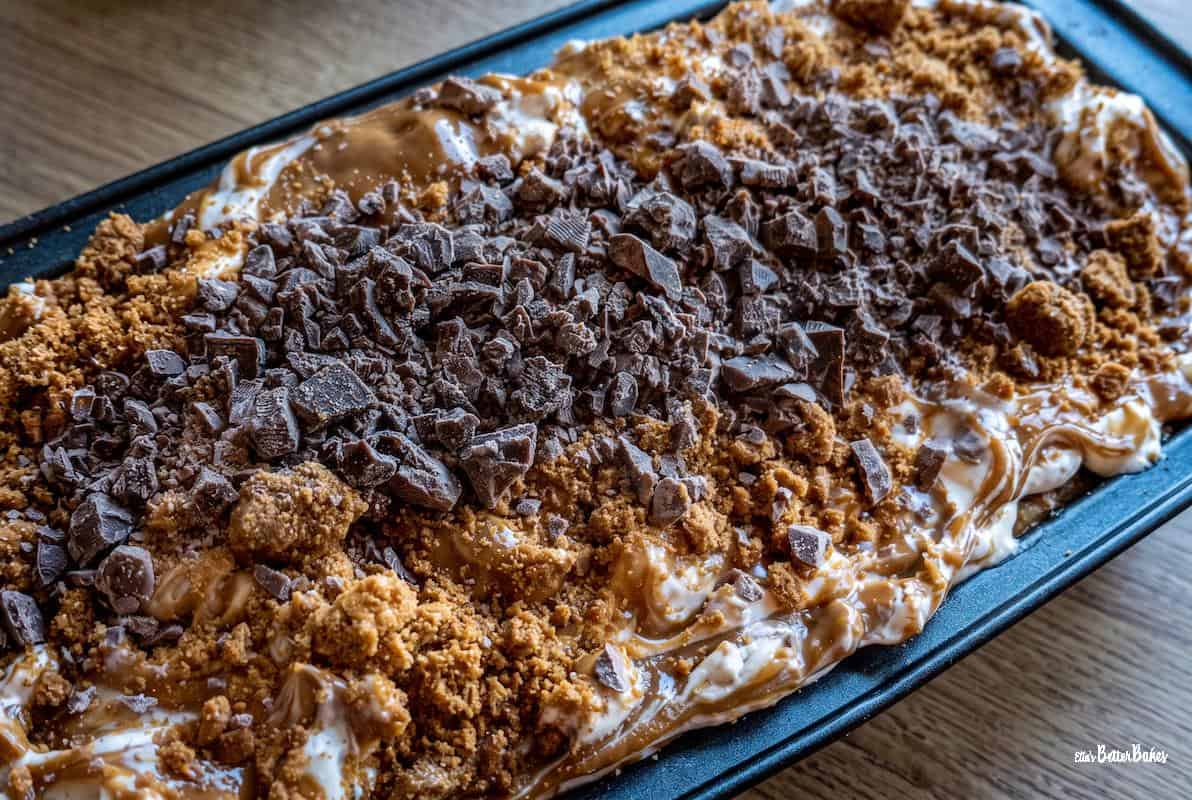
Take one third of your ice cream and add to the loaf tin. Pour over one half of your melted Biscoff® spread. Sprinkle over one half of your crushed Biscoff® biscuits and then one half of your chopped chocolate. Take a skewer or a cocktail stick and swirl these three around into your ice cream. Don't over-swirl, as you don't want it all totally mixed in. A marbled effect is what you are after.
Repeat the above step.
Add your last layer of ice cream. Melt your topping Biscoff® spread and pour over the ice cream. Swirl with your skewer or cocktail stick. Sprinkle over your crushed topping Biscoff® biscuits. Scatter your topping chopped chocolate down the centre of the ice cream.
Done! 10 MINUTES. Maybe less?
Why does this ice cream recipe work so well?
Condensed milk: condensed milk is boiled-down cow's milk, ie it has a reduced water content. Sugar is added to sweeten it. Don't get it mixed up with evaporated milk, though; that follows the same process but has no added sugar. Not good for lovely sweet vanilla ice cream. As condensed milk contains sugar already, there is no need to add more to sweeten the ice cream... it does the whole job for you in one little tin.
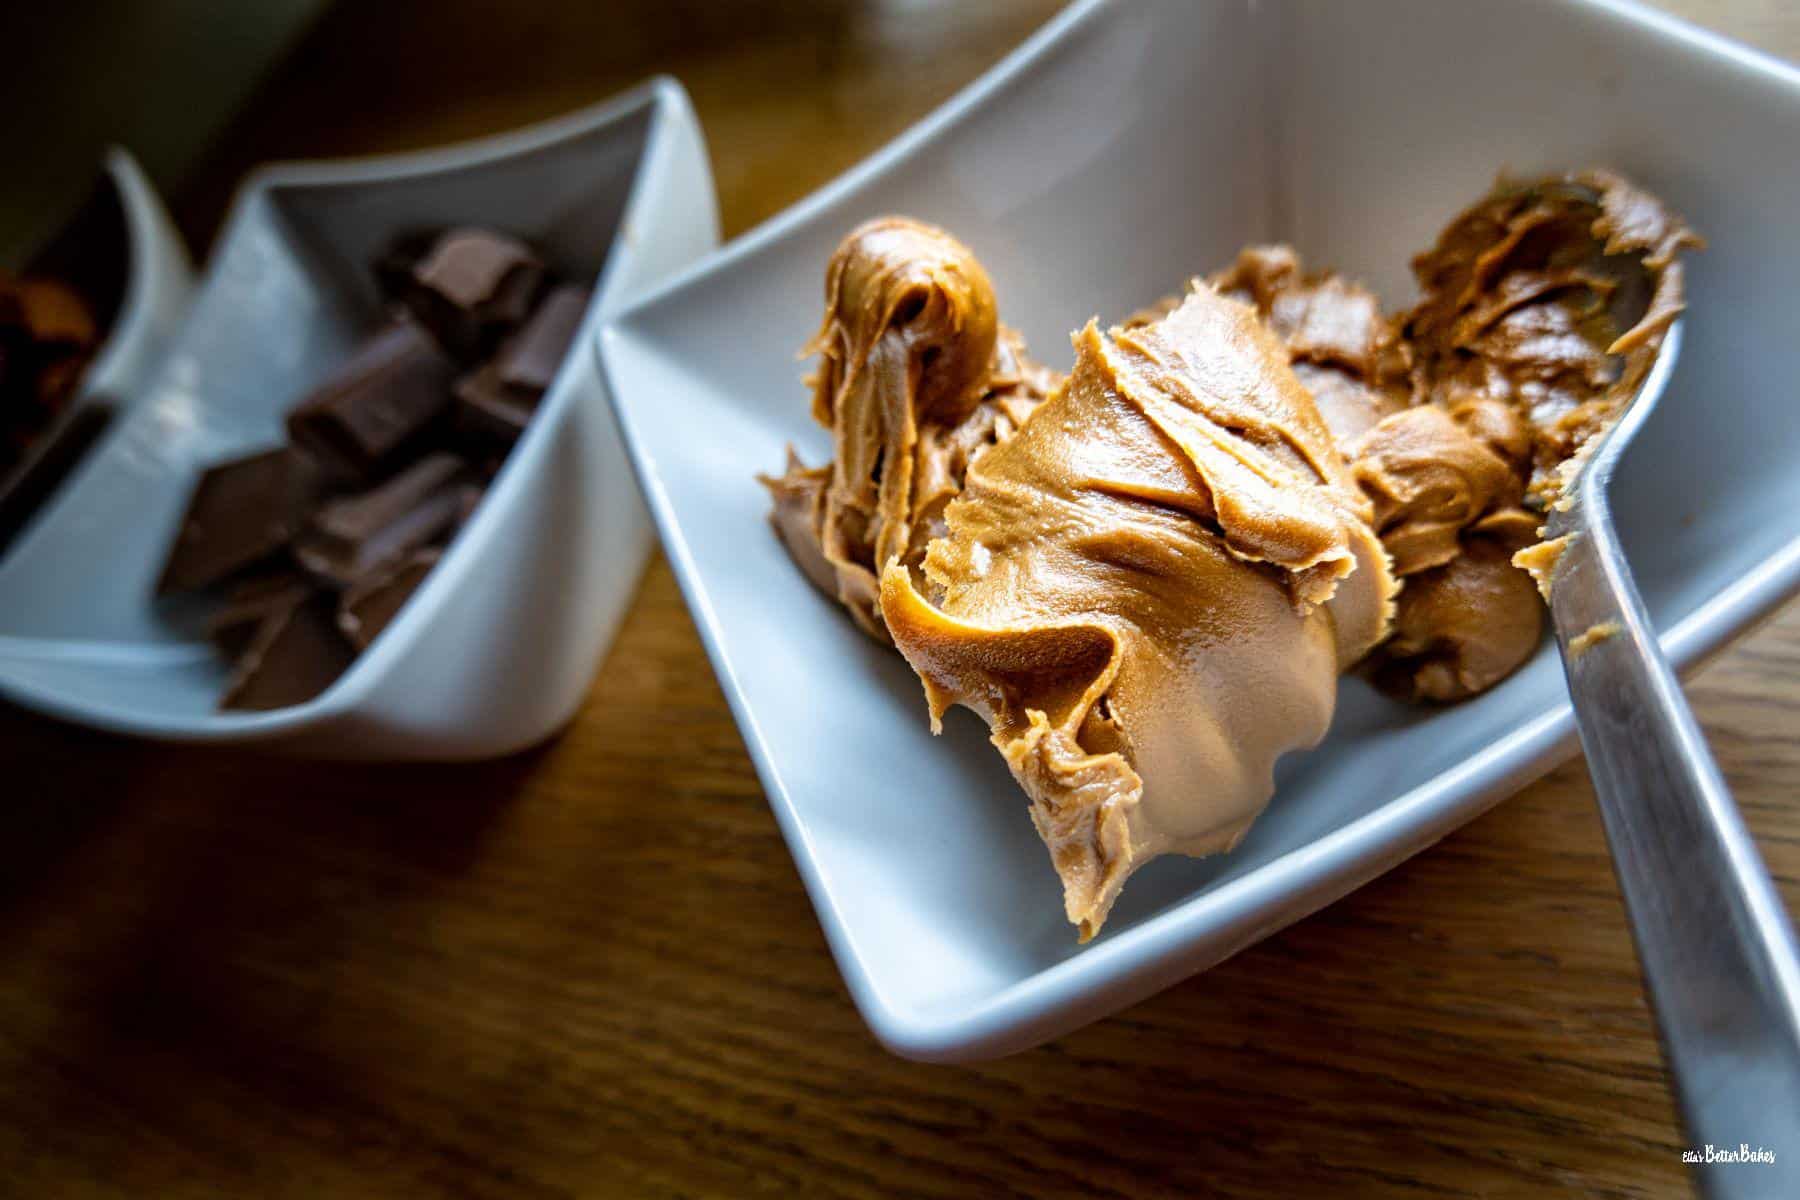
The sugar in the condensed milk also ensures the ice cream remains soft and doesn't freeze solid. AND it works with the fat from the double cream to produce a silky, smooth ice cream.
Clever stuff, eh.
Double cream (heavy cream): whisking double cream creates the air bubbles needed to make perfect ice cream.
Vanilla bean paste: you can use vanilla extract, but I prefer vanilla bean paste as it is quite sweet and full of wonderful little vanilla seeds, which look great throughout the ice cream.

So that's it.
The only problem you will have with this recipe is resisting it.
Confession: I have now locked mine in the garage freezer because my willpower was really really letting me down.... 🤣
Enjoy, and please do rate my recipe if you can.
📖 Recipe

No-Churn Ice Cream Made with Biscoff® Spread, Biscuits and Milk Chocolate
Here's what you'll need...
Ingredients you'll need...
Biscoff ice cream
- 600 ml double cream (heavy cream)
- 397 g tin of condensed milk
- 1 teaspoon vanilla bean paste or extract
- 8 Biscoff® biscuits crushed
- 50 g milk chocolate chopped
- 250 g Biscoff® spread
Topping
- 150 g Biscoff® spread
- 50 g milk chocolate chopped
- 4 Biscoff® biscuits crushed
Here's what we do...
Ice cream
- Fit the whisk attachment to your stand mixer or hand mixer.
- Add your double cream, vanilla paste and condensed milk to your bowl and start to whisk on a low speed.
- After about 30 seconds, or once the cream mixture has started to thicken a little, turn the setting up to a medium-high.
- Whisk for about a minute until thicker still then turn up to high.
- Once the ice cream mixture starts to thicken it will be ready, in my stand mixer this took about 2 minutes. It will resemble clotted cream when ready.
- Melt your Biscoff® spread in your microwave for about 20 seconds until runny but not hot, then give it a good mix.
- Take about one third of your ice cream and spread it out into the bottom of your loaf tin.
- Take your melted Biscoff® spread and pour over about a half onto your ice cream.
- Take your skewer or cocktail stick and swirl it around to create a marble effect in the ice cream.
- Add Biscoff® spread biscuits and chopped chocolate and sprinkle over.
- Repeat again, so you have 2 layers.
- Place your third layer of ice cream mixture into the tin.
Ice cream topping
- Again, soften your Biscoff® spread your microwave for about 15 seconds until just runny.
- Pour over the final layer of ice cream.
- Sprinkle over your crushed Biscoff® biscuits.
- Sprinkle over your remaining chopped chocolate down the centre of the ice cream.
- Cover with clingfilm and freeze for 4-6 hours until set.
I love Biscoff cookies, and ice for sure! This is a recipe I surely have to try! Thank you for the inspiration!
Hope you enjoy it!