How to steam a pudding
A simple guide showing how to prepare a pudding for steaming, whether that is a Christmas pudding or a light sponge pudding.

Jump to:
Introduction
I tend to steam my puddings the traditional way in a big old pan, which I have had for years. It is one of those pans you can't even remember where it came from, you've had it so long! You can use a steamer if you prefer, of course. It takes the same amount of time to steam the pudding using either method.
So for a 2 pint (1.2 litre) pudding basin, whether it is plastic or ceramic, follow these steps to prepare for steaming:
Equipment you will need to steam your pudding
Scissors ✂
Greaseproof paper
Foil
Kitchen string
Butter
A small heatproof plate, such as a side plate
- or you can line the base of the pan with a piece of foil.
A large, deep saucepan with a tight-fitting lid
- the bigger the better, because you ideally need to be able to see the sides of the pudding basin it order to measure the boiling water when you add it.
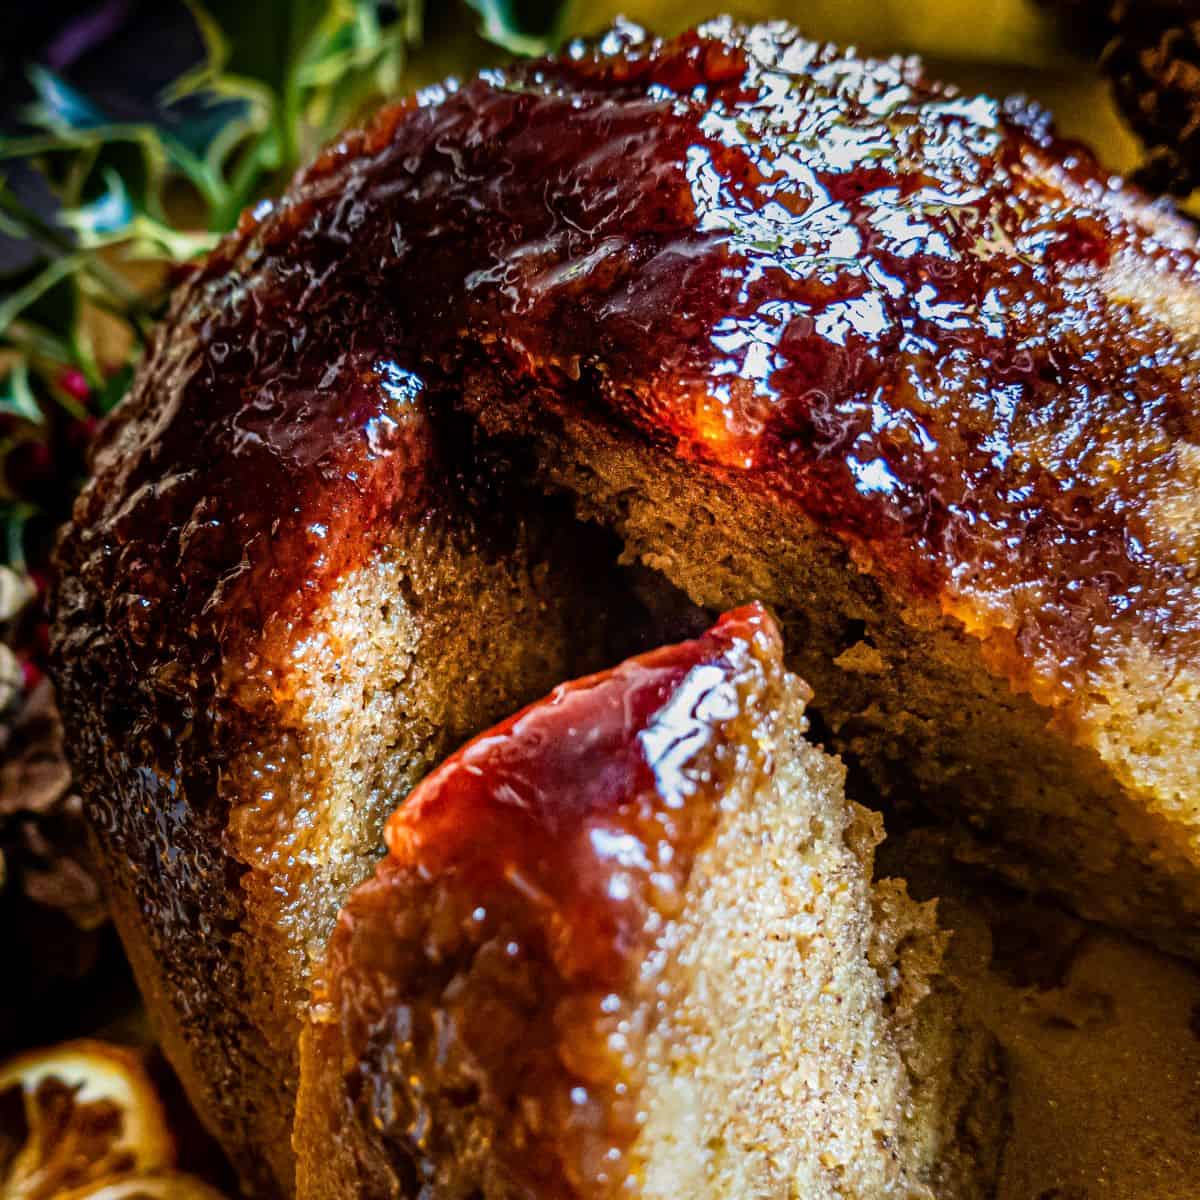
Alternative Christmas Pudding is a delicious steamed Christmas Pudding covered in a mulled wine syrup but without dried fruits. Ideal for those looking for an alternative to the traditional Christmas Pud whilst still getting that Christmas pudding hit.
Hint: During steaming pudding needs to sit on the side plate inside the large saucepan with the lid fitted snugly on top. I recommend testing everything fits beforehand (speaking from experience!).
Preparing your pudding for steaming
Fill your greased 2-pint pudding basin with your prepared pudding mix. If using a plastic pudding bowl, remove the lid. If making a Christmas pudding, make sure you press the mixture in so that it is compacted down.

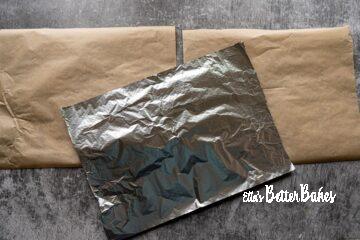
Firstly, cut out two pieces of greaseproof paper measuring 30cm x 40cm. Then cut out a larger piece of foil measuring 30cm x 40cm.

Place your two pieces of greaseproof paper on top of each other and then place them on top of the dull side of your piece of foil, so that the foil is the bottom layer.

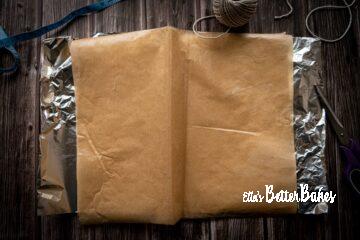
Lightly grease the top layer of greaseproof paper with butter as this prevents it from sticking to the pudding as it rises. Fold over a pleat measuring about 1 ½ inches in width down the centre.

Place over the filled pudding basin, so that the pleat sits over the centre. Press the sides down over the sides of the pudding basin as best you can.

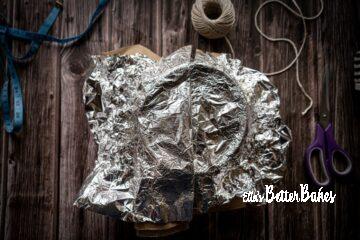
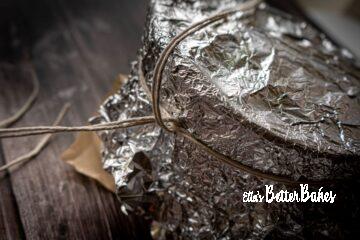
Cut a length of string measuring about 130cm. Fold it in half exactly, then wrap it around the pudding about an inch down from the lid if using a plastic bowl. If using a ceramic pudding bowl, the string should sit below the rim that juts out. Thread the loose ends through the loop and pull tight.

Tip: I find it easier to then pull the basin toward me so that it is secured against me as I put the string around the lip of the bowl.
Then pull the string as tight as you can and tie a secure knot to fix it in place. It can be useful to find someone to press their finger on the knot as you tie it!

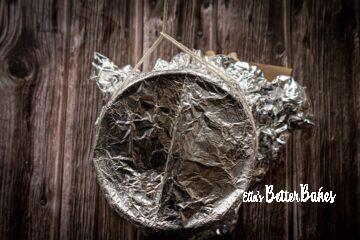
Take the two loose ends of the string and create a handle, which you can then use to lift the pudding with when you remove it from steaming. To do this, loosely pull the string over the top of the pudding and thread it through the string on the opposite side. Keep it loose so that it acts as a handle and does not restrict the pudding from rising. Secure tightly.

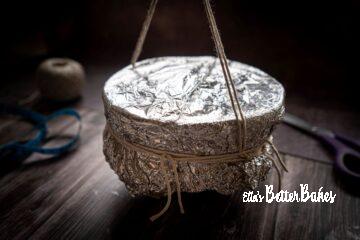
Cut three more lengths of string and tie these around the pudding to be sure it is totally secure and airtight. Tie it off in a different place each time.
Trim off the excess greaseproof paper and foil, leaving about 2-3 inches below the string. Tuck the greaseproof paper up underneath the foil and squeeze it all tightly together.
Steaming your pudding in a pan
- Place your small heatproof plate at the bottom of your large pan and place the pudding on top. The plate (or foil if you are using it instead, as noted above) stops the base of the pudding from burning.
- Then pour in enough just-boiled water from a kettle so that it reaches about halfway up the sides of the pudding basin.
- Replace the lid fully onto the saucepan and bring to a gentle simmer.
- Then leave to simmer gently for as long as the recipe states. You just want a few bubbles popping on the surface, nothing more.
- Keep an eye on the pudding and top up with just boiled water as necessary. For a 6-hour Christmas pudding steam, you'll need to top up 2-3 times.
- When your pudding has steamed for the required time, remove it from the pan, using the string handle. Then place it on a cooling rack.
- If this is a Christmas pudding, leave the pudding to fully cool, then remove the greaseproof and foil layers. Replace with new greaseproof and foil layers using the method detailed above. Your pudding will then be airtight and all ready for its final steam on Christmas Day.
- For a sponge steamed pudding, remove the greaseproof and foil layers first. Then run a knife around the edge of the pudding before inverting it onto a plate.
Hint: this video shows how it is done.
No, it doesn't. Steaming is a very gentle cooking method, and either bowl is suitable.
A Christmas pudding should have a very dark, rich flavour and texture, which is why it is steamed gently for so long. The second step on Christmas day finishes this process, so you have a perfectly cooked Christmas pudding.

How to steam a pudding
Ingredients you'll need...
- Scissors
- Greaseproof paper
- Foil
- Kitchen string
- Butter
- A small heatproof plate such as a side plate - or you can line the base of the pan with a piece of foil.
- A large deep saucepan with a tight-fitting lid the bigger the better, because you ideally need to be able to see the sides of the pudding basin it order to measure the boiling water when you add it.
Here's what we do...
Preparing your pudding for steaming
- Firstly, cut out two squares of greaseproof paper measuring 30cm x 30cm. Then cut out a piece of foil measuring 50cm x 50cm.

- Place your two pieces of greaseproof paper on top of each other and then place them on top of the dull side of your piece of foil, so that the foil is the bottom layer.
- Lightly grease the top layer of greaseproof paper with butter as this prevents it from sticking to the pudding as it rises. Fold over a pleat measuring about 1½ inches in width down the centre.
- Place over the filled 2 pint pudding basin, so that the pleat sits over the centre. Press the sides down over the sides of the pudding basin as best you can.
- Cut a length of string measuring about 130cm centimetres. Fold it in half exactly then wrap it around the pudding about a inch down from the lid if using a plastic bowl. If using a ceramic pudding bowl the string should sit below the rim that juts out. Thread the loose ends through the loop and pull tight.
- Tip: I find it easier to then pull the basin toward me so that is secured against me as I put the string around the lip of the bowl.Then pull the string as tight as you can and tie a secure knot to fix it in place. It can be useful to find someone to press their finger on the knot as you tie it!
- Take the two loose ends of string and create a handle, which you can then use to lift the pudding with when you remove it from steaming. To do this, loosely pull the string over the top of the pudding and thread it through the the string on the opposite side. Keep it loose so that it acts as a handle and does not restrict the pudding from rising. Secure tightly.
- Cut three more lengths of string and tie these around the pudding to be sure it is totally secure and airtight. Tie it off in a different place each time.Trim off the excess greaseproof paper and foil leaving about 2-3 inches below the string. Tuck the greaseproof paper up underneath the foil and squeeze it all tightly together.


Steaming your pudding
- Place your small heatproof plate in the bottom of your large pan and place the pudding on top. The plate (or foil if you are using instead as noted above) stops the base of the pudding from burning.
- Then pour in enough just boiled water from a kettle so that it reaches about half way up the sides of the pudding basin.
- Replace the lid fully onto the saucepan and bring to a gentle simmer.
- Then leave to simmer gently for as long as the recipe states. You just want a few bubbles popping on the surface, nothing more.
- Keep an eye on the pudding and top up with just boiled water as necessary. For a 6 hour Christmas pudding steam you'll need to top up 2-3 times.
- When your pudding has steamed for the required time, remove it from the pan, using the string handle, and place on a cooling rack.
- If this is a Christmas pudding leave the pudding to fully cool then remove the greaseproof and foil layers and replace with new greaseproof and foil layers using the method detailed above. Your pudding will then be airtight and all ready for its final steam on Christmas Day.
- For a sponge steamed pudding, remove the greaseproof and foil layers and run a knife around the edge of the pudding before inverting it onto a plate.
- Hint: this video shows how it is done.

Recipe if followed corrects the mistakes I made with earlier puddings.
Hi Gareth, fabulous to hear 😊 Thank you for taking the time to comment.