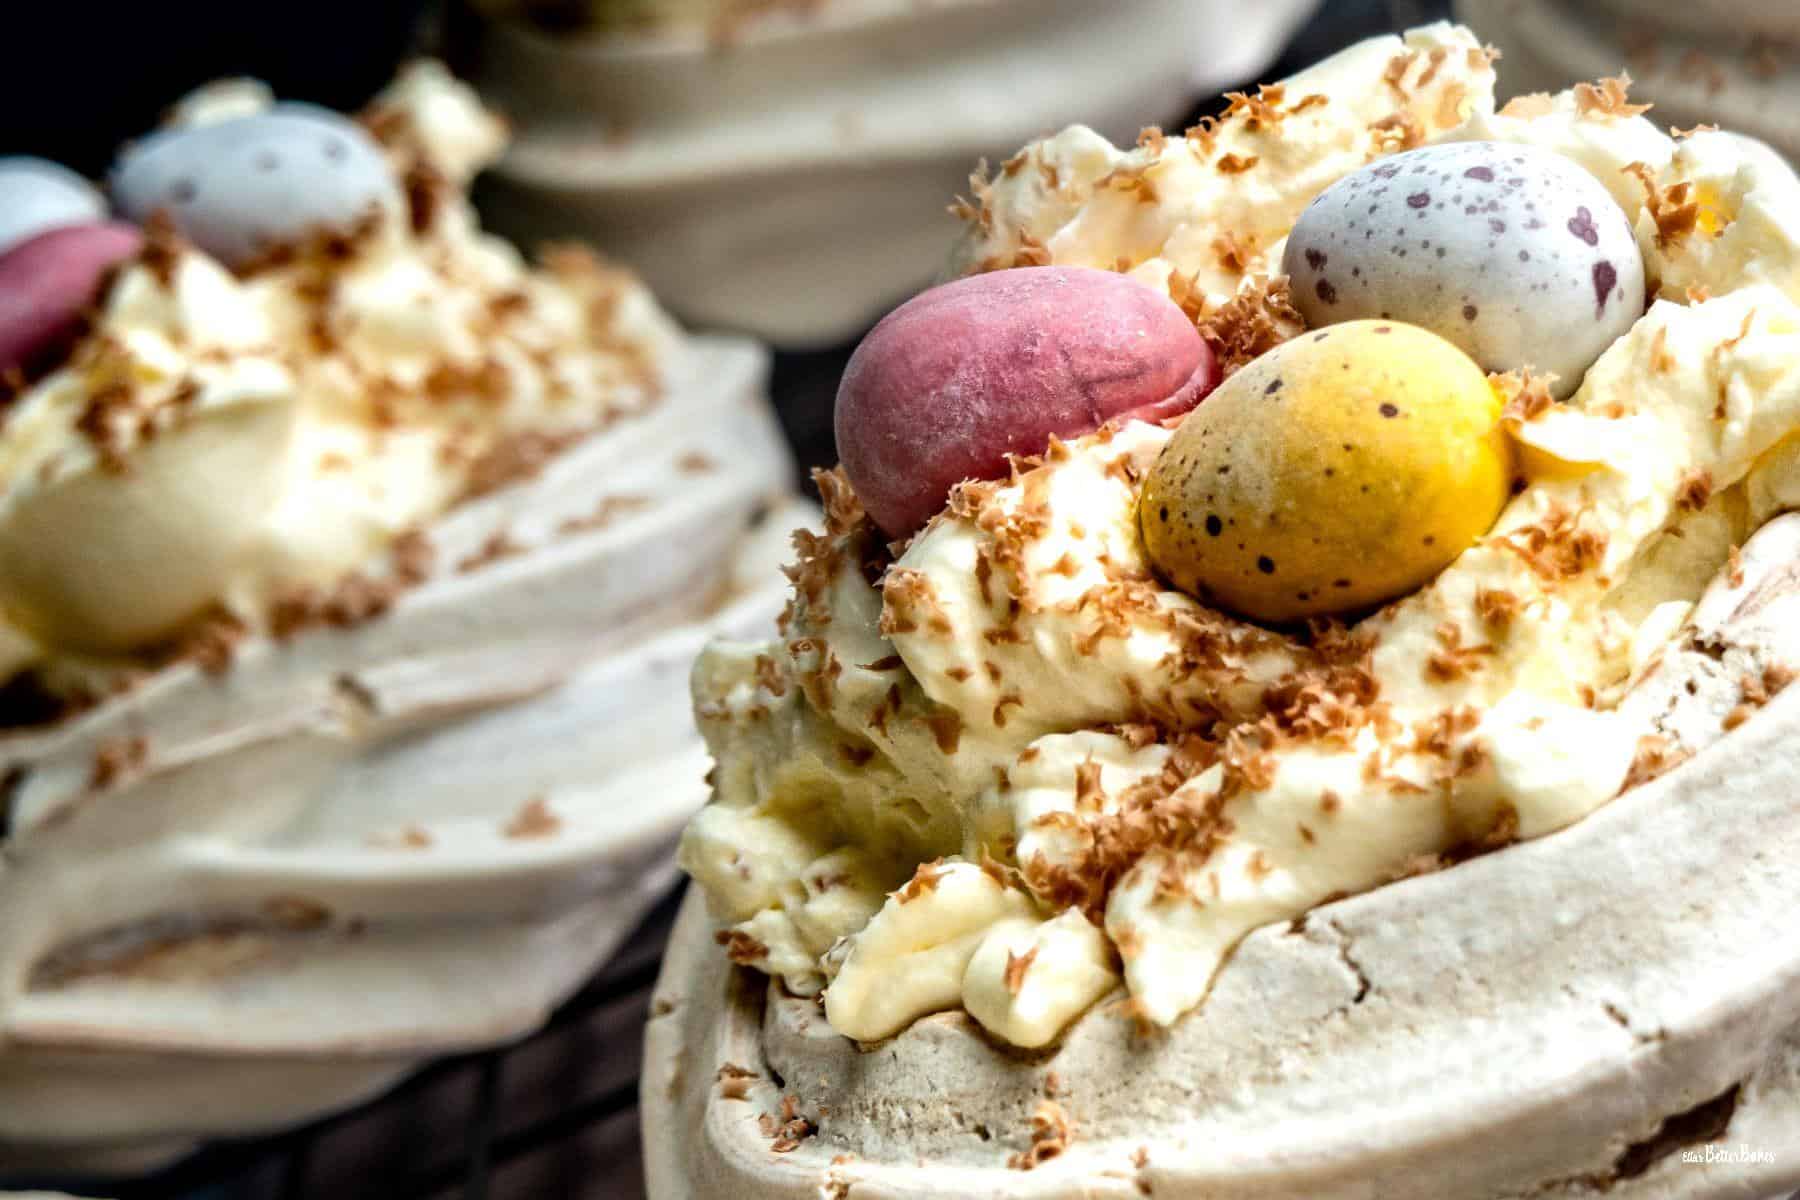
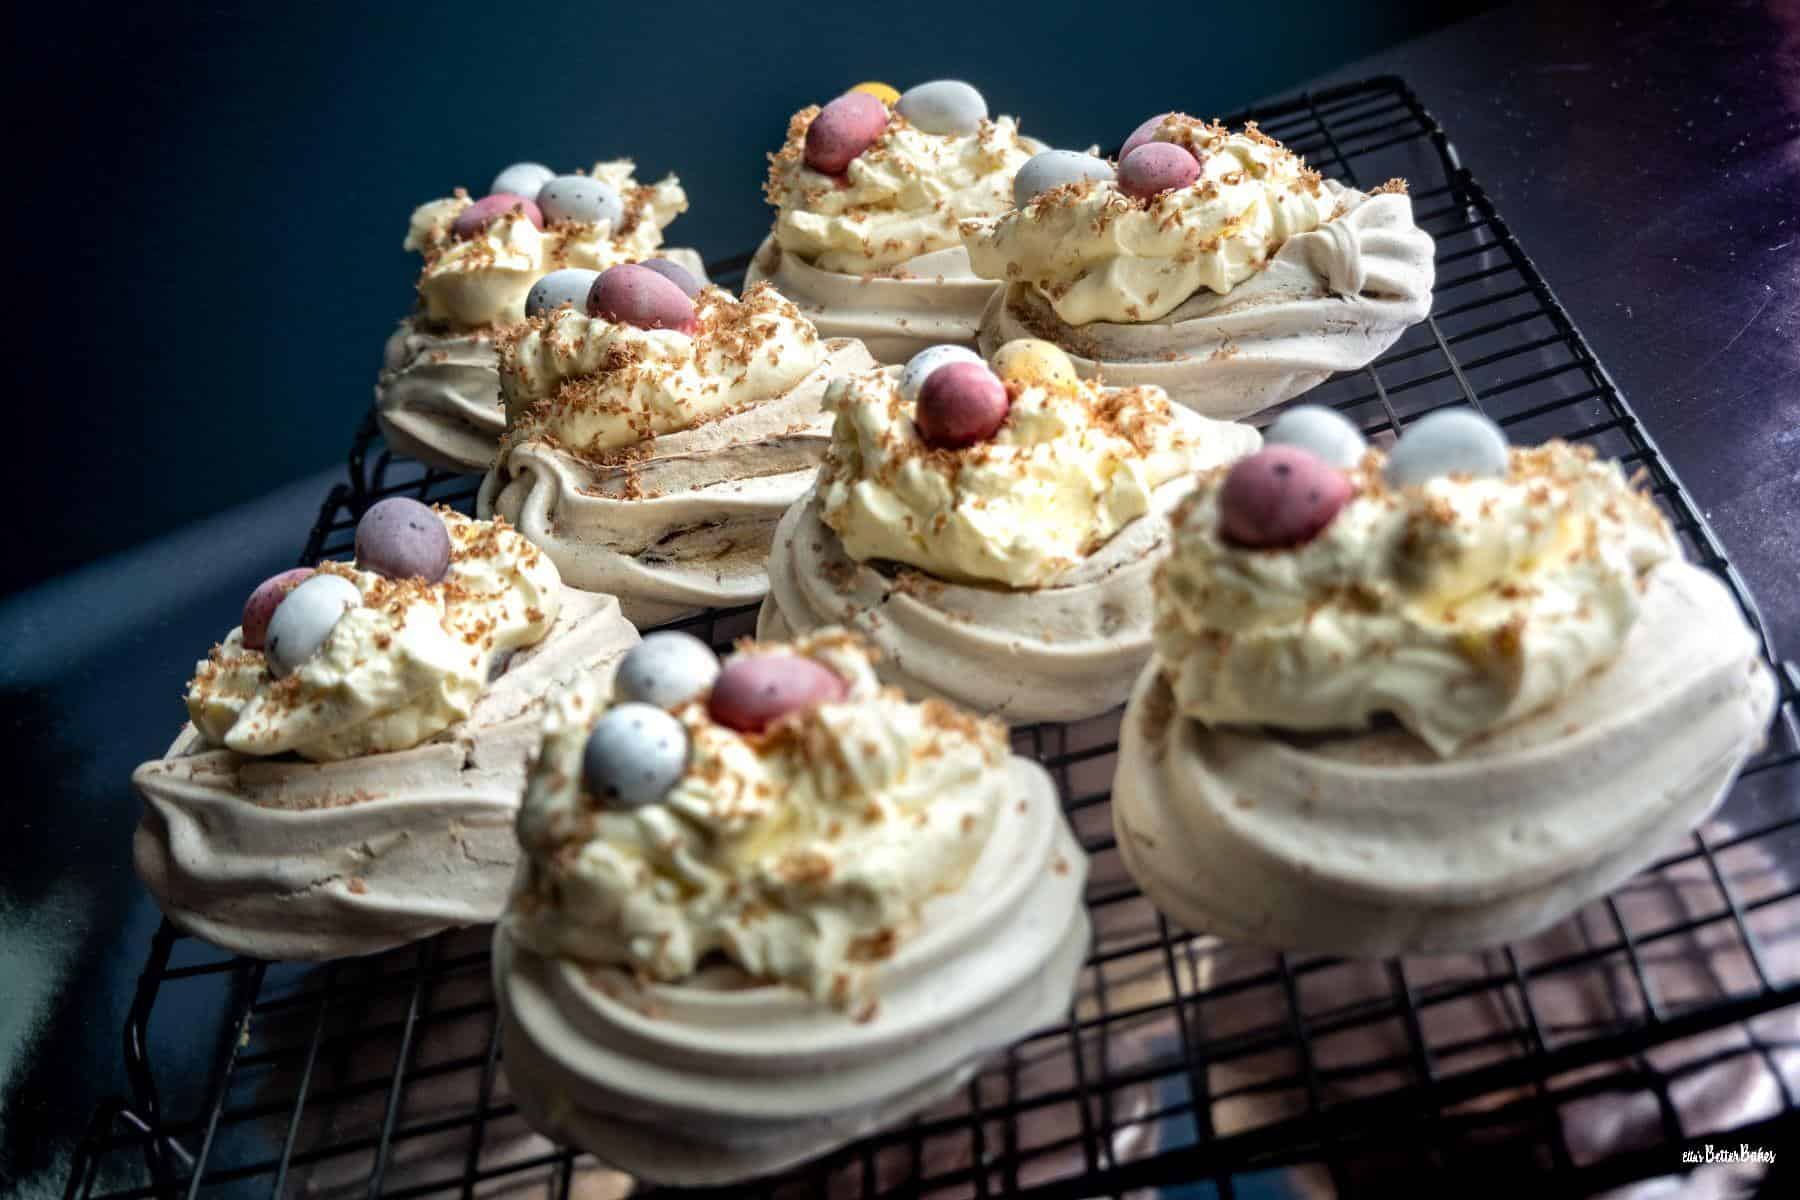
Chocolate Nutella Meringue Nests
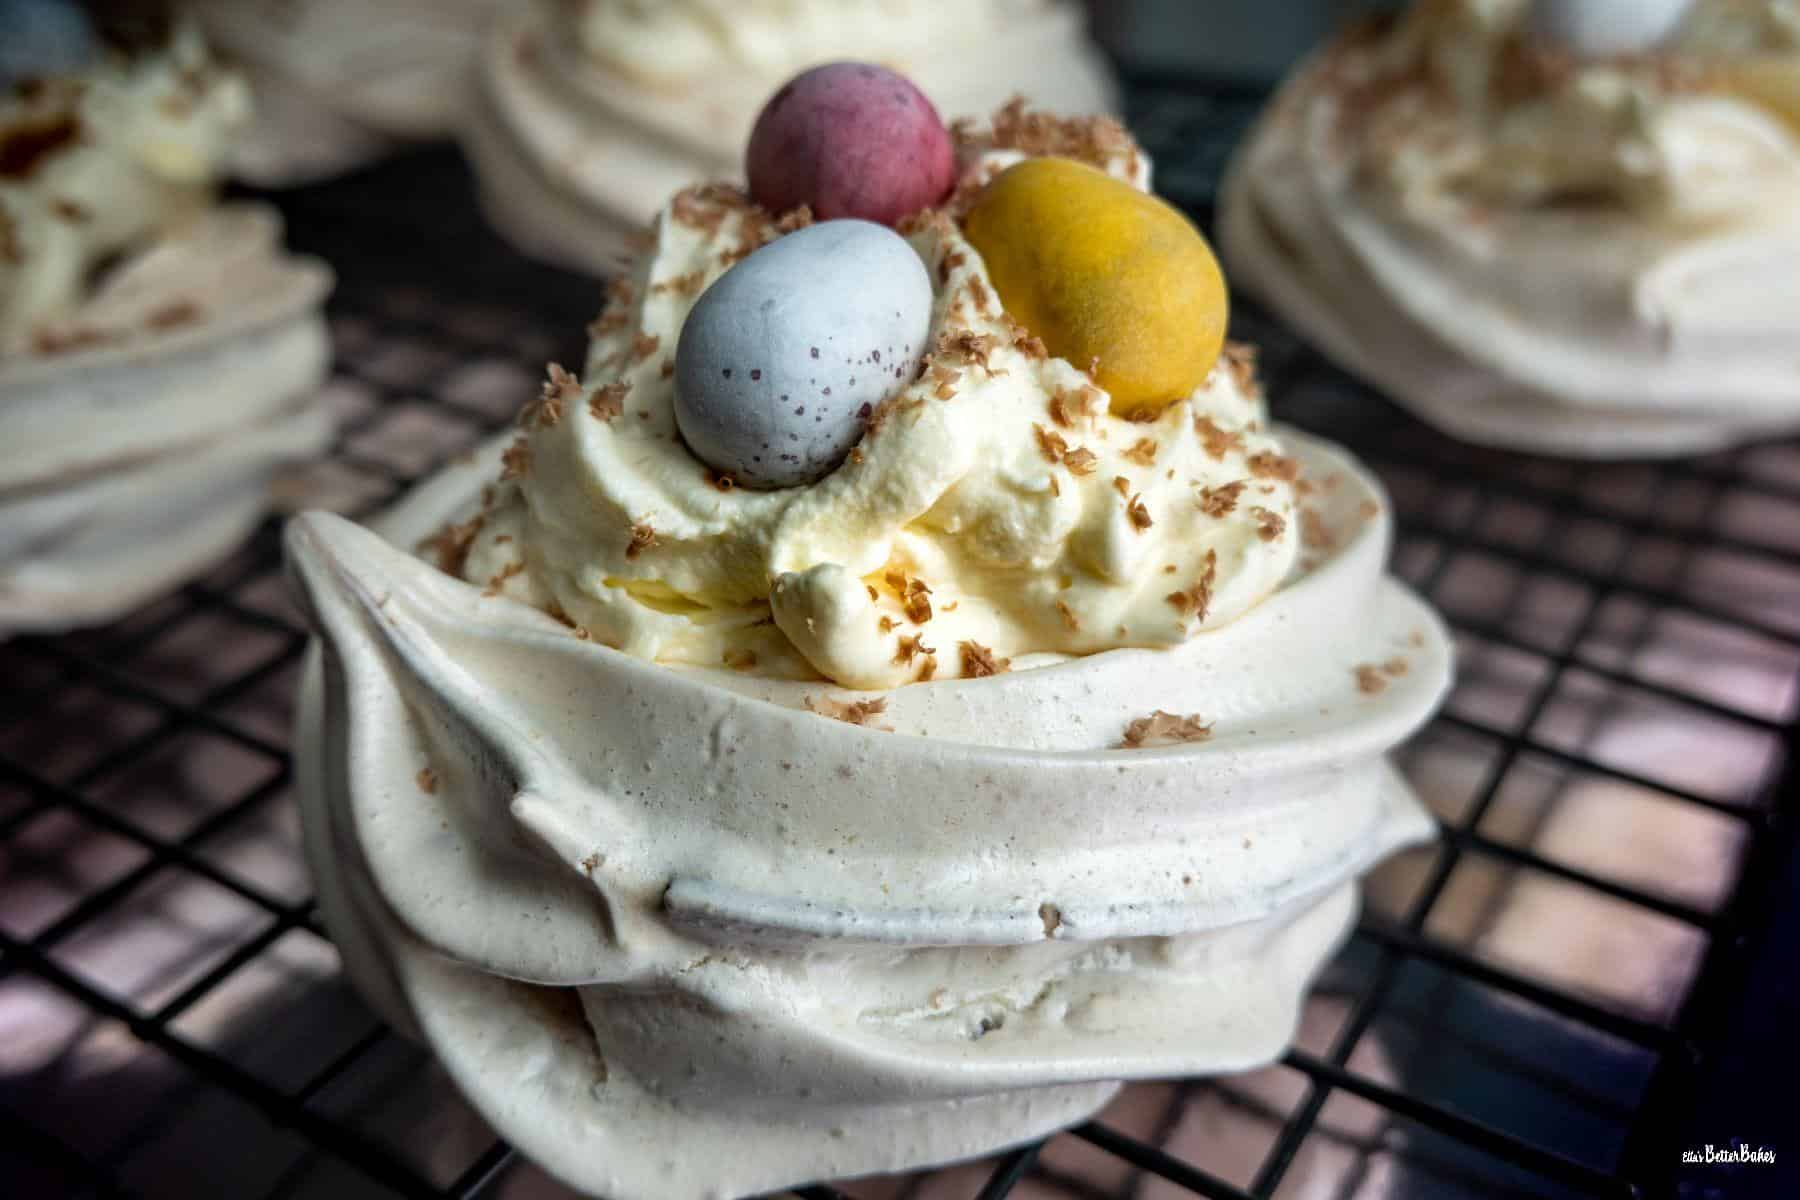
Easy Chocolate Nutella Meringue Nests, filled with soft Nutella and whipped double (heavy) cream, topped with mini eggs and chocolate shavings.

Easter is nearly upon us. Can you believe it! I am mentally still in February, surely it's only been a couple of months since Christmas right? Anyway, to hurl myself into the present day I thought I'd make an Easter dessert in the form of chocolate Nutella meringue nests.
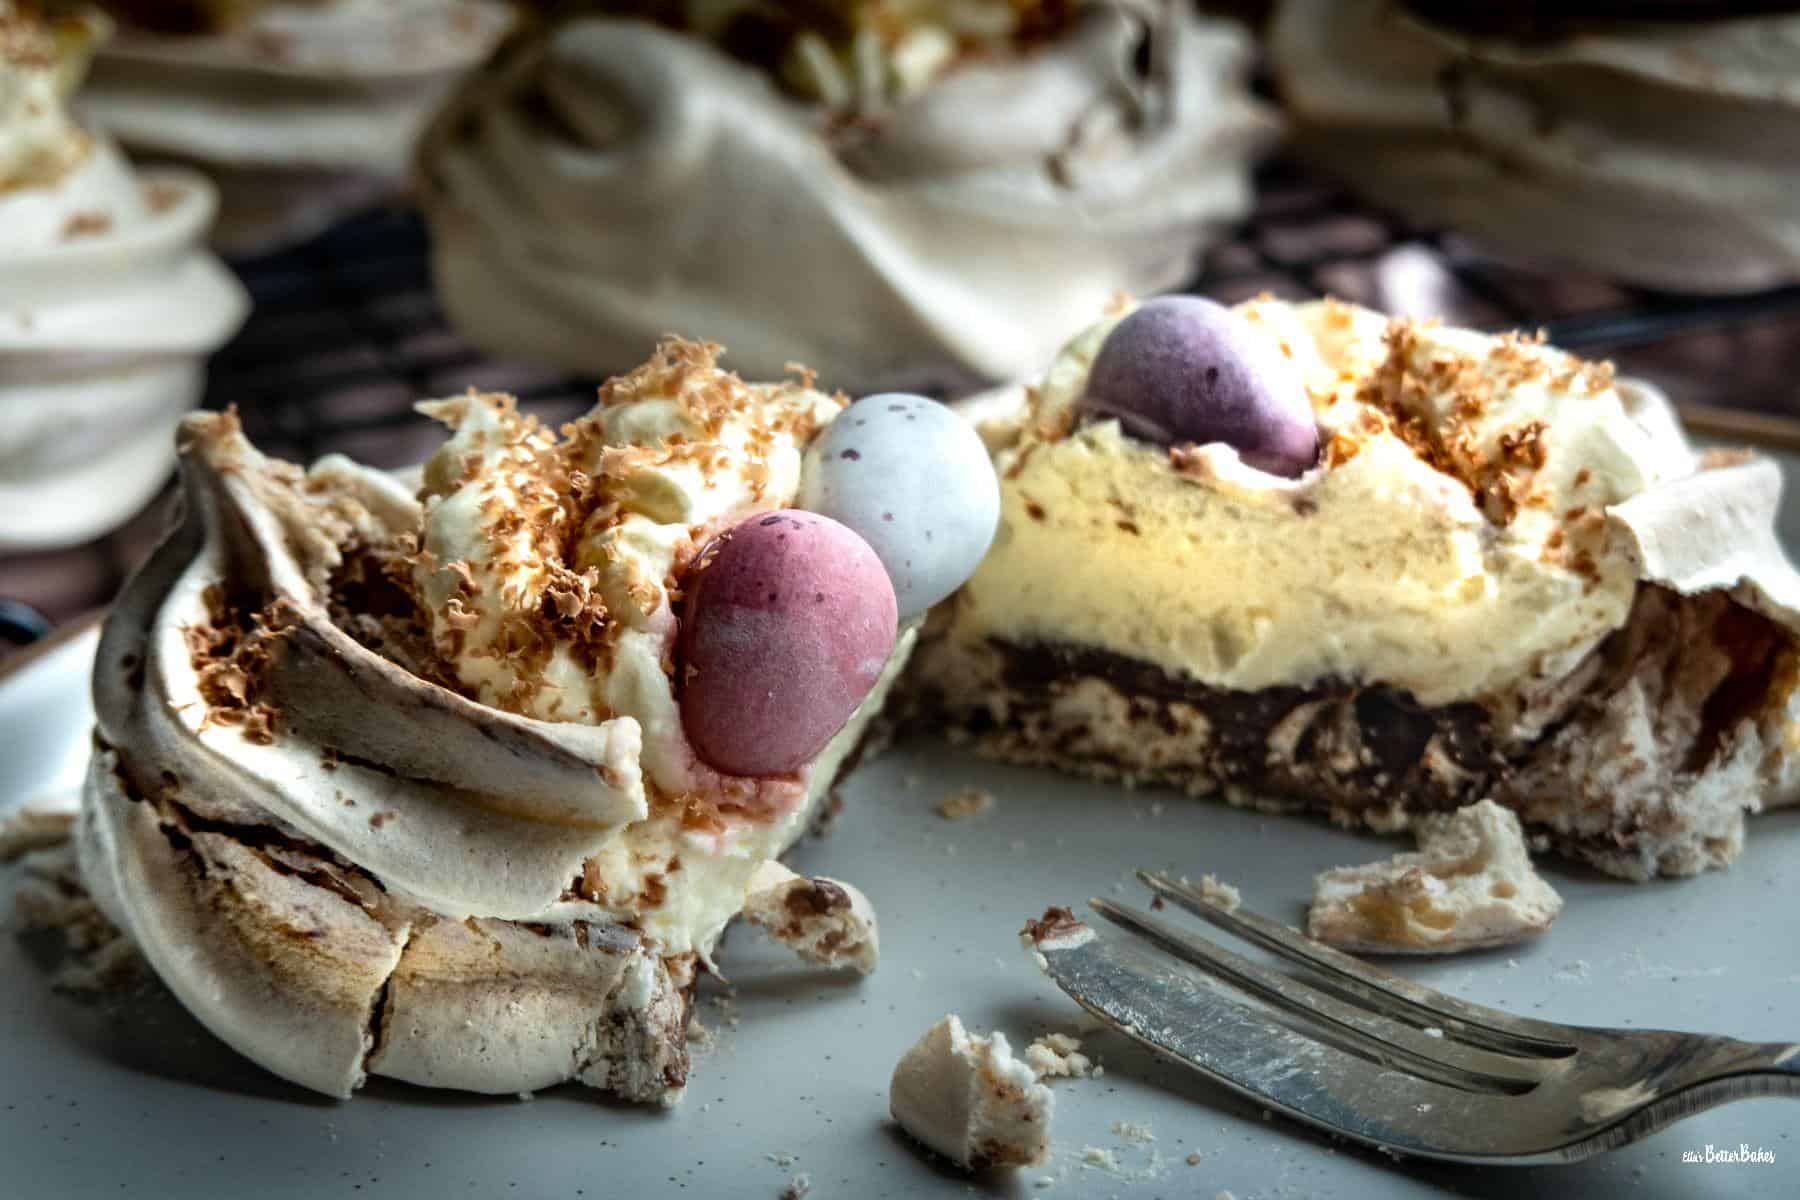
These chocolate Nutella meringue nests are a total delight. They are easy, fun, great for making with children and result in an absolutely delicious Easter dessert for all.
Ingredients and Substitutions
Egg whites : if possible try to use older egg whites for meringue. The thinner they are the more they whip into a greater volume. But don't worry if your eggs are fresh as they will work fine. Just ensure that they are at room temperature before you start whisking them.
White wine vinegar and cornflour (corn starch) : these two work together to stabilise the meringue and ensure it has a marshmallow centre, not a brittle one. If you don't have white wine vinegar you can substitute with apple cider vinegar, lemon juice or cream of tartar. If you use cream of tartar you need to half the quantity, i.e. ¼ teaspoon.
Whisk up those egg whites
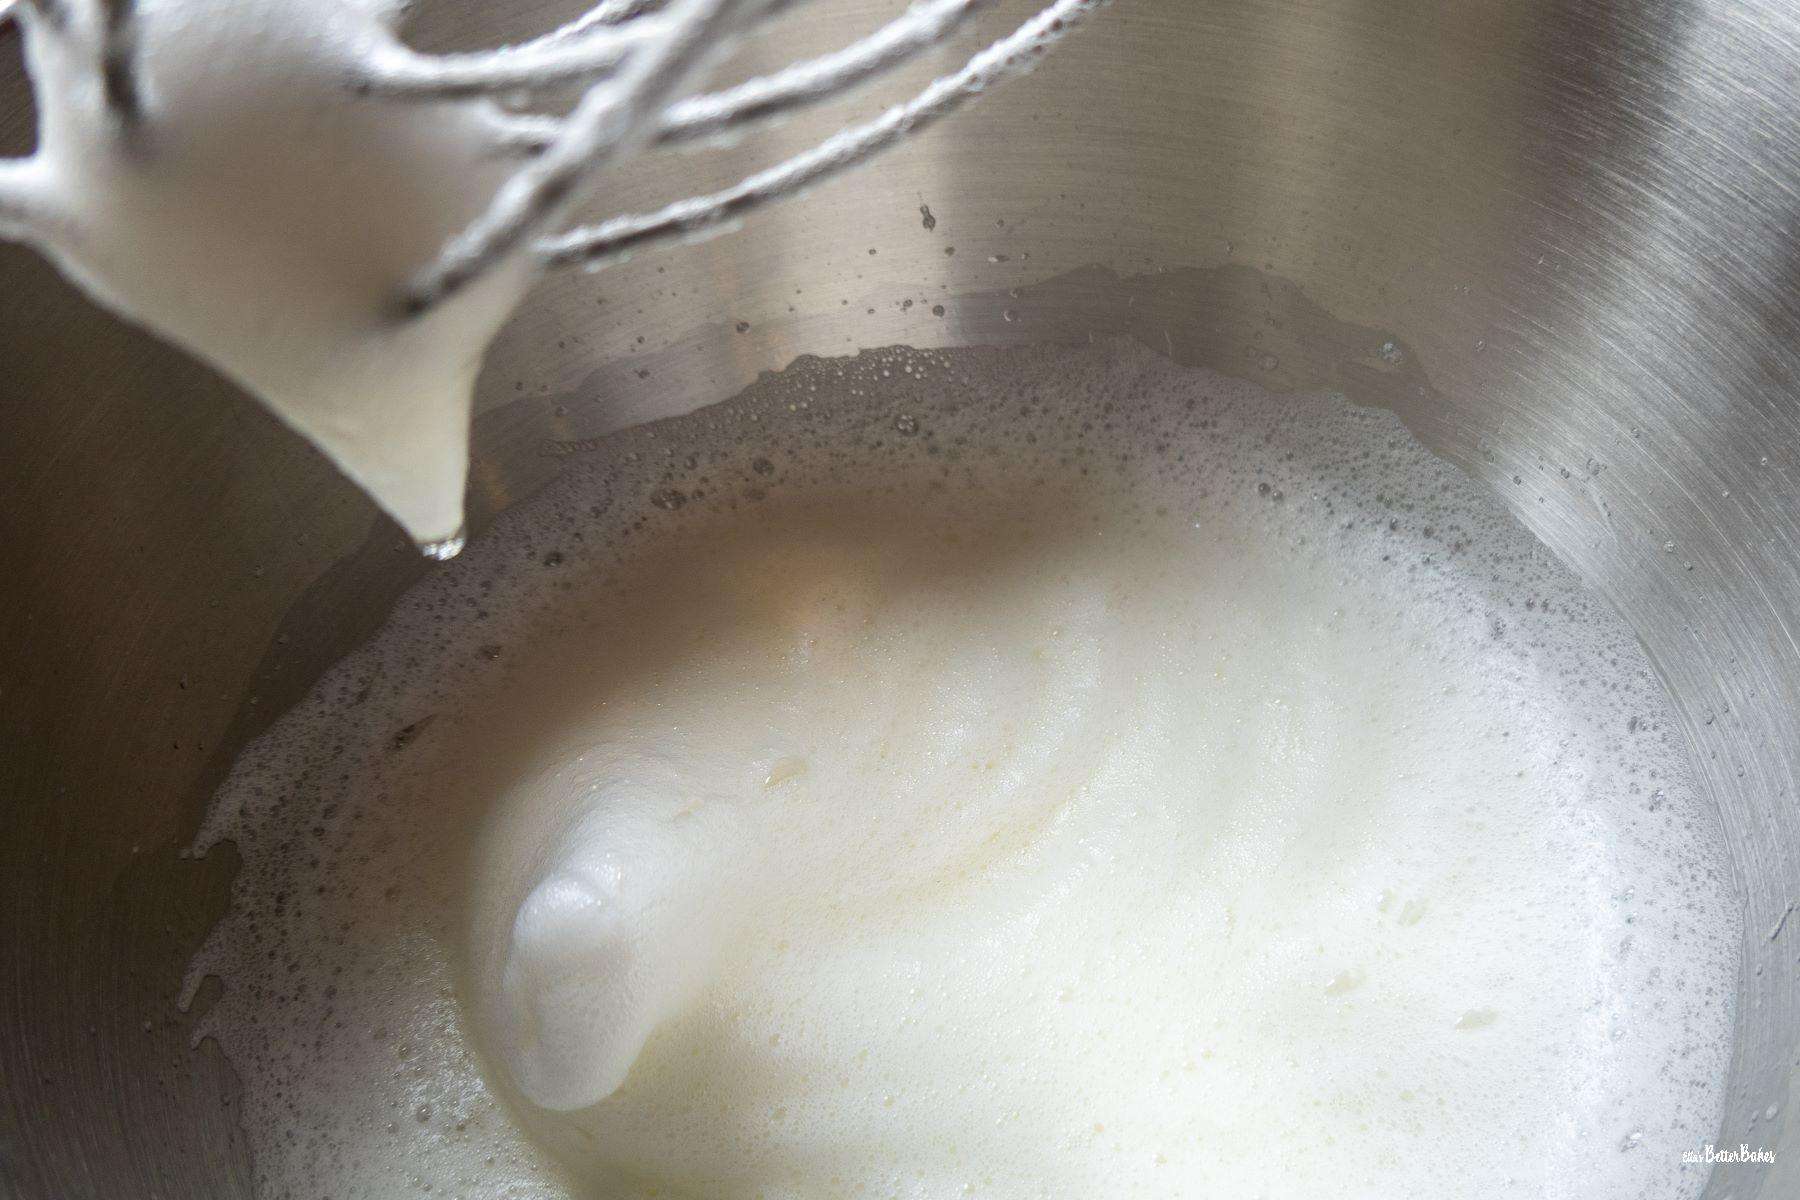
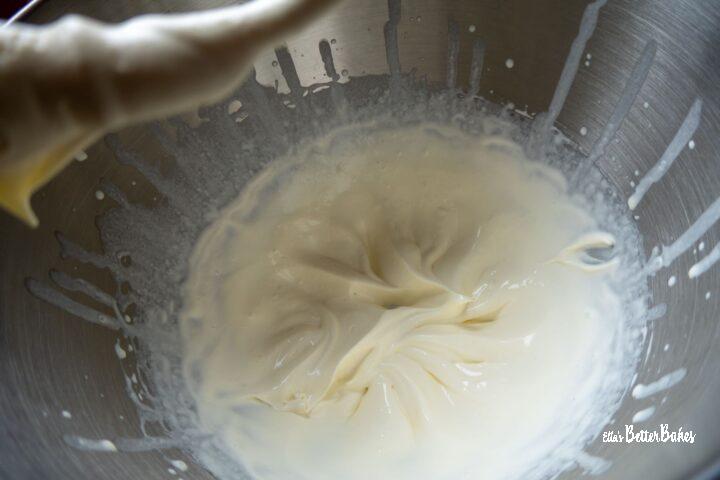
Start whisking your egg whites and white wine vinegar together on a low speed at first for about 20 seconds. Once they start to froth up a bit turn the speed up to a medium-high setting. Continue to whisk until the whites form soft peaks. It doesn't take long to achieve this, so keep checking every 10 seconds or so. It will depend on the freshness of the egg whites and your mixer speeds as to how long this takes to achieve. Be aware, if you overmix the egg whites they will implode into a dismal clumpy mess and all will be ruined.
Next, turn the speed to medium-low and start to add your golden caster sugar, dessertspoon by dessertspoon. If you want to use white caster sugar instead that's fine. I only use golden because it creates a lovely honey coloured glow. Don't wait in between for the sugar to mix in, you need to steadily add the sugar constantly.
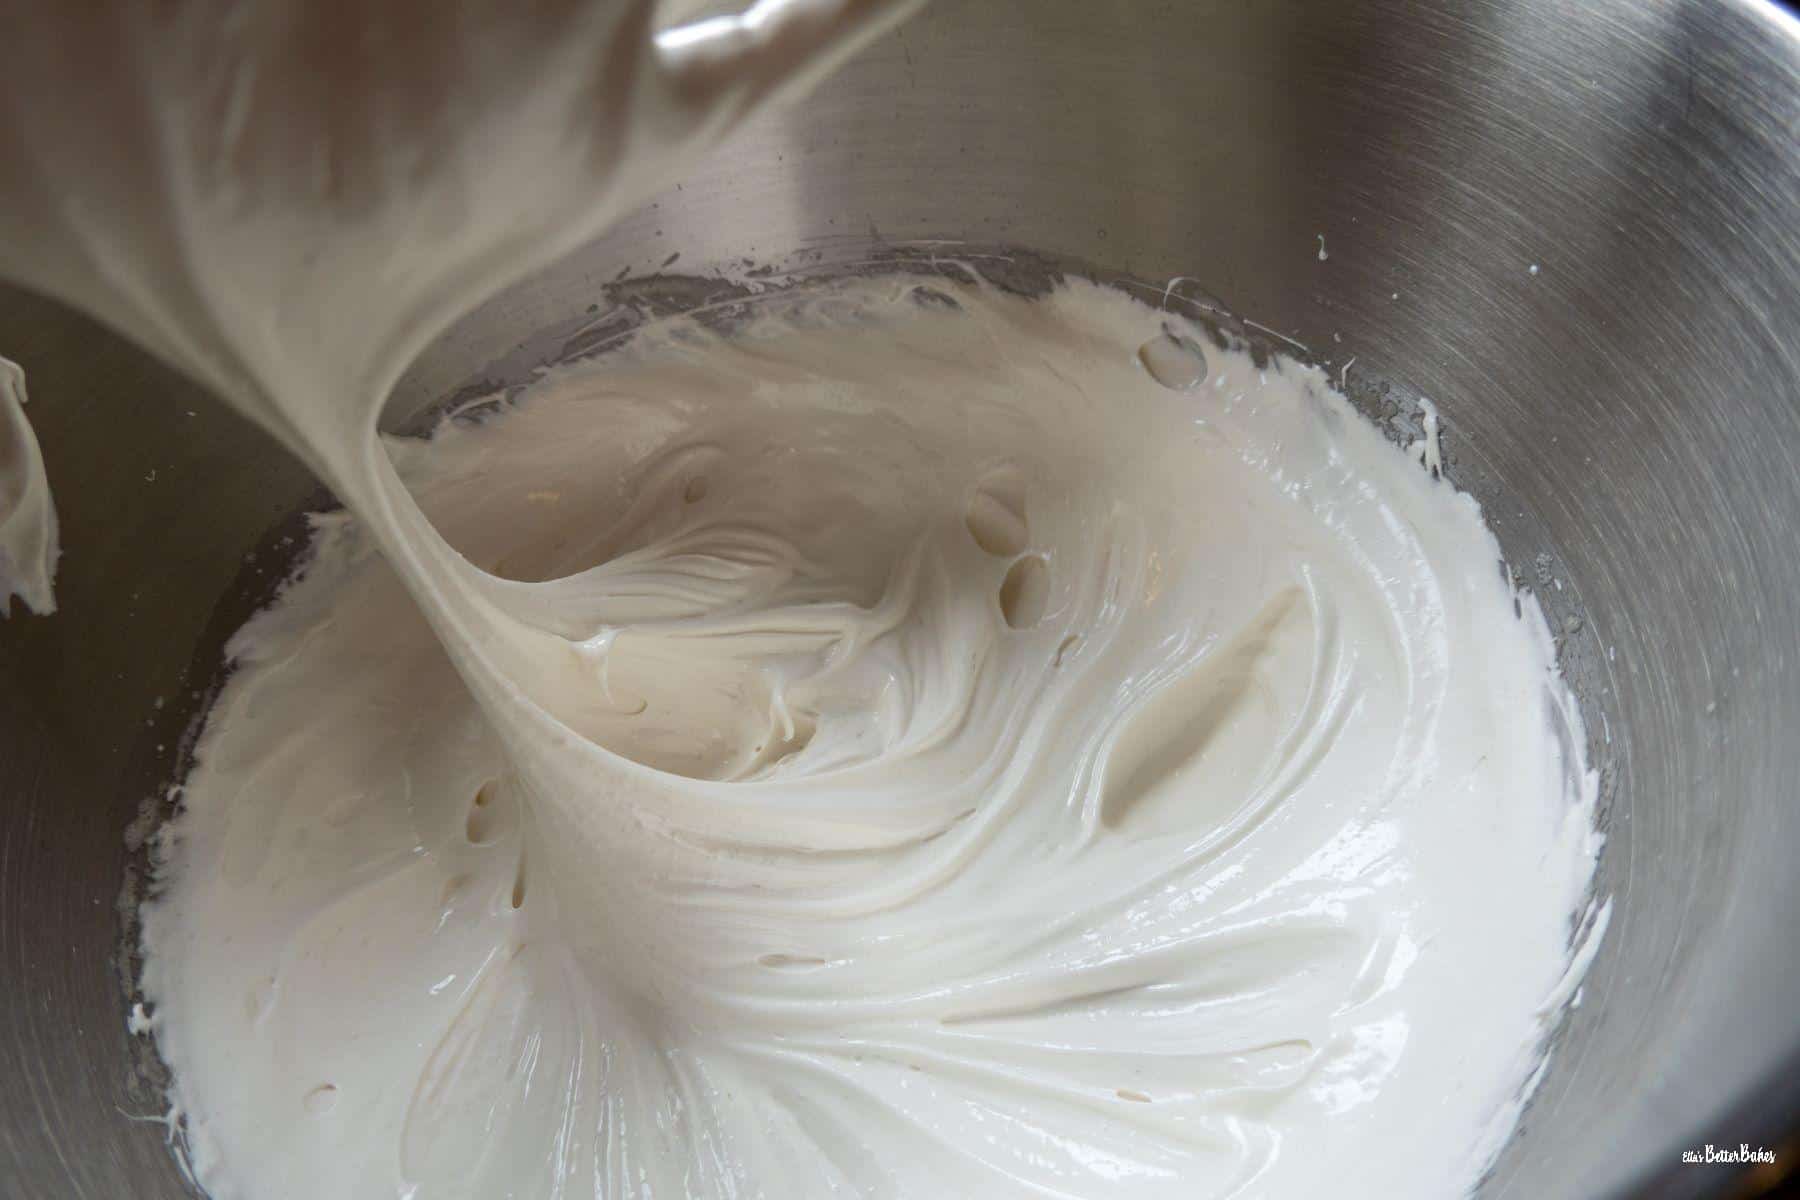
Then turn the mixer up to medium-high and whisk away again. It can take a couple of minutes for the meringue to form into its glossy, white, peaky mountainous spikes. Again, keep checking because if you over whisk it will die on you.
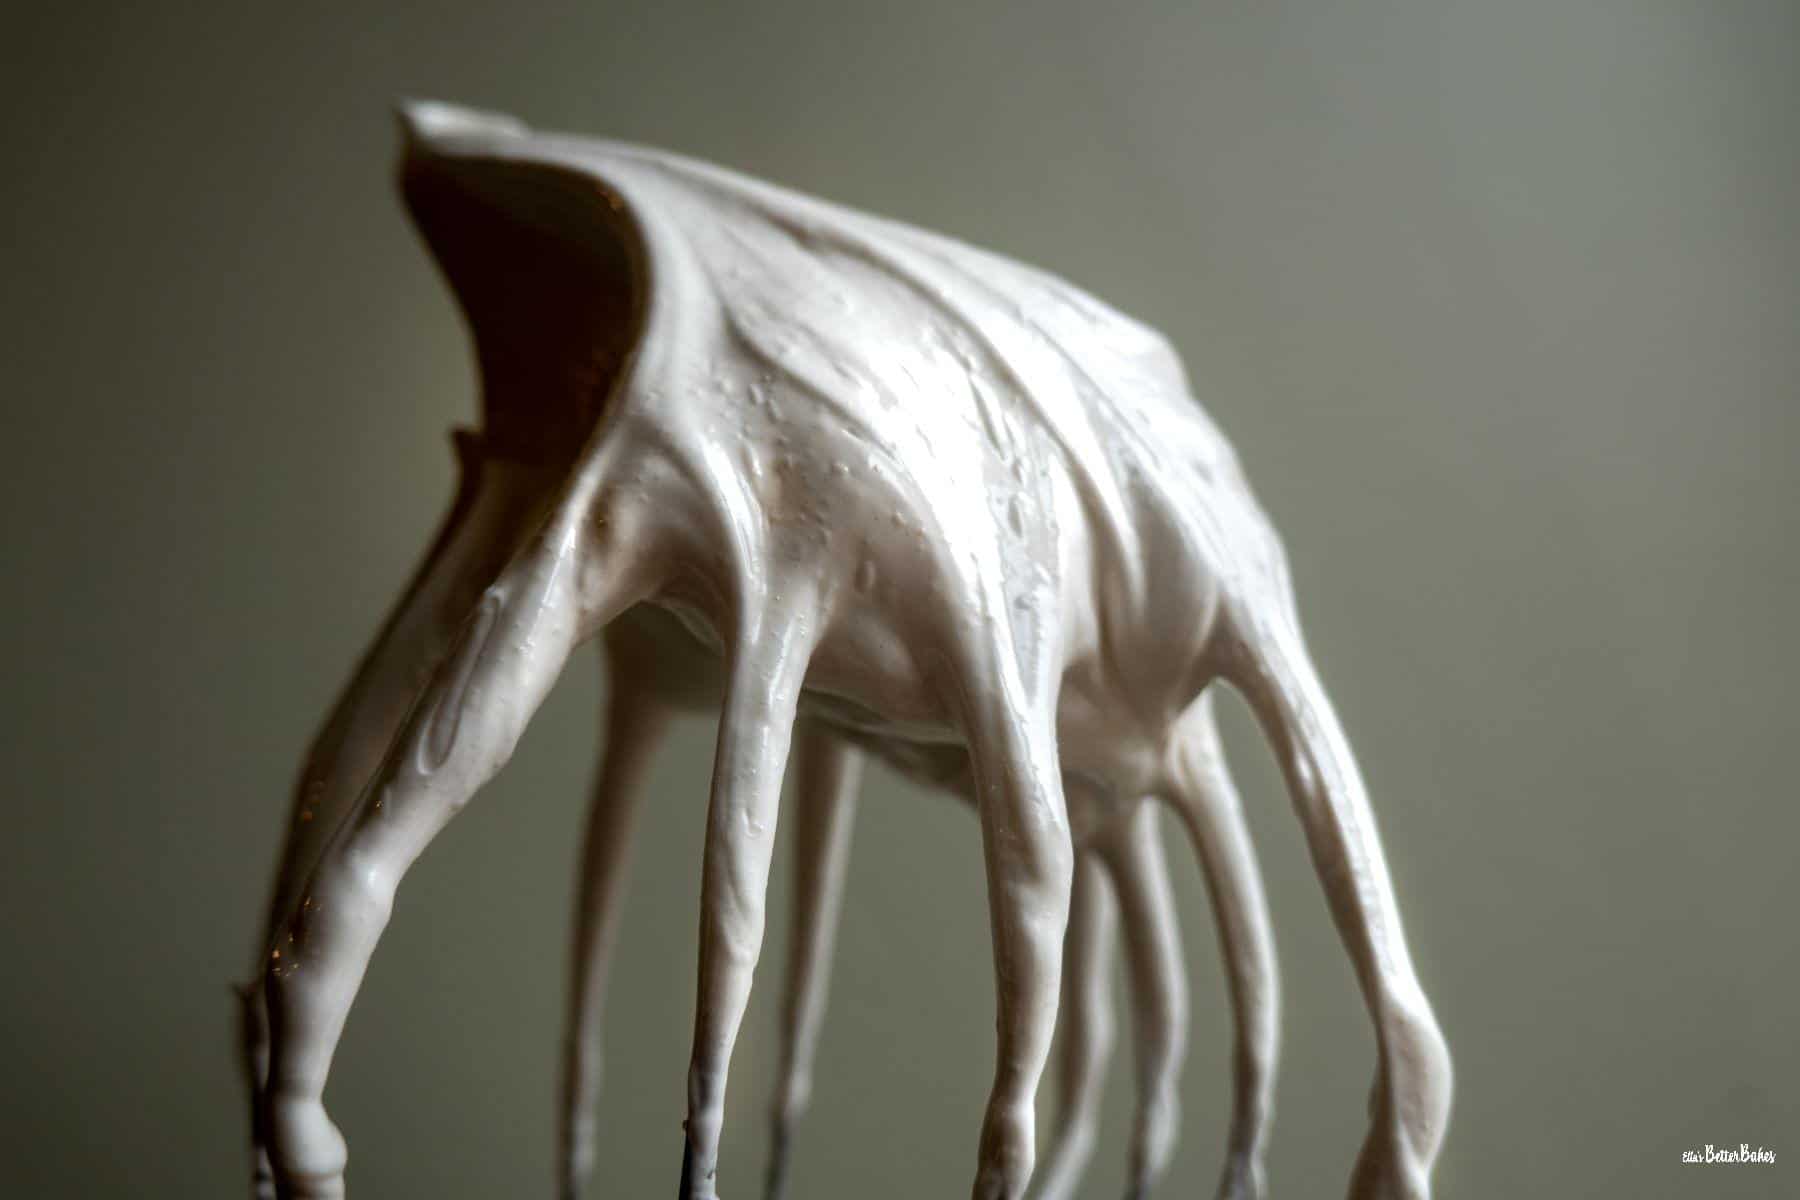
So how do I know when my meringue is whisked to perfection?
The following indicates if your meringue is ready:
- the meringue forms nice stiff peaks;
- if you rub a little meringue between your fingers it should come away in little spikes;
- you can turn the bowl upside down and it stays stuck to the bottom;
- it sticks to the whisk when removed.
Then sprinkle over your cornflour and fold it in gently with a large metal serving spoon, so that the air stays within the meringue. 3-4 folds should do it.
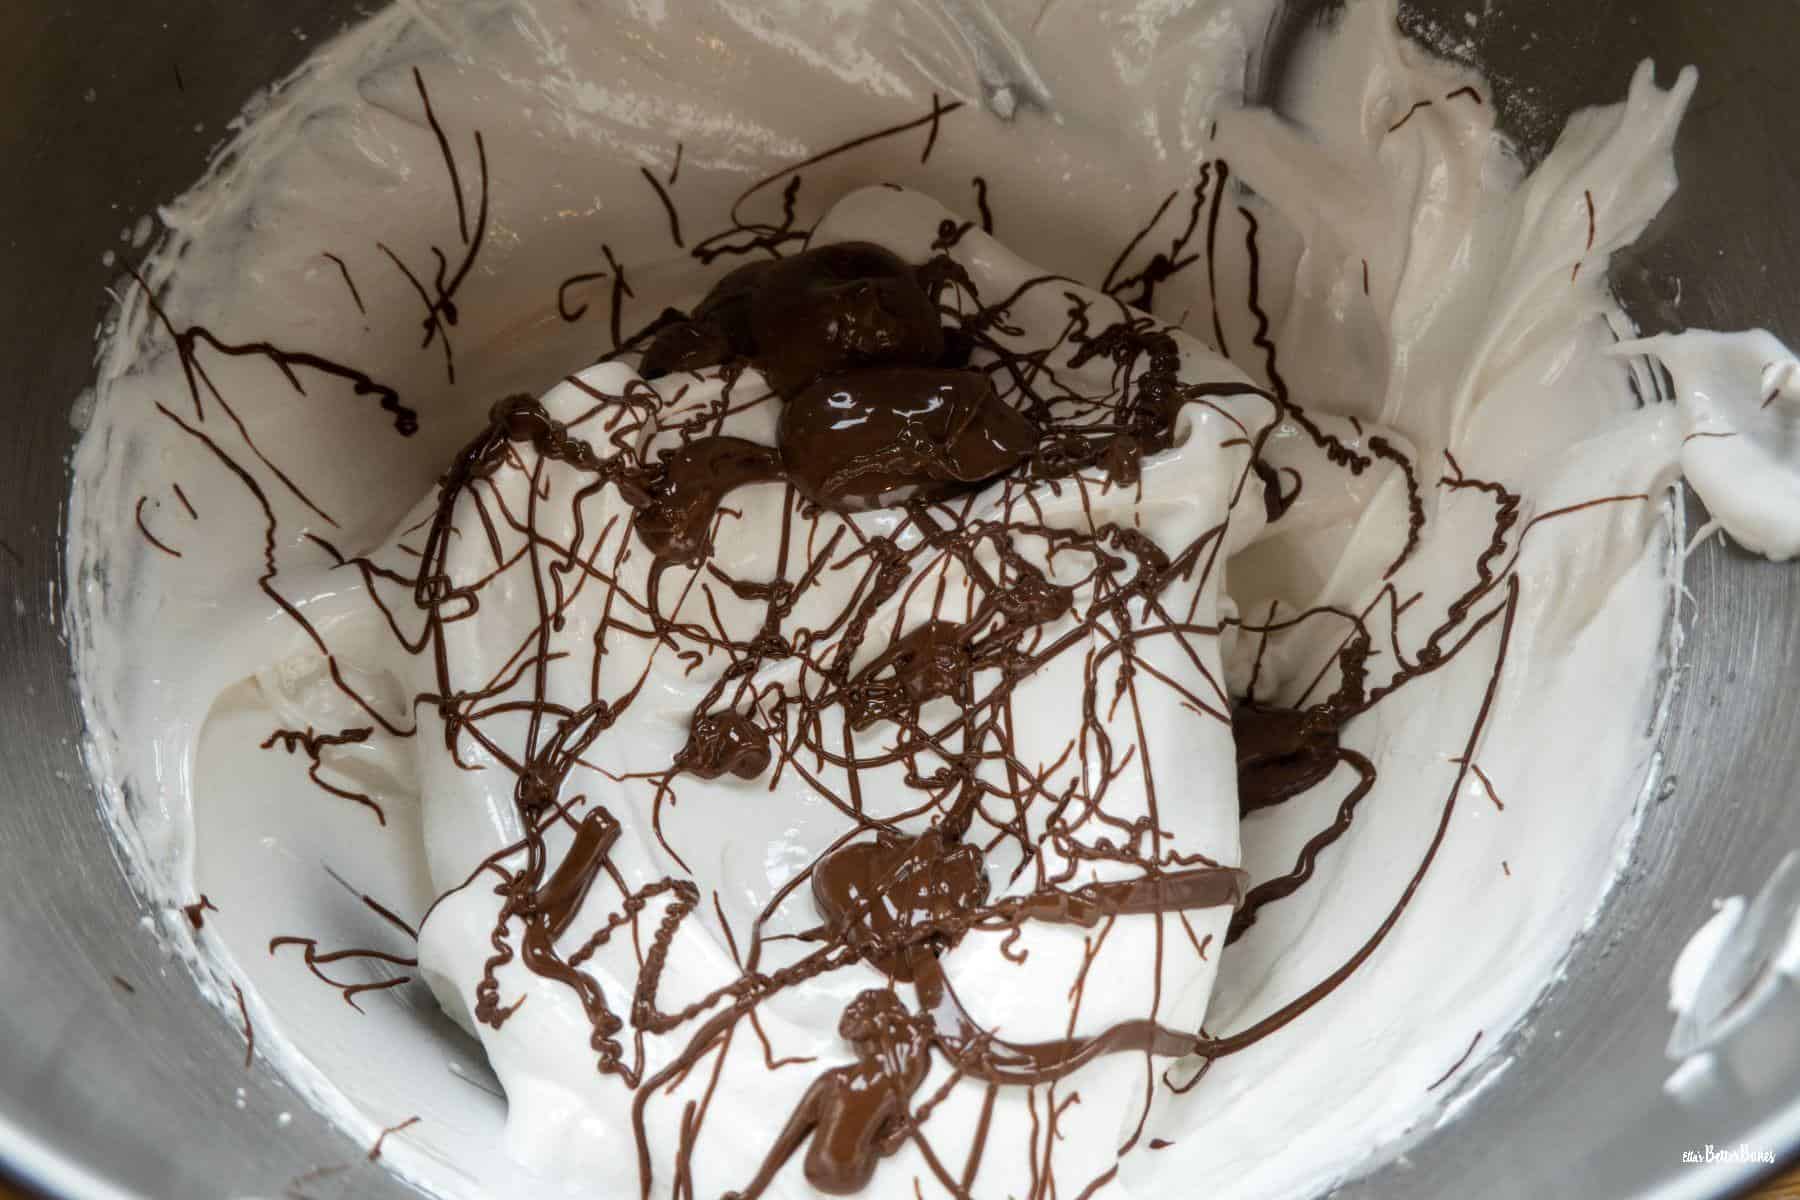
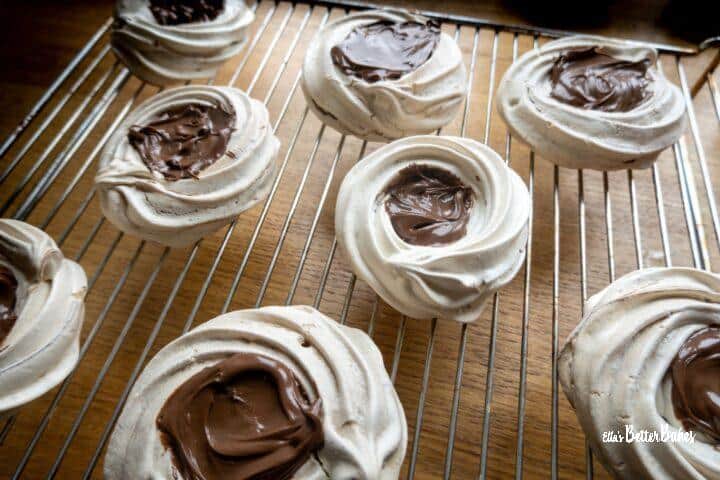
Finally, take your Nutella and soften it slightly in your microwave. I put mine in for 10 seconds. Take a teaspoon, dip it into the Nutella and then hold it high above the meringue letting it slide in to the bowl. Move it from side to side so it leaves a squiggly pattern over the top of the meringue. Don't worry if it drops in globules. The reason we do this rather than mix it in is to avoid mixing out anymore air and thus softening the meringue.
Piping chocolate Nutella meringue nests
Heat your oven to 150°C/130°C Fan/300°F/Gas mark 2.
Take two sheets of greaseproof paper that fit the base of your baking sheets and a cookie cutter that measures 8cm in width, or similar (I use the top of a pint glass). Draw 4 circles onto each sheet, making sure they are spaced apart by 2 centimetres, as the meringue will expand a little when baking. Place the greaseproof sheets face down onto the baking sheets and affix in the corners with a little dab of meringue.
Top Tips
So, to pipe the meringue nests, you have several options to choose from:
- you can place 8 blobs of meringue on the baking sheet in the middle of your circles. Then gently spread from the centre with the back of a metal spoon to create a dip in the middle for the filling;
- you can chop off the corner of a plastic food bag and just pipe through the hole with or without using a piping nozzle;
- or, if you want to create a nest effect use a large star nozzle (I use a Wilton 1M) and pop it into a piping bag. Then take a pint glass, pop the piping bag in the glass and fold the edges over the sides of the glass. This makes it far easier to fill, because, believe me, it will be a darned messy affair otherwise.
Using a dessertspoon take a spoonful of the meringue from the bottom of the bowl and pull it up through the Nutella, so a marble effect is created. Then let it drop it into the piping back. Do this for about half of the meringue. Remove the piping back and squeeze the meringue down to the tip. Hold the bag just in the centre to pipe.
The technique...
To pipe the meringue nests start by holding the nozzle just above the centre of the greaseproof paper circle. Squeeze very gently to add a small blob to the centre. Then pipe in a swirl around. Continue your swirl to create a second layer and a nest effect. This video will help you.
Then once you're all piped out, repeat with the rest of the meringue.
When your nests are ready, turn the oven down to 140°C/120°C Fan/285°F/Gas Mark 1 and pop into the oven. Leave to bake for 25 minutes and then turn the oven off leaving the meringues inside to dry out. Your meringues are ready when they easily remove from the greaseproof paper without sticking, and they are hard on the base.
Once the meringues are fully cooled fill the centre with a teaspoon of Nutella. Then whip up you double (heavy) cream and pop as much as you fancy on top. Add your mini eggs and, using a zester, grate over some milk chocolate.
Then try not to eat them all in one go, they totally just melt in the mouth. Happy Easter lovely people bake, relax and enjoy! Oh and please do check out my other decadent deserts such as Sunken chocolate cake with amaretti cream if you want to impress you loved ones even more!
Linked Recipes
If you love meringue you might like to try...
📖 Recipe

Chocolate Nutella meringue nests
Here's what you'll need...
- stand mixer or hand mixer with whisk attachment fitted
- Large metal spoon
- 2 x large baking sheets
Ingredients you'll need...
Chocolate meringue nests
- 3 large egg whites
- 175 g golden caster sugar
- ½ teaspoon white wine vinegar
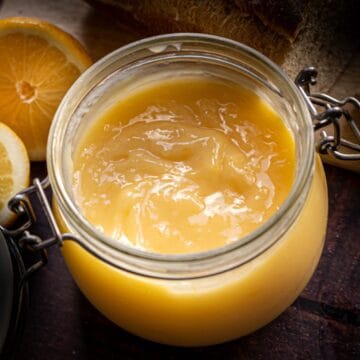
- 2 tablespoon Nutella
Nutella filling
- 8 heaped tsp Nutella
- 300 ml double cream heavy cream
Topping
- 24 mini eggs
- milk chocolate shavings or strands
Here's what we do...
Chocolate meringue nests
- Cut two pieces of greaseproof paper large enough to cover the base of your baking sheets.
- Draw circles of 8cm onto the greaseproof paper, leaving a gap of a minimum of 2 cm in between, place on the baking sheet drawn side down.
- Heat your oven to 140°C/120°C Fan/300°F/Gas mark 2, making sure the oven racks are set one in the centre and one below.
- Fit your stand mixer with the whisk attachment.
- Ensure your mixing bowl is absolutely clean, any grease on the surface will prevent your eggs from whisking properly. Wiping it around with some extra white wine vinegar can remove any hidden grease.
- Add your egg whites and white wine vinegar to your bowl and whisk slowly until frothy.
- Turn up the speed to medium-high and whisk until the egg whites form soft frothy peaks
- Turn your mixer down to a low-medium speed and add dessert spoonful's of sugar steadily, one after another, until all of your sugar has been added.
- Turn your mixer back up to a medium-high speed and whisk for about 2 minutes, or until the meringue forms stiff peaks. If you can turn the bowl upside down and nothing falls out it is done!
- Sprinkle over your cornflour and gently fold in with your large metal spoon, just a few folds should be enough, don't over mix.
- Pop your Nutella in a microwave for 10 seconds to soften.
- Taking a teaspoon dribble over your Nutella across the top of your meringue, don't worry if it falls in globules.
- Take a large star piping nozzle and add it to a piping bag, then place it in a pint glass and fold over half of the piping bag down the outside of the glass, so that you can easily fill half of the piping bag.
- Using a desert spoon, spoon the meringue into the piping bag, pulling it through the Nutella topping to create a swirl effect.
- Starting at the centre of one of your greaseproof paper circles, pipe a swirl of meringue,. When you return to your starting point raise the nozzle so that you swirl across the base layer to create a nest effect.
- Bake for 25 minutes, then turn the oven off completely and leave in the oven to cool - minimum 1 hour.
Nutella filling
- Take a heaped teaspoon full of Nutella and add to the centre of each meringue nest.
- Beat your double cream until it forms soft peaks.
- Add as much cream as you like to the meringue nest.
Topping
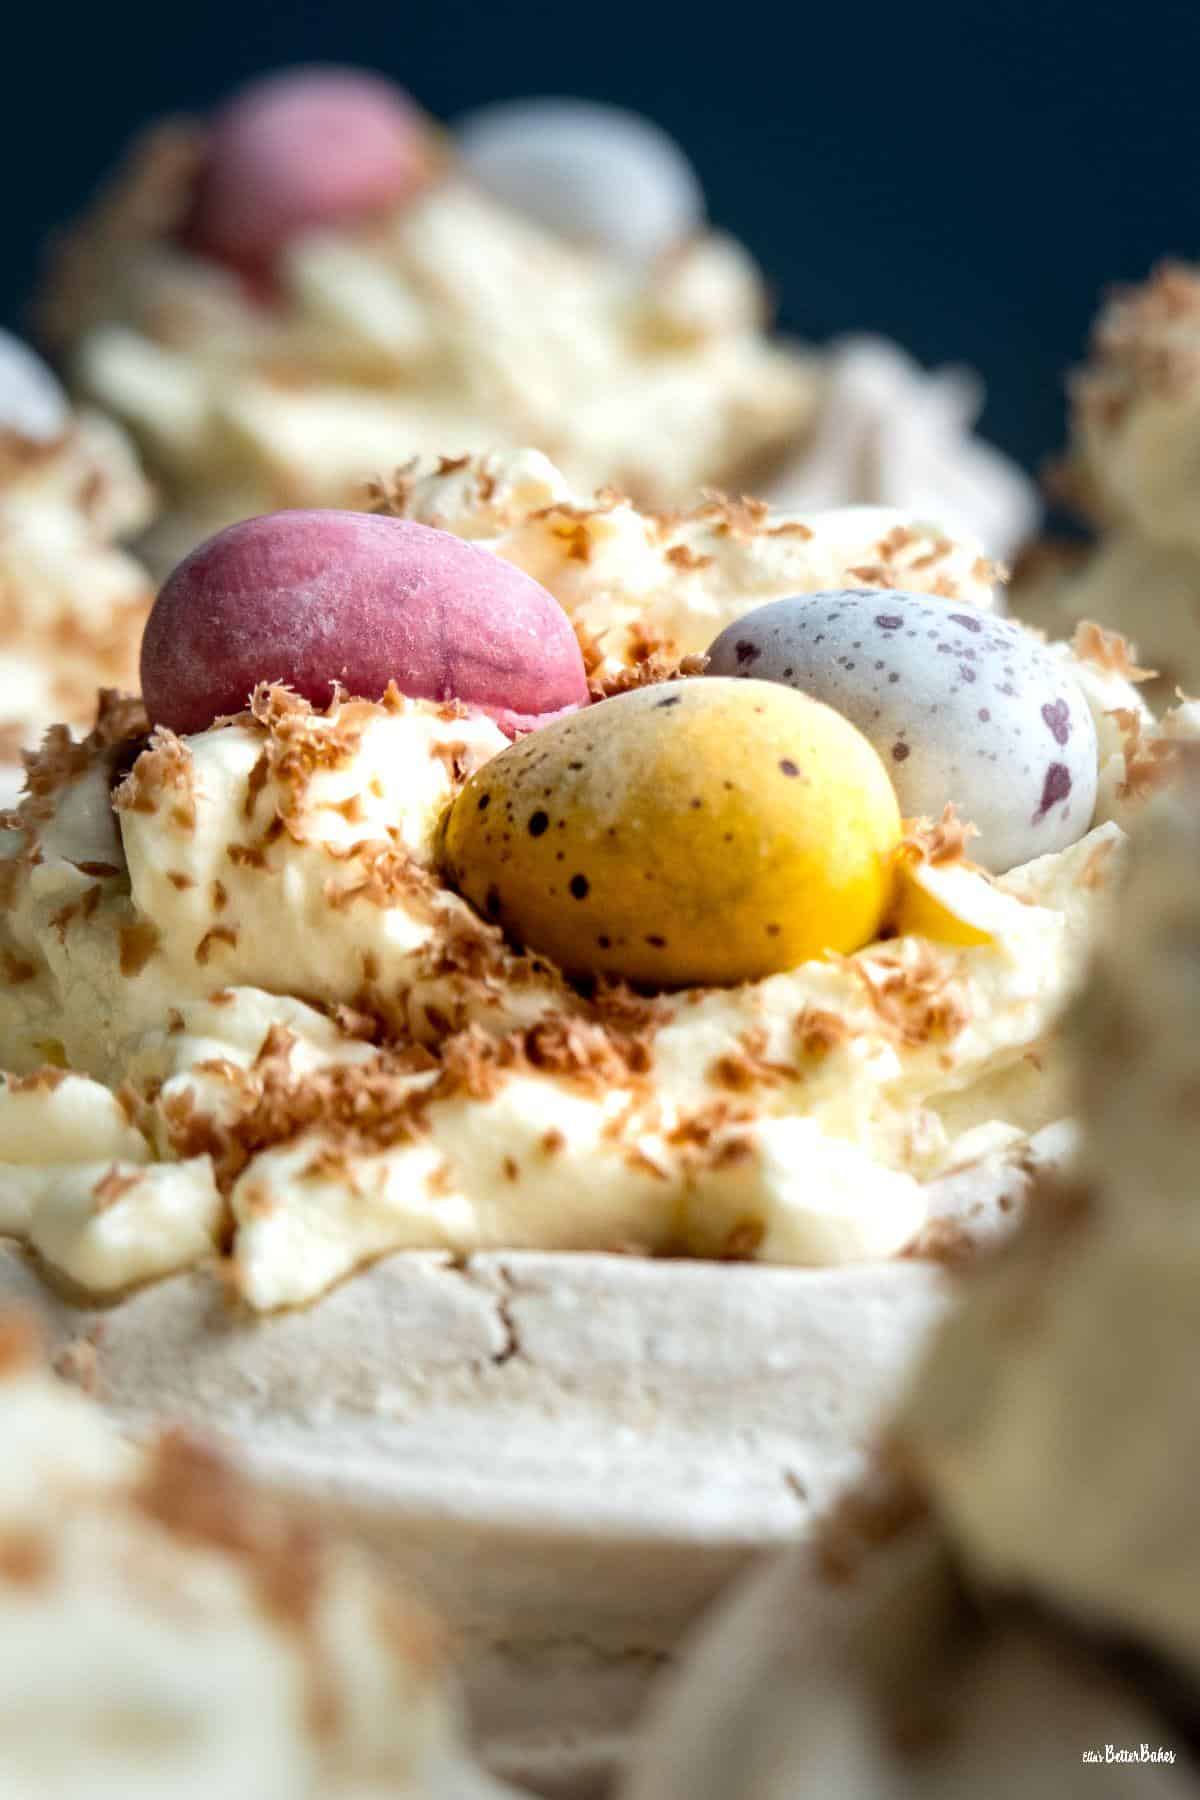
- Top with mini eggs.
- Using a zester, shave over milk chocolate.

Comments
No Comments