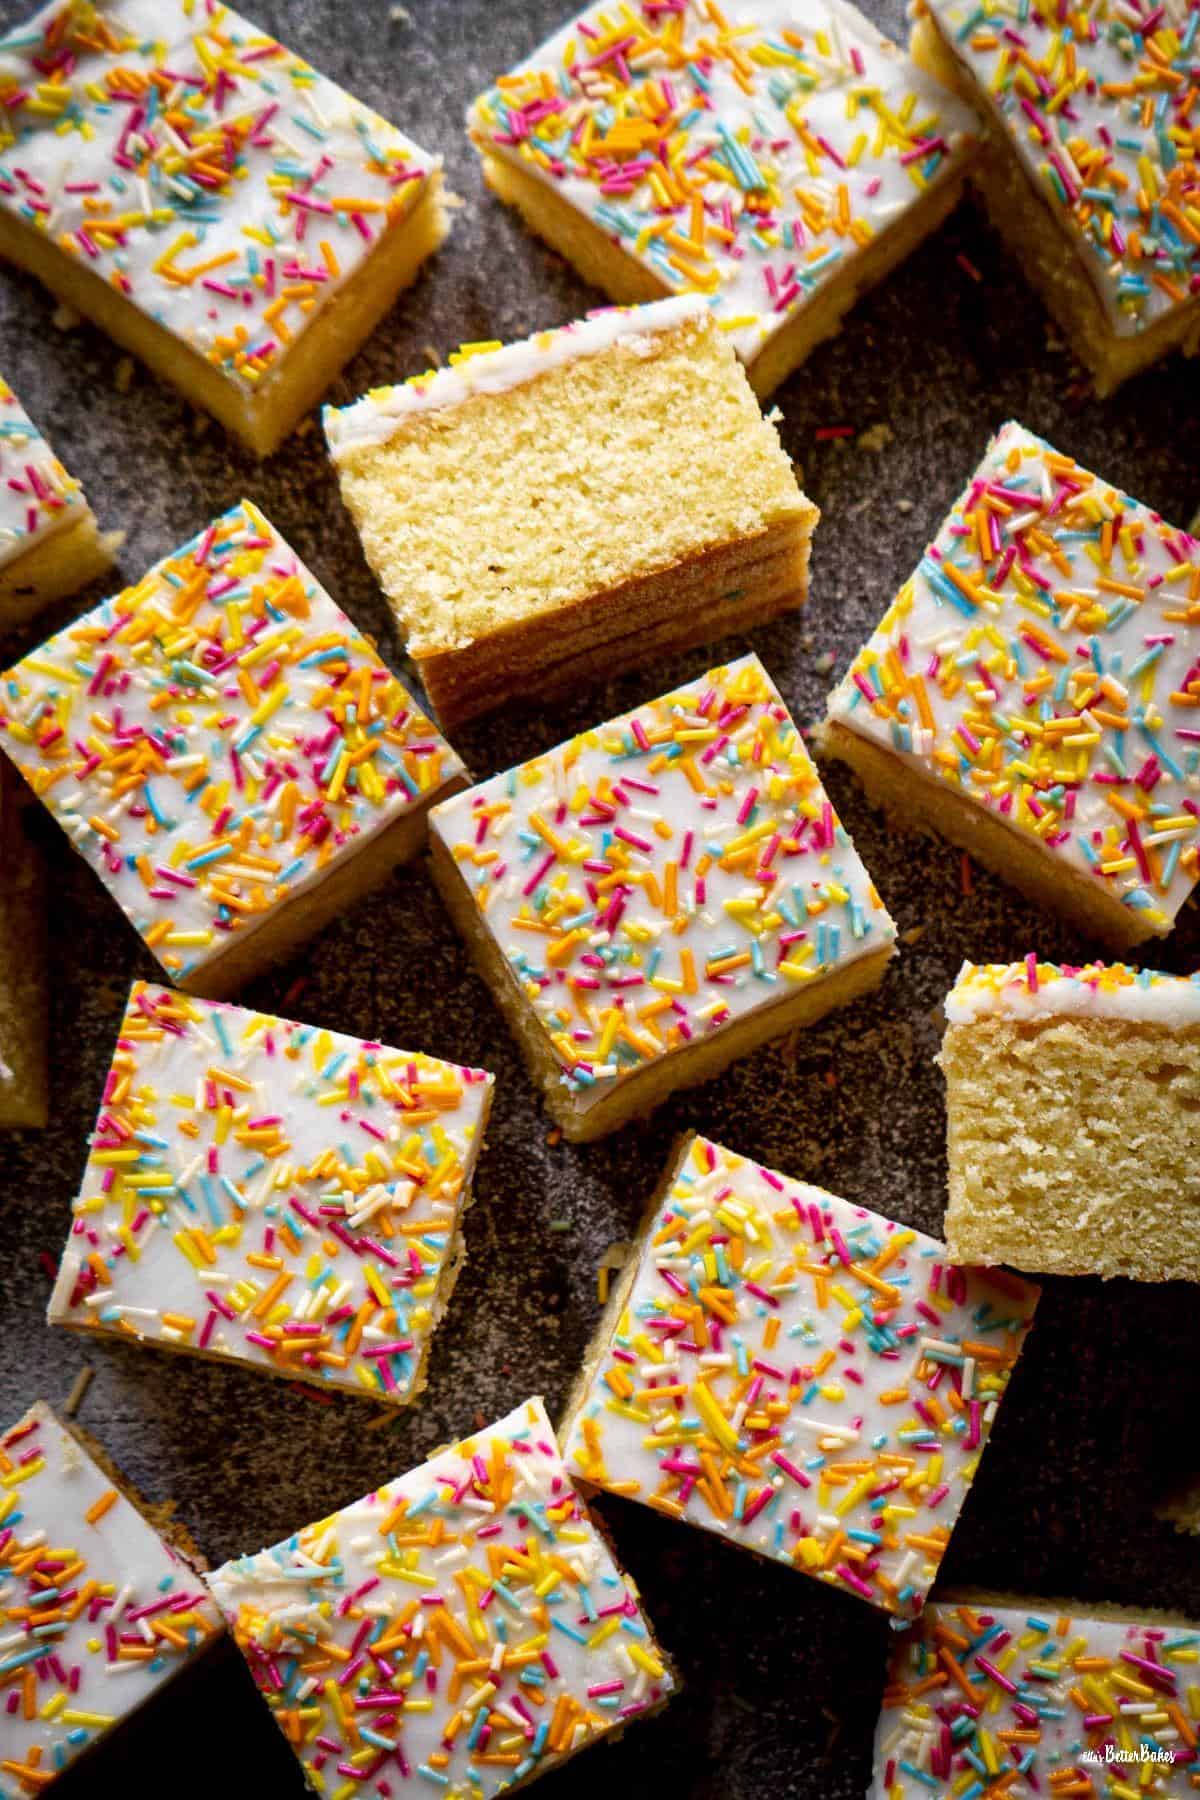
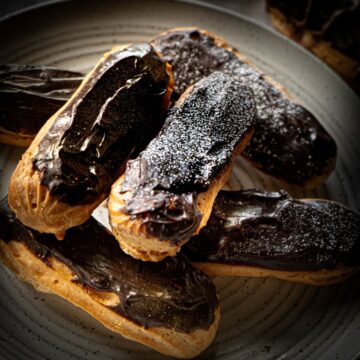
The Best Vanilla Traybake


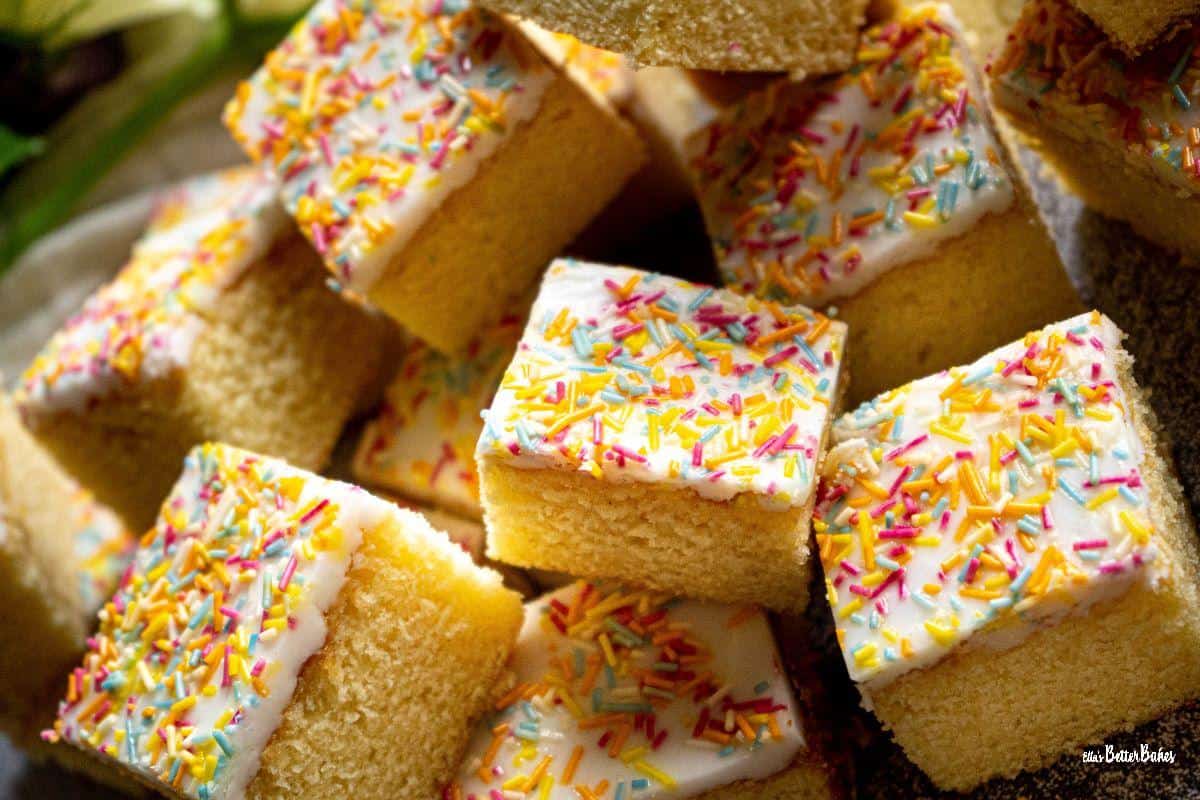
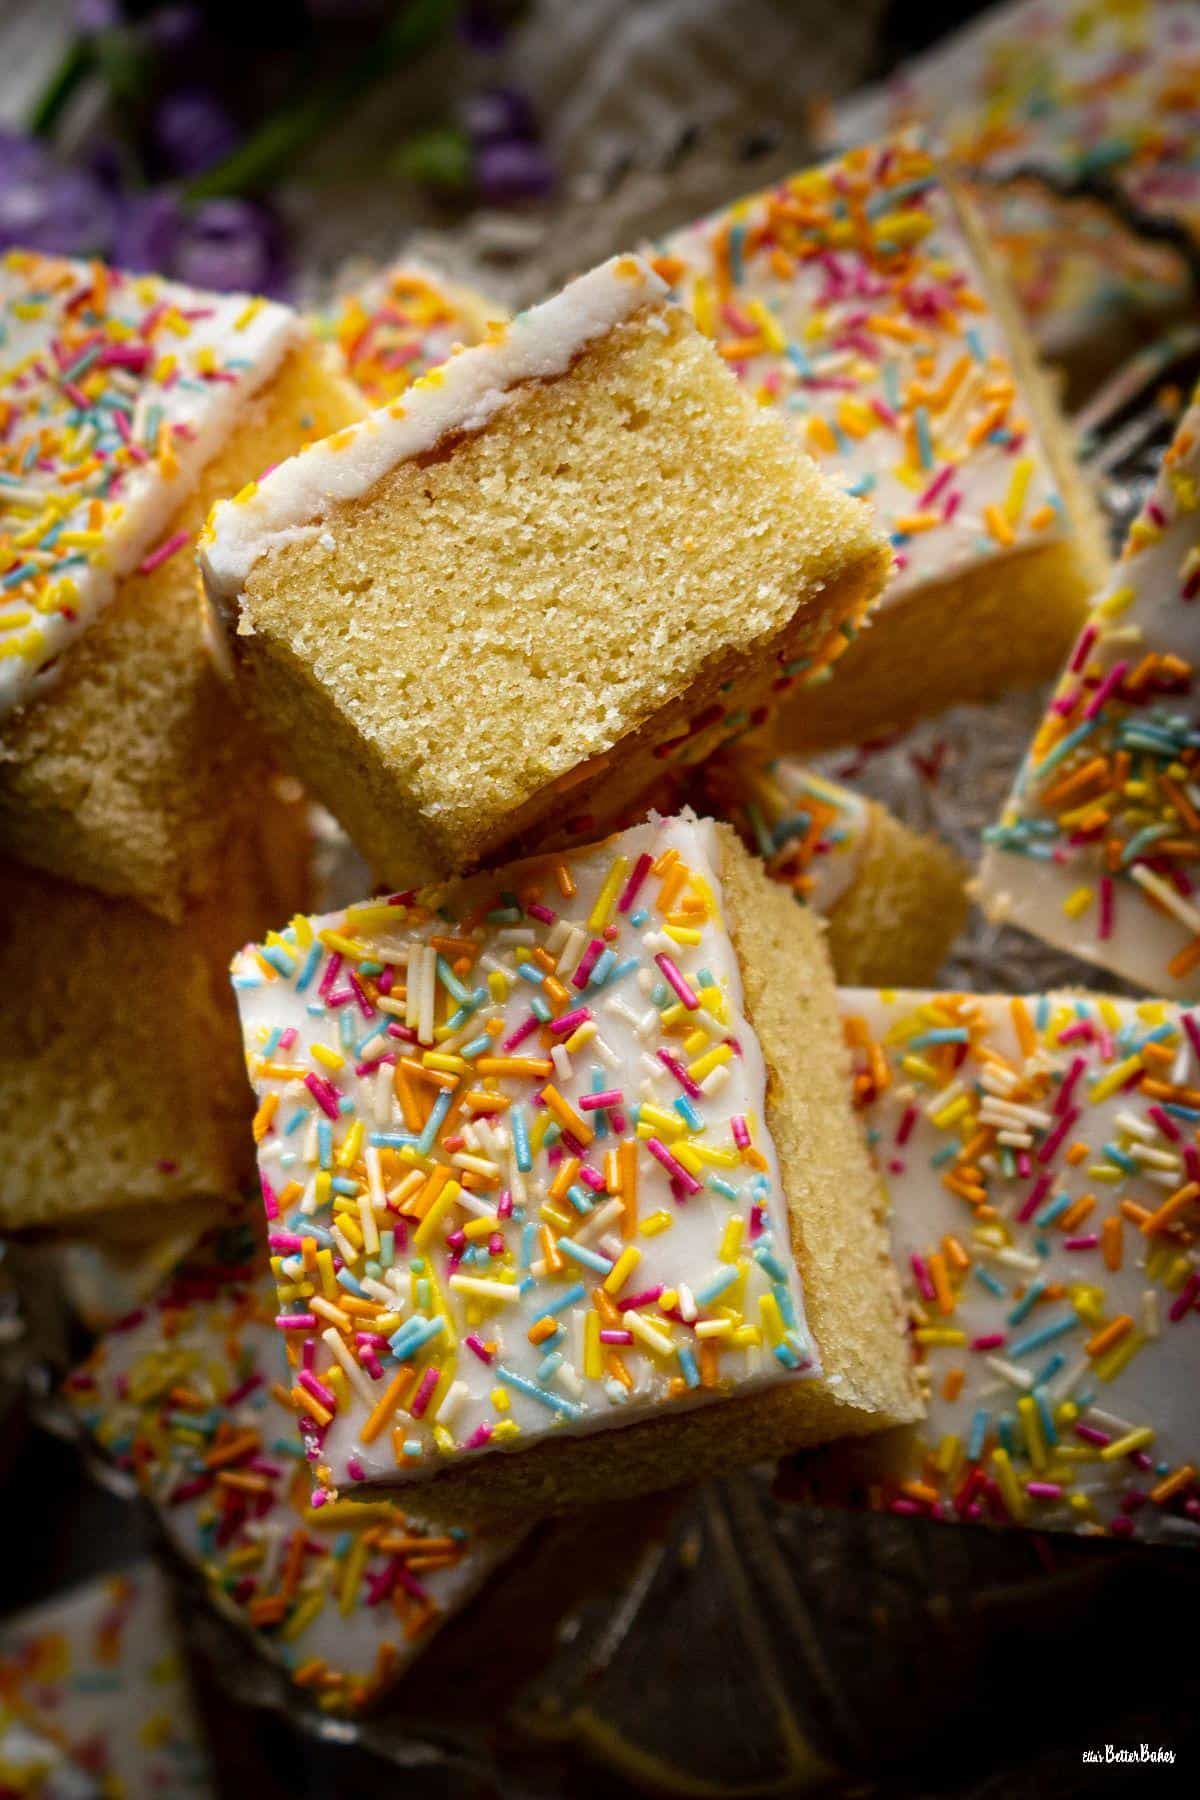
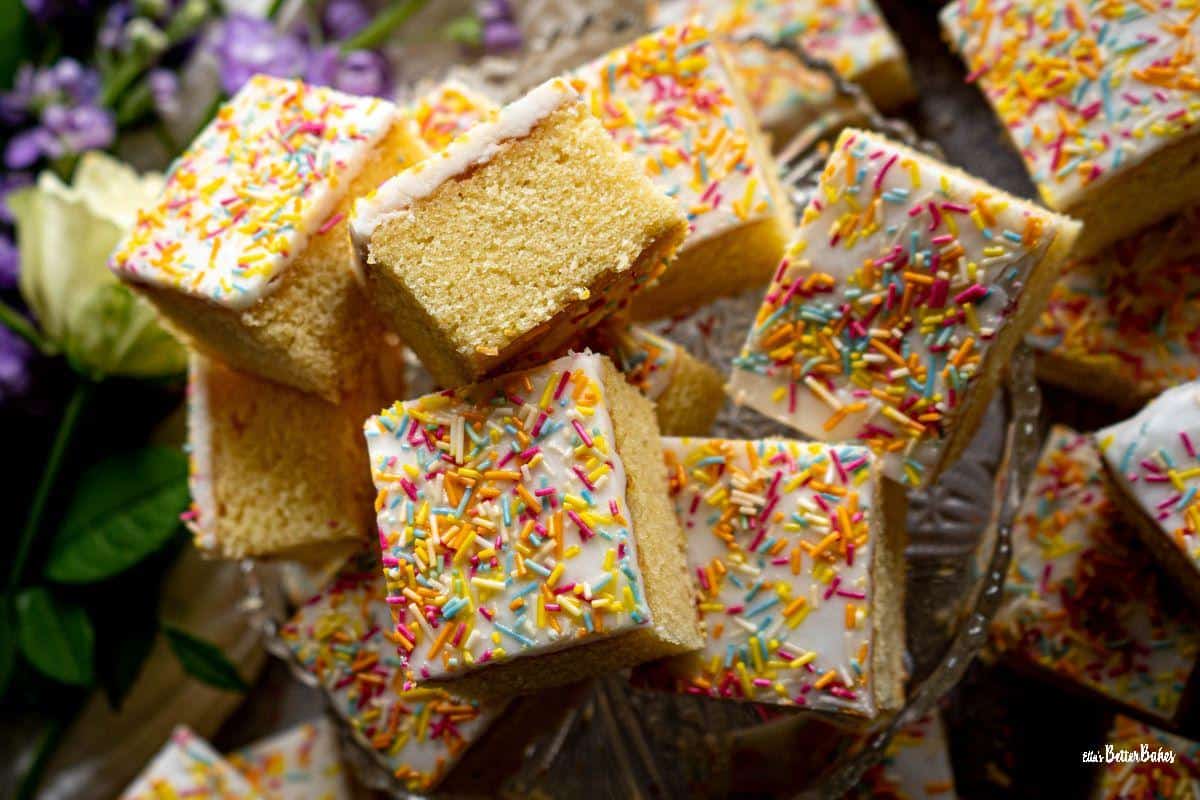
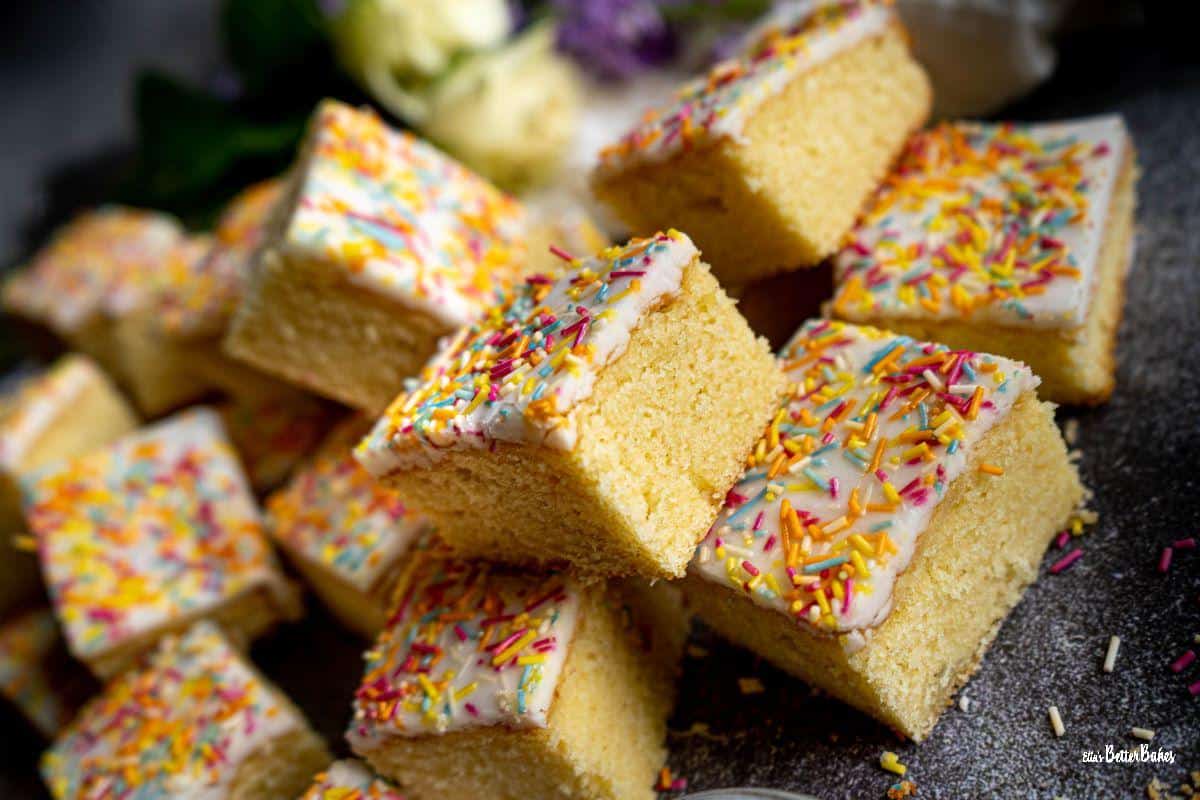
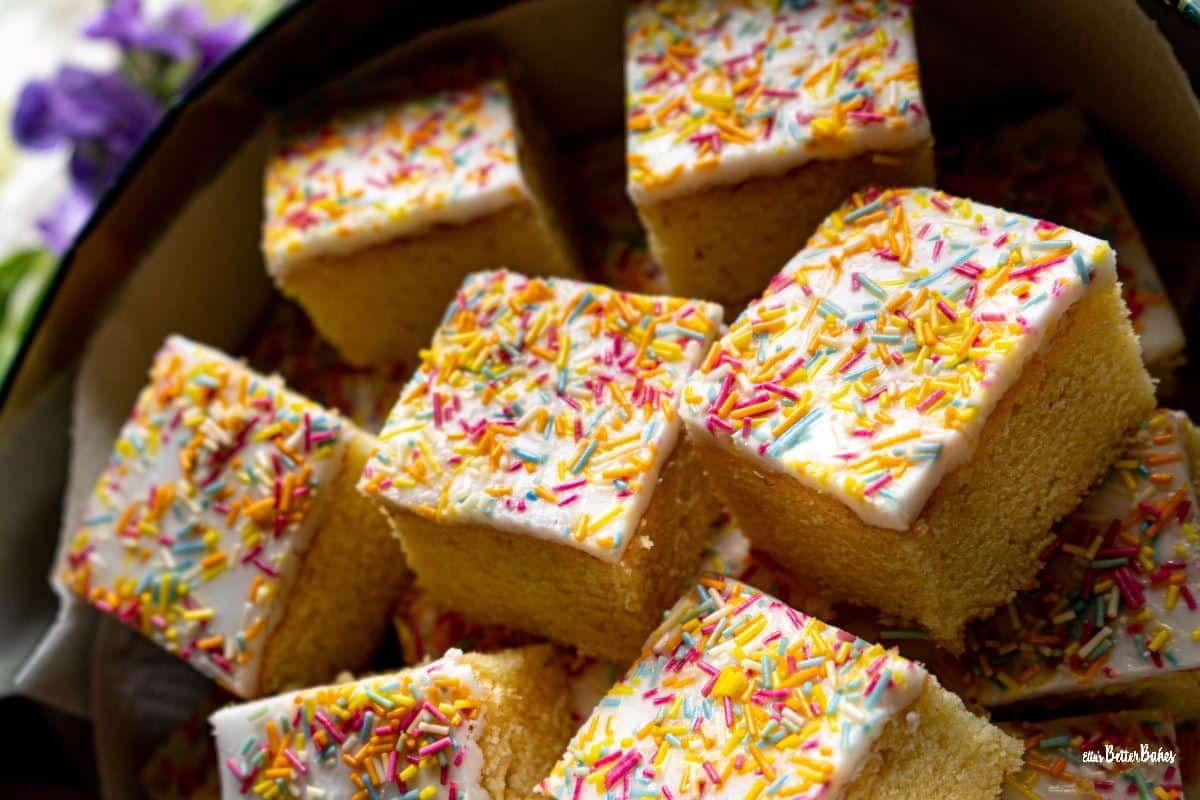
This is truly the very best Vanilla Traybake recipe! It incorporates milk and sour cream to give a really soft cake with a tight crumb that goes so well with the sweet layer of soft icing and coloured sprinkles on top.
As I am about to help host our village summer fete I felt I needed to perfect that traditional fete recipe, Vanilla Traybake.
After all, is there anything more British than a vanilla traybake with a soft layer of icing and a covering of pretty vermicelli??
Not unlike my Coconut and Jam Traybake, this cake uses dairy products to give it a really soft texture with a tight crumb, and the result is a truly beautiful cake.
Not only that, but it's super easy too!
Jump to:
Why make this Vanilla Traybake
Soft and smooth texture✔️
Vanilla flavoured✔️
Perfect for a summer fete✔️
A large cake that lasts well✔️
Great for lunchboxes✔️
Ingredients
See Recipe Card below for Ingredient quantities
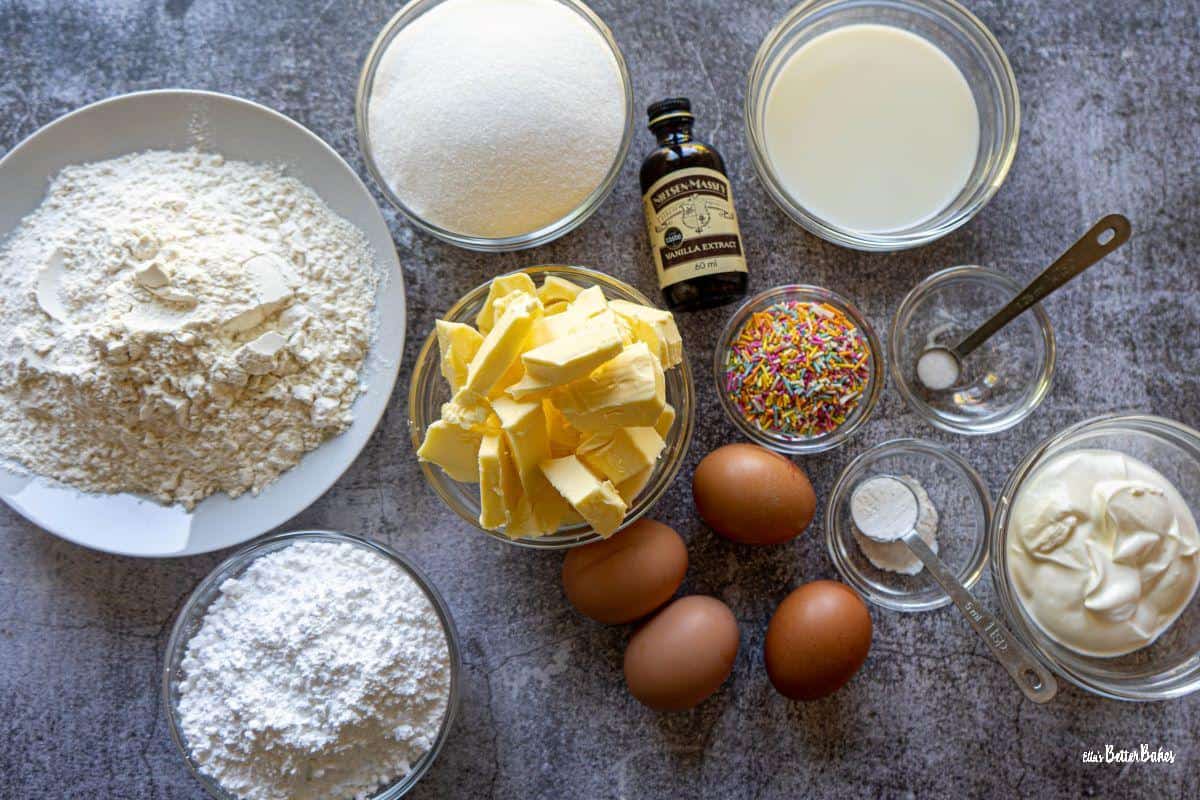
- Plain (all-purpose) flour
- Baking powder
- Fine salt
- Unsalted butter
- Caster (superfine) sugar
- Eggs
- Sour cream
- Milk (full-fat or semi-skimmed)
- Vanilla extract
- Icing (confectioner's) sugar
- Coloured sprinkles
Instructions
See Recipe Card below for exact Vanilla Traybake instructions.
Vanilla Traybake
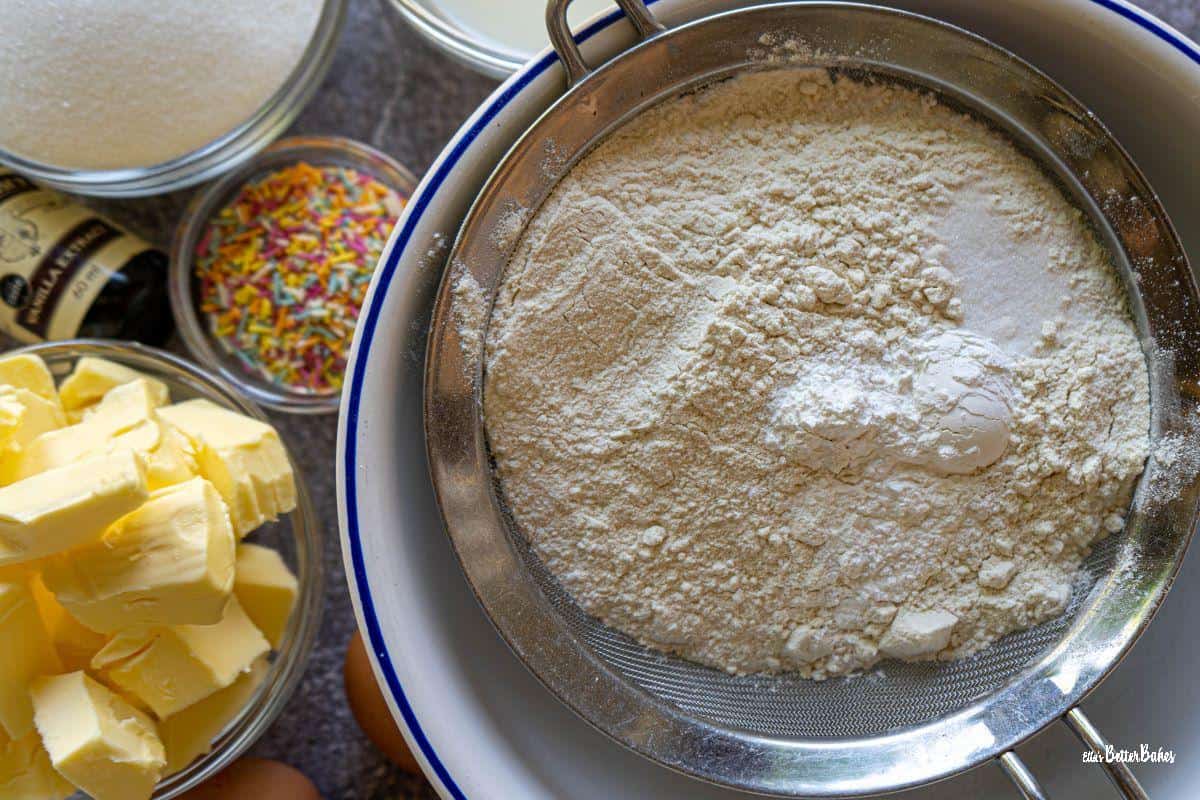
Sift together flour, salt and baking powder,

Cream butter and sugar until soft, creamy and pale yellow.
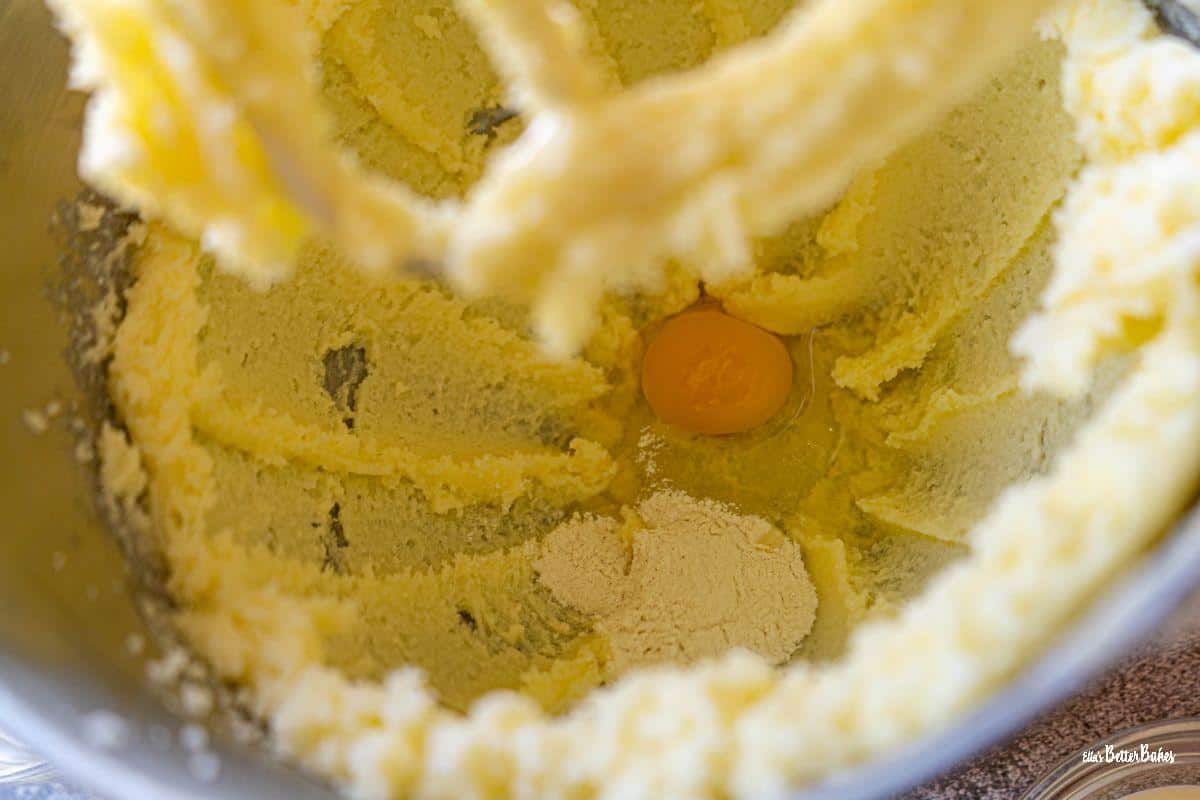
Add an egg and a little sifted flour mixture and beat until incorporated; repeat with the remaining eggs.

Lightly beat together milk, sour cream and vanilla extract.
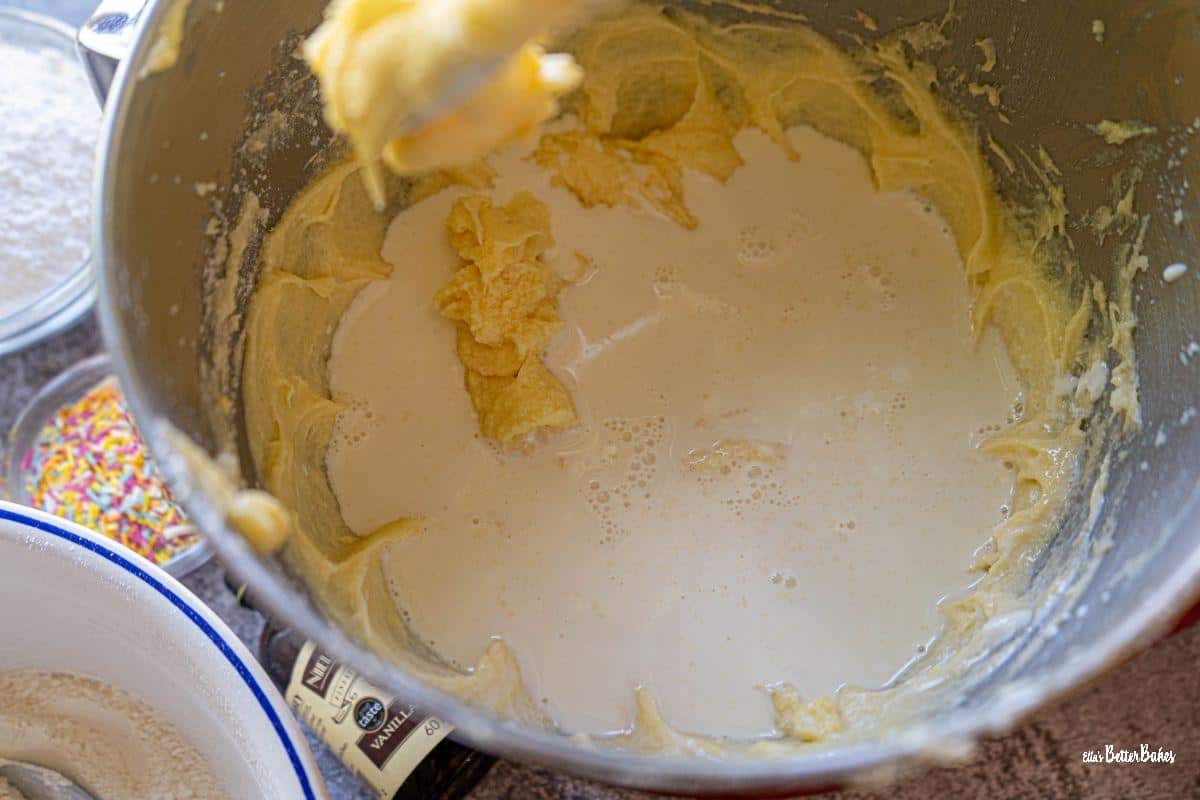
Add to your creamed mixture and beat in, starting on a low setting.

Tip in the rest of the flour mixture and beat in lightly until the Vanilla Traybake cake batter is smooth and silky.
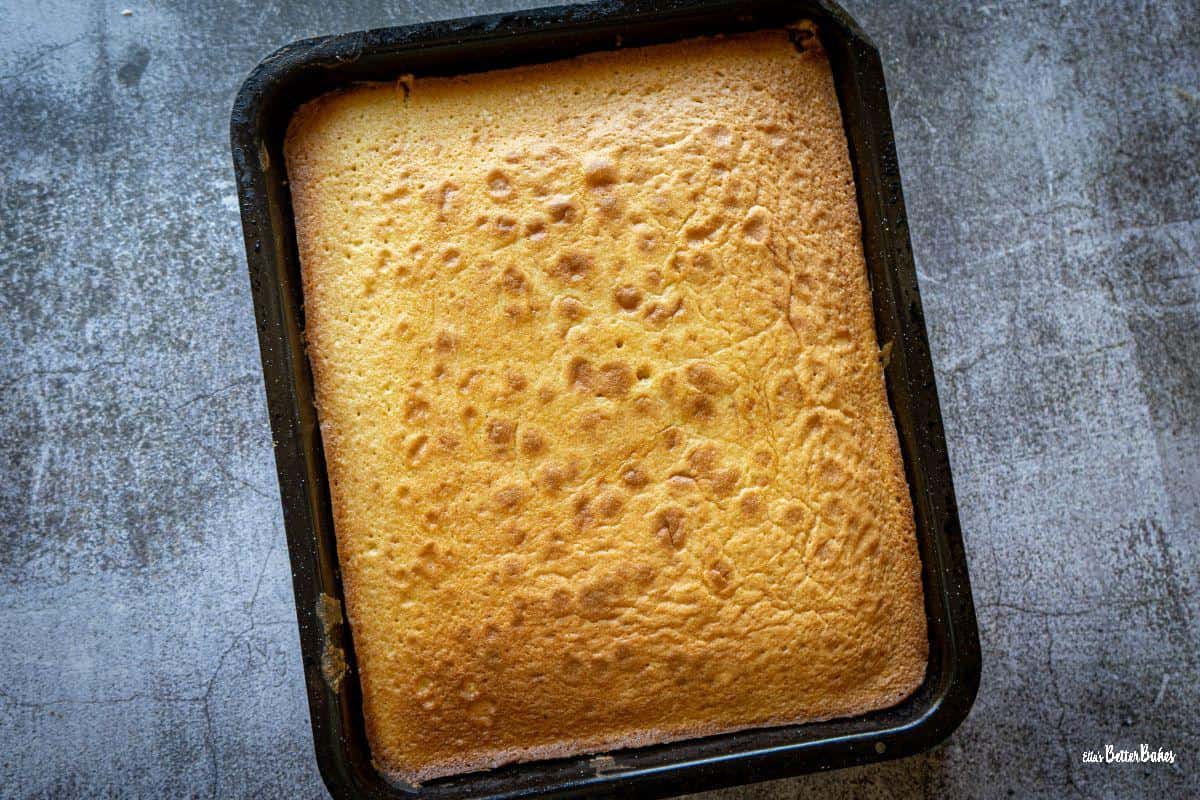
Add to a lined tin and bake for 30 minutes until baked through.
Vanilla Traybake Icing
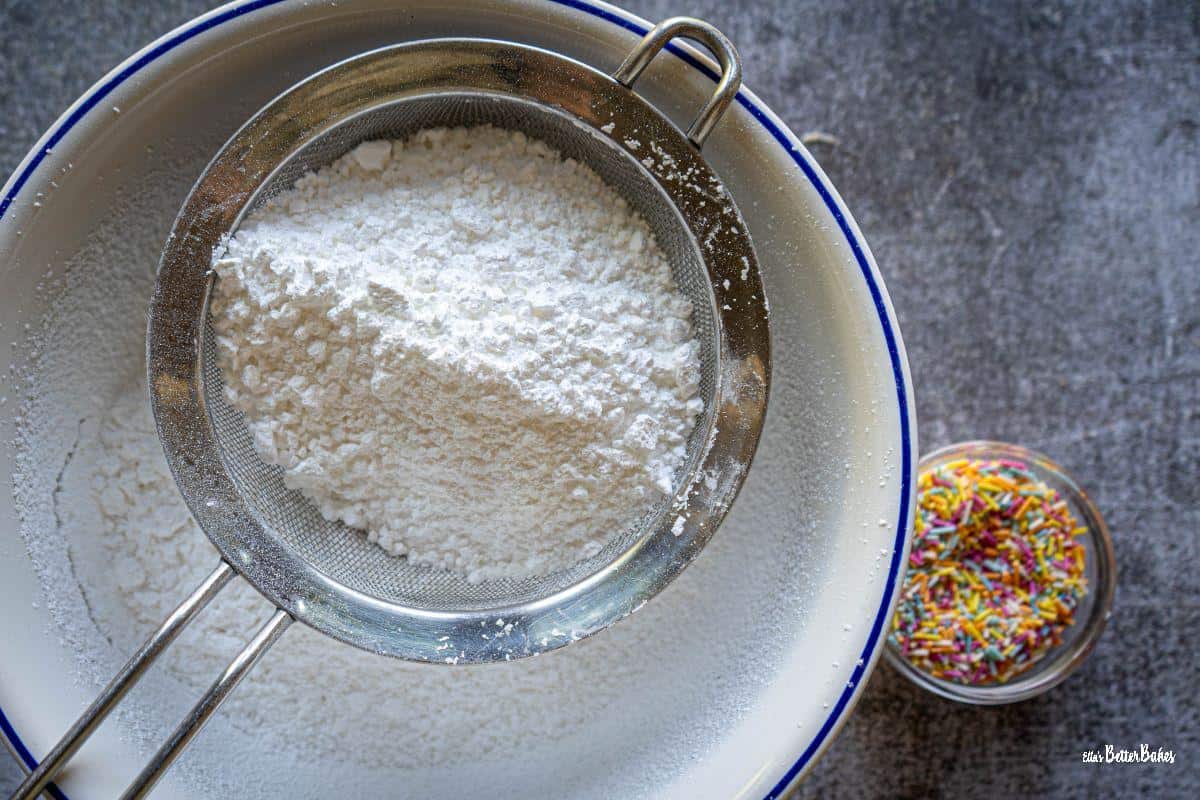
Sift icing (confectioner's) sugar and mix in cold water until smooth.
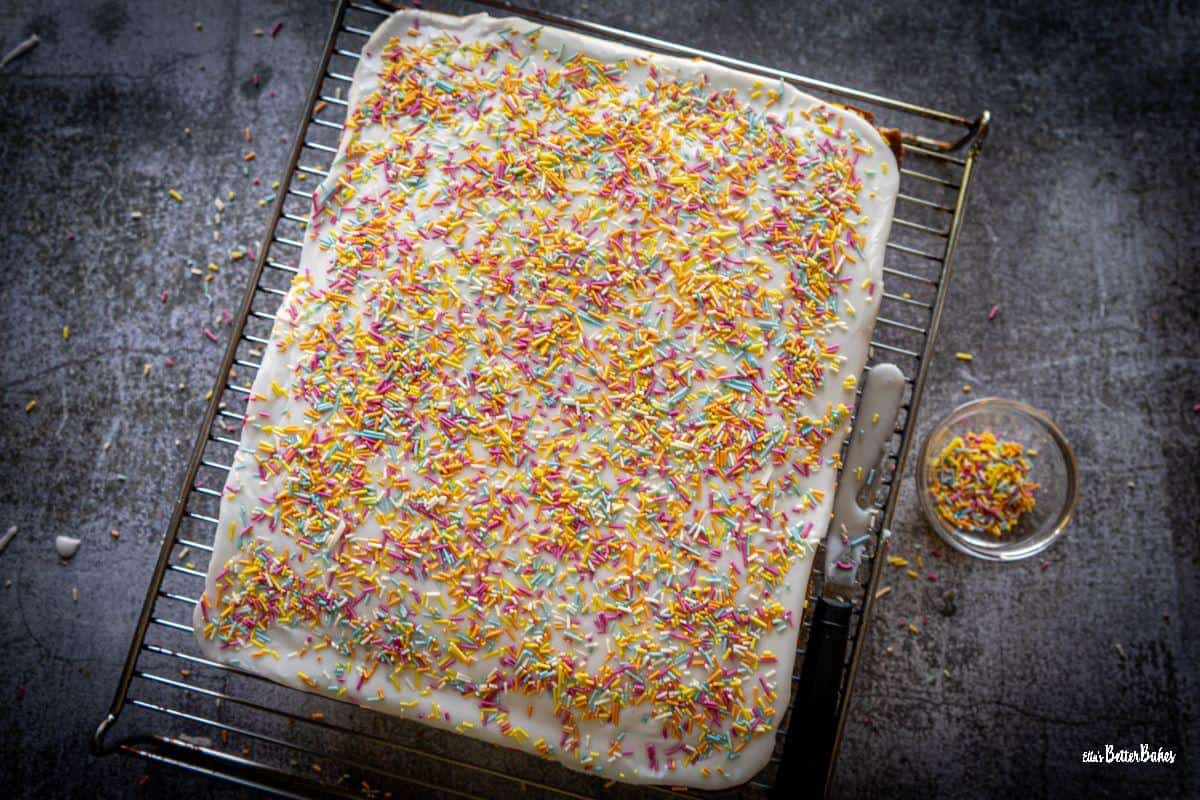
Spread over the Vanilla Traybake, easing the icing towards the edges. Sprinkle over vermicelli.
Substitutions
If you do not have all of the ingredients listed, you can swap them for these suggestions:
- Sour cream - can be replaced with either natural plain yoghurt or natural Greek yoghurt.
- Plain (all-purpose) flour - you can replace it with self-raising flour, but don't add the baking powder as well.
- Sprinkles - can be replaced with any decoration of your fancy!
Variations
Vanilla Traybake can easily be used as the base for a variety of traybakes, such as a beautiful lemony traybake.
Lemon Traybake
Lemon Traybake Cake 🍋
Simply beat in the zest of 2 medium-sized lemons when you beat your butter and sugar, and add a tablespoon of lemon juice instead of vanilla extract
Lemon Traybake Cake Icing
Rather than add water to your icing, add pure lemon juice instead.
Lemon Traybake Decoration
For a citrus twist to your decorations, try swapping out the sprinkles for homemade mixed peel, or simply buy it from a supermarket.
Equipment
You will ideally need a stand or hand mixer for this recipe, with the beaters or paddle attachment fitted. This is mainly because it takes quite a while to beat the butter and sugar together into a smooth and light paste.
Also, you will need a large tin; I use a roasting tin, which also works fine.
Storage
Vanilla Traybake will keep for up to 5 days in an airtight container.
If it is warm in your house, however, you may find that the top becomes a bit sticky and the colour from the sprinkles leaks a little, so you'd be wise to keep the cake refrigerated if possible.
Top tip
What to do if your traybake rises in the centre...
You may find that your cake rises in the centre more than at the sides when baked.
The best way to deal with this is to take a flat-sided implement, such as a potato masher or a fish slice and, as soon as the cake comes out of the oven, gently press the centre down.
More Top Tips...
Always weigh ingredients; baking is a science, and even a bit too much or a little too little can really affect the texture of your final Vanilla Traybake.
Egg, butter, milk and sour cream all need to be at room temperature, this is because they amalgamate far better and give your cake the right structure. At normal room temperature, 30 minutes is usually long enough for them to warm up.
FAQ
Sour cream actually loses its flavour when baked and gives a cake a really smooth, soft texture. This works particularly well in plain sponge cakes, which can often otherwise be quite dry.
Related
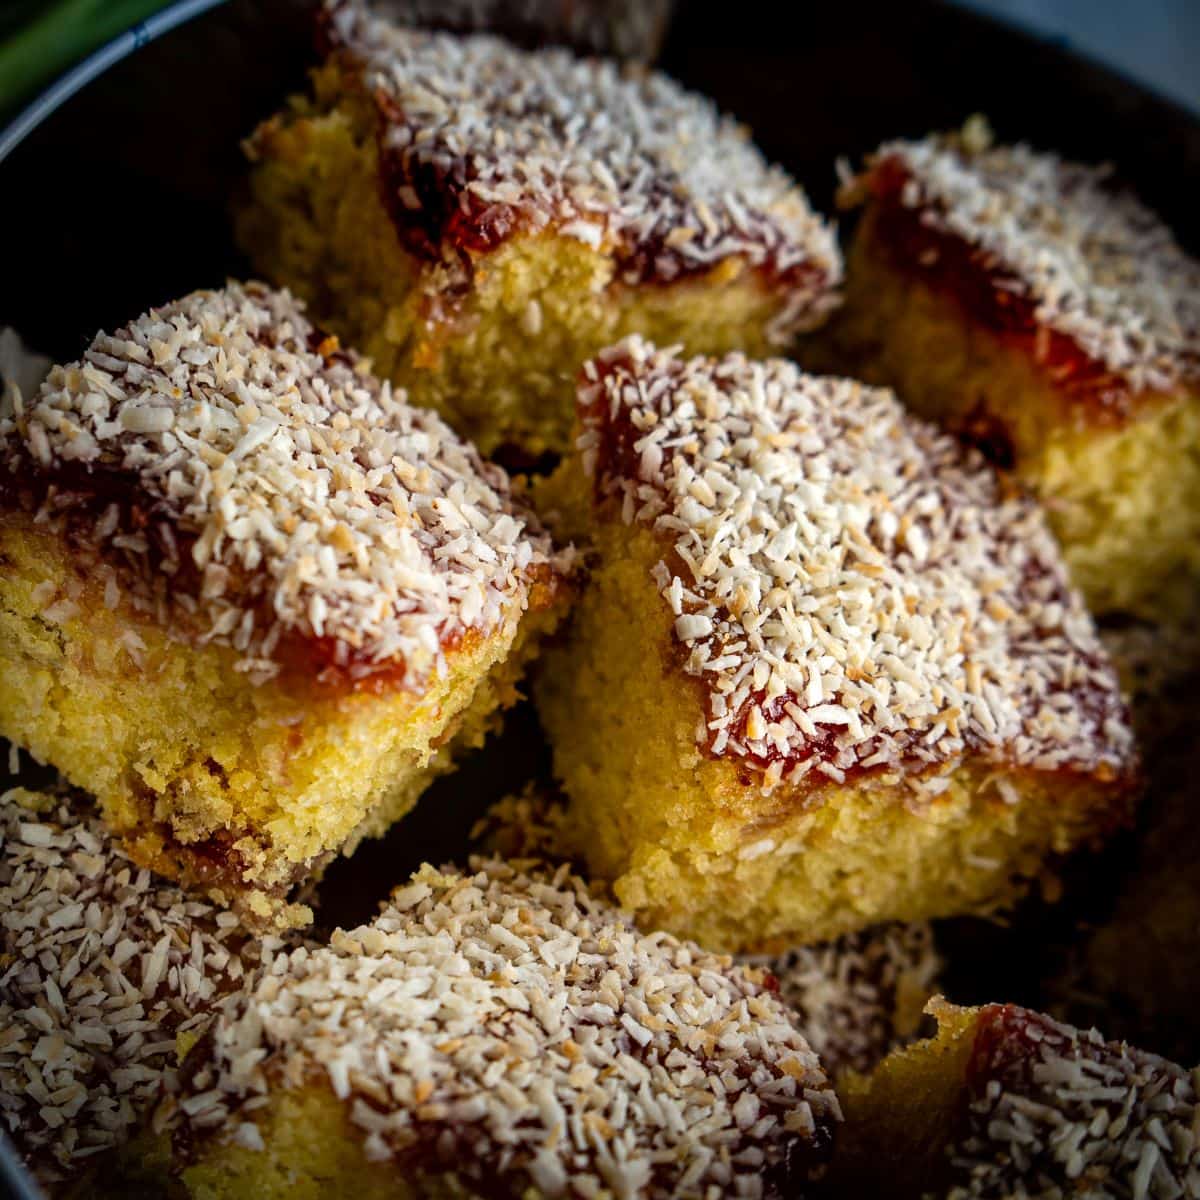
Another fete and summer favourite is my Jam and Coconut Cake.
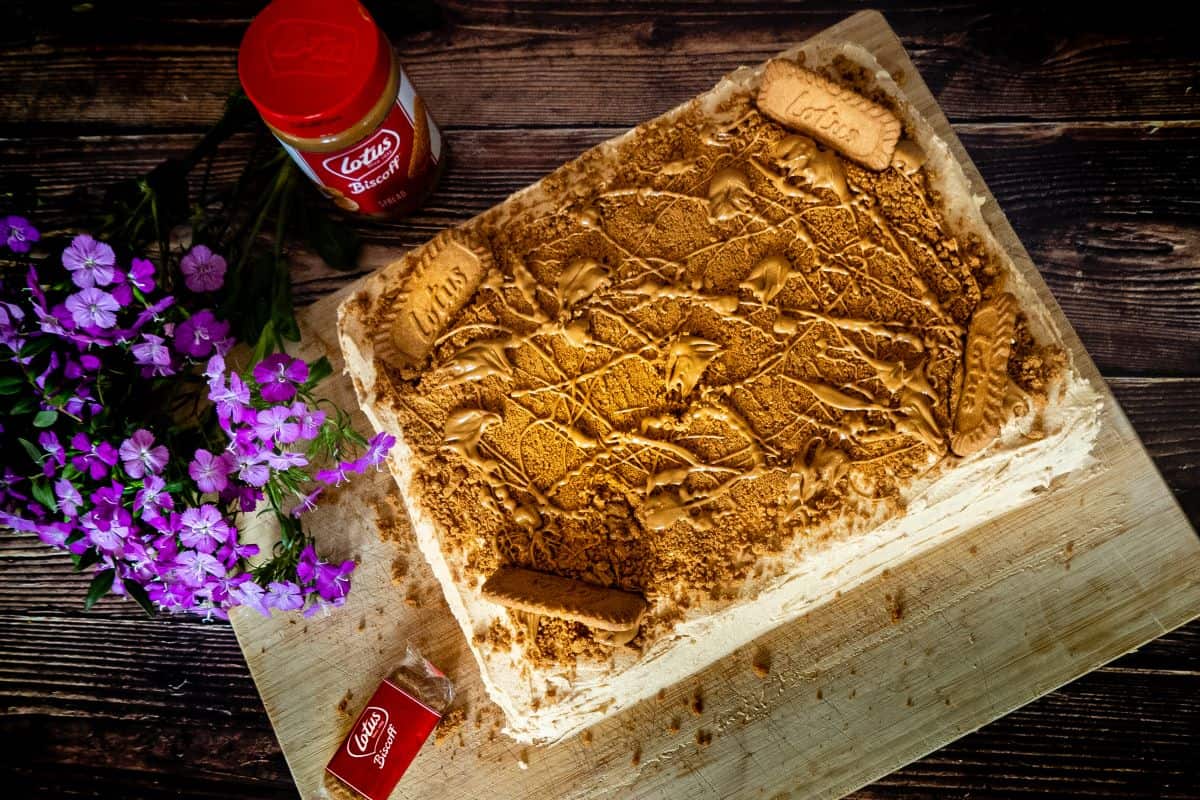
Do you love Biscoff? Try this Biscoff Traybake as a special treat!
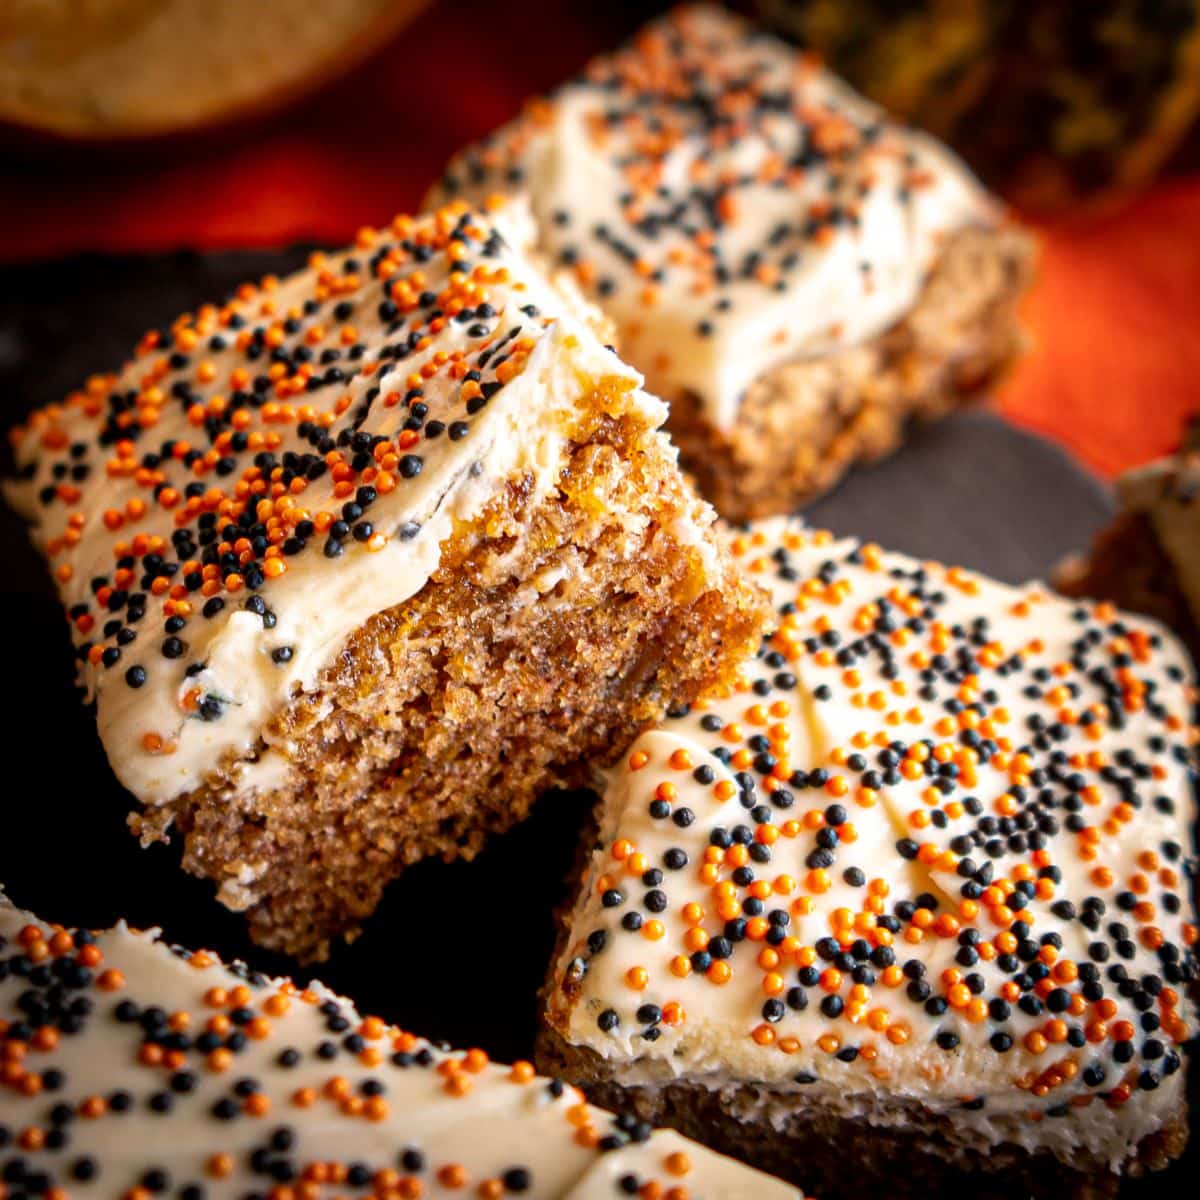
A speciality for Halloween, however, this Pumpkin Sponge Cake can be enjoyed any time of the year.
📖 Recipe

Vanilla Traybake
Here's what you'll need...
- Hand or stand mixer with beaters or paddle attachment fixed (not the whisk)
- Cooling rack preferably two
- Small spatula or butter knife
Ingredients you'll need...
Vanilla Cake
- 350 g Plain flour (all-purpose flour = 2½ Cups)
- 2 teaspoon Baking powder must be level
- ¼ teaspoon Fine salt must be level
- 230 g Unsalted butter softened - plus extra for greasing the tin (1 Cup)
- 360 g Caster sugar (super fine sugar = 1 Cup)
- 4 Large eggs at room temperature
- 120 ml Sour cream at room temperature (½ Cup)
- 120 ml Milk at room temperature (½ Cup)
- 2 teaspoon Vanilla extract
Vanilla Cake Icing
- Vermicelli
- 500 g Icing sugar (confectioner's sugar 4 Cups)
- 5 tablespoon Cold water
Here's what we do...
Vanilla Cake
- Heat your oven to 160°C Fan/180°C Gas/ 355°F/Gas mark 4.
- Grease your tin and line the base with a piece of greaseproof paper.
- Sift together your flour, baking powder and salt and set aside.
- If using a hand mixer fix the beaters and if using a stand mixer fit the paddle attachment. Beat your butter a little, just until it spreads around the outside of the bowl and no longer clumps around the beaters, so that you know it is nice a soft.
- Add your sugar and beat on a slow setting for a minute, turn up to a medium speed for a minute and then beat on a fast setting for a minute, stop as soon as the mixture has turned a pale shade of yellow, it is very soft and easily spreadable. Intermittently keep wiping down the sides and base of the bowl with your spatula, to ensure everything is equally mixed.
- Add a egg (must be at room temperature and not straight from the fridge) and a dessert spoonful of your sifted flour mixture and beat on a low setting until the egg has been fully mixed in. Again, keep wiping down the bowl to be sure the mixture is all equally incorporated.
- Repeat with each remaining eggs and a little flour mixture each time.
- Mix together your room temperature sour cream, milk and vanilla extract and add it all to your cake batter. Start beating in on a low setting and then turn up to medium, just until incorporated. Don't worry if the mixture looks a little curdled, it is meant to be that way.
- Add all of your flour mixture and beat in on a low setting, stopping to scrape the bowl down.
- As soon as the flour has disappeared turn the mixer up and beat on fast for no more than 10 seconds, by which time the cake batter should be smooth and silky. don't be tempted to beat any longer, otherwise, the gluten in the flour will develop and your cake will be rubbery.
- Pour your vanilla cake batter into your tin and spread it out evenly.
- Place in the centre of your oven and bake for 30 minutes or until a skewer inserted into the centre comes out clean. Remove and place in the cake still in its tin on a cooling rack.
- If the cake has risen in the centre use an implement such as a fish slice to gently push it back down, you will need to do this whilst it is still hot and pliable.
- Run a knife around the edge of the tin to ensure the cake does not stick. After 5-10 minutes place a cooling rack over the tin and turn it over so that the cake flips onto it. Then place another cooking rack onto the cake itself and flip the cake over again so that the right side is facing up.
- Leave to fully cool.
Vanilla Icing.
- Sift your icing sugar (confectioner's sugar) into your large bowl and add 5 level tablespoons of cold water.
- Mix until smooth, we want the icing to be quite thick so that it doesn't run over the edges of the cake.
- Spread the icing out over the cooled cake, starting in the middle and gradually teasing it out to the sides.
- Sprinkle over your vermicelli. If the icing has dried a little simply use a flat object, such as a spatula, to press the vermicelli into the icing.
- Leave the icing to set for an hour and then cut the cake in half, cut each half into 3 equal slices and then cut 5 rows the other way, this should give you 24 equal squares.


Comments
No Comments