Cheese Rolls 🧀
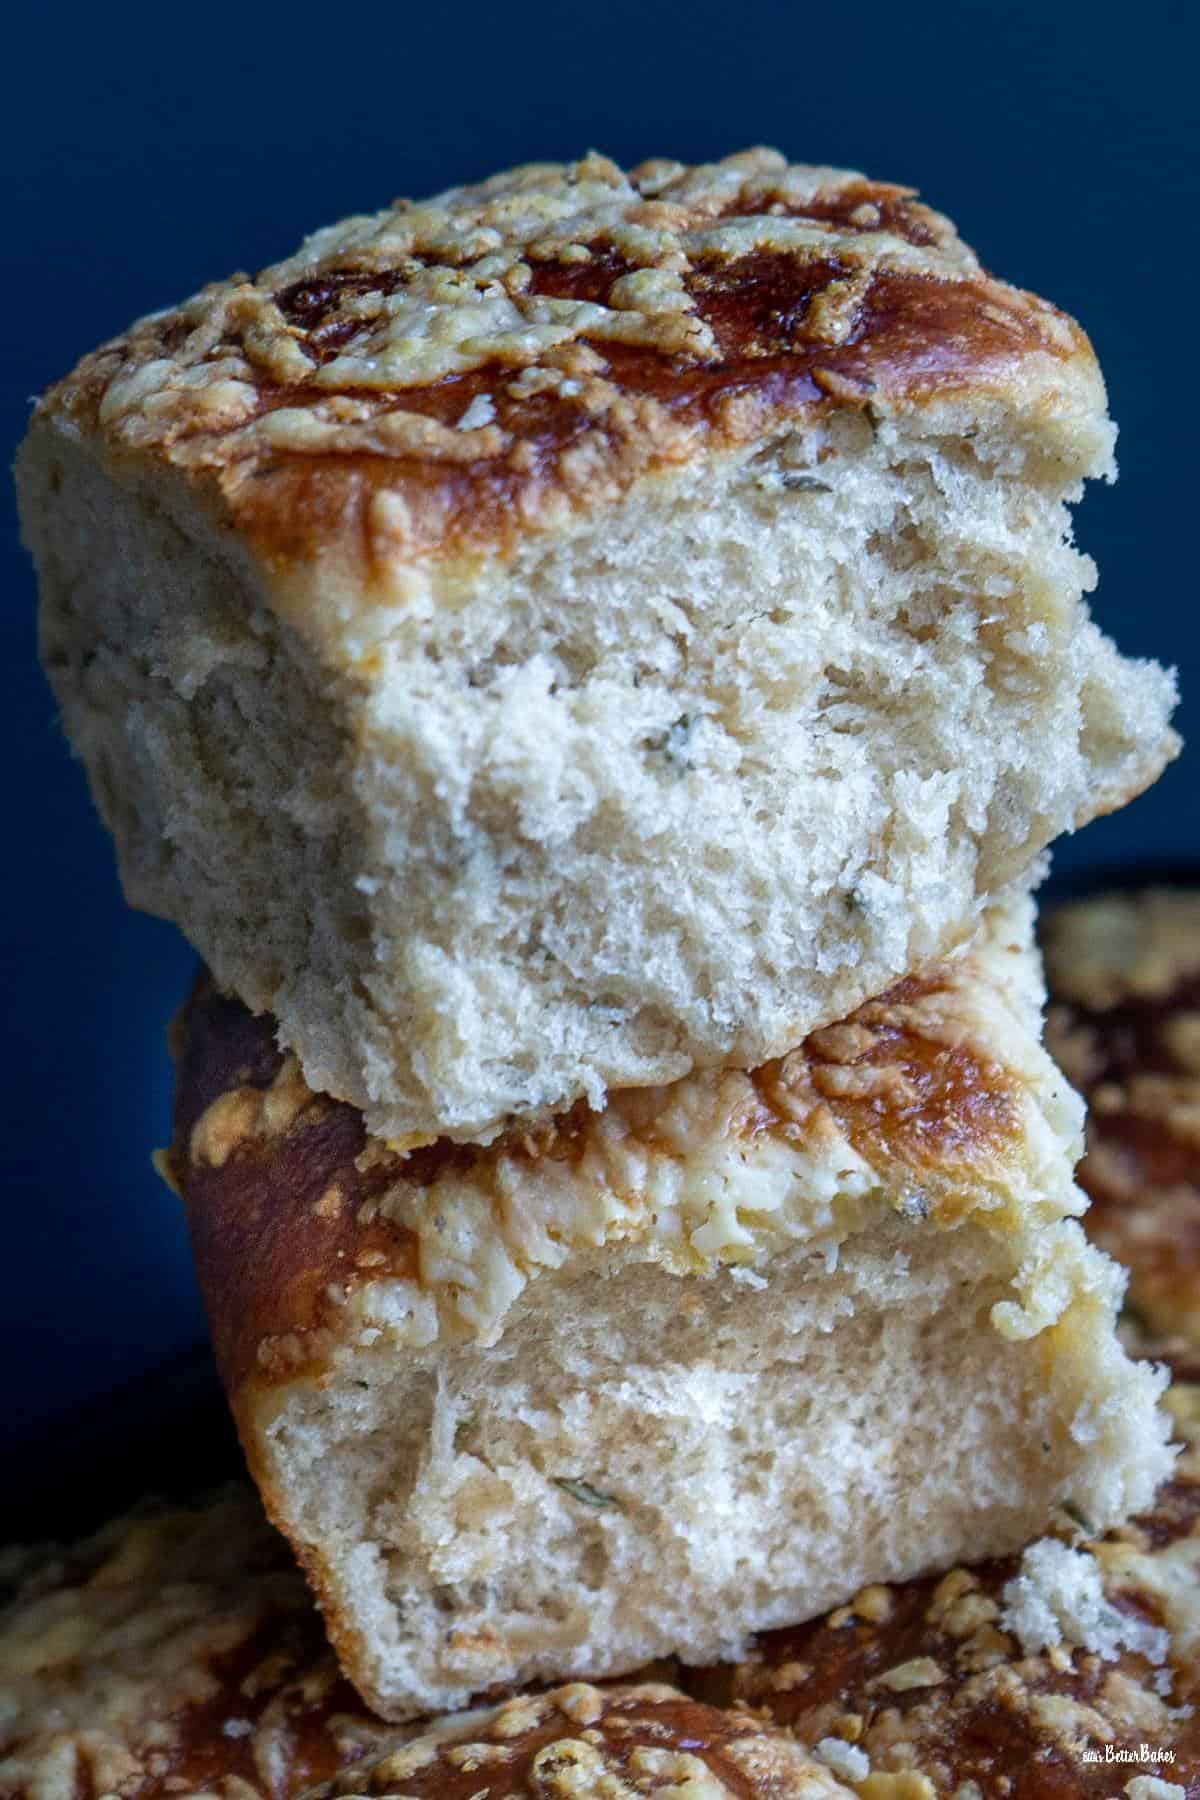
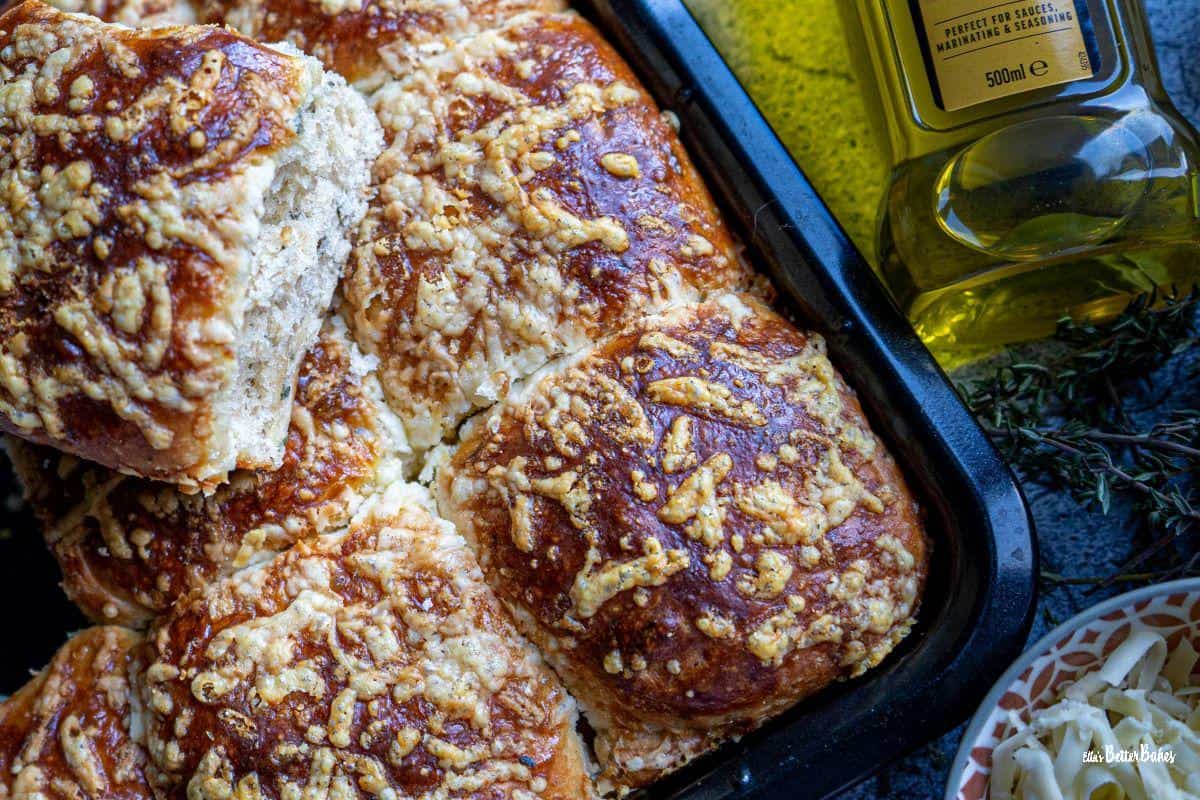
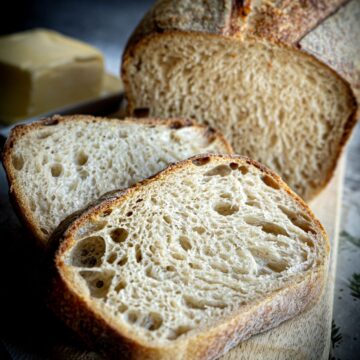
Springy and light, with a subtle thyme flavour and overtones of mature cheddar. These Cheese rolls are perfect on their own or as an accompaniment.

First thing to say here is that...
BREAD IS INCREDIBLY EASY TO MAKE!
Honestly, it's a doddle and so worth it.
Well, we are now into a new year and so my baking is changing up to a wintery feel. For the next month, I want to focus on the foods I like to eat in January. We are talking comfort food here. I am also hoping to offer up some baking inspiration for Veganuary.
I am a huge fan of homemade soups and having a soft, tasty bread roll to accompany my soup is a must. One of my favourite soup recipes is Delia Smith's Watercress Soup, it is so easy to make and tastes divine.
The bread rolls are also great just for making lunchtime rolls that bit more interesting!
I hope you enjoy baking them and eating them as much as we did 😊.
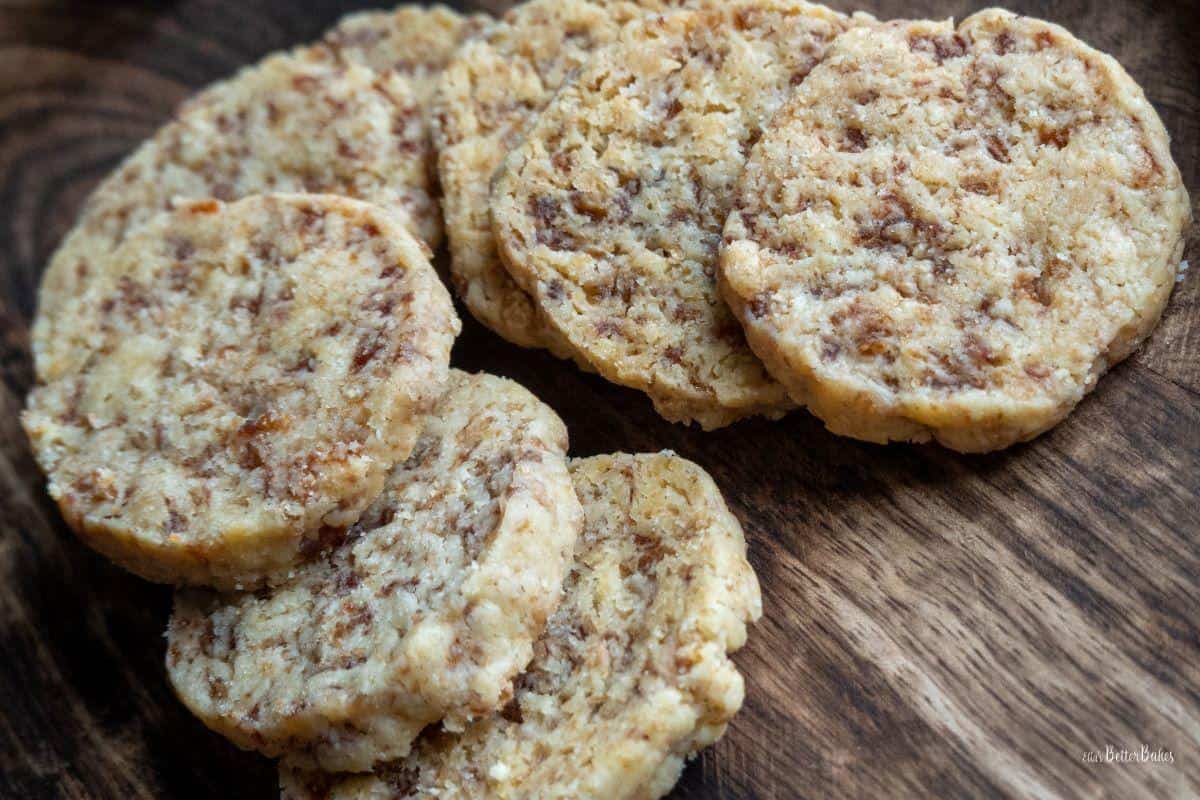
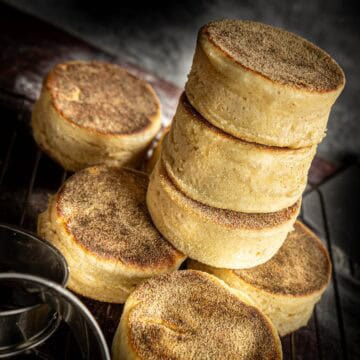
A tasty little cheesy biscuit, these are divine on their own or served with cheese
Little Cheese and Ham Biscuits
Jump to:
Why make these Cheese rolls?
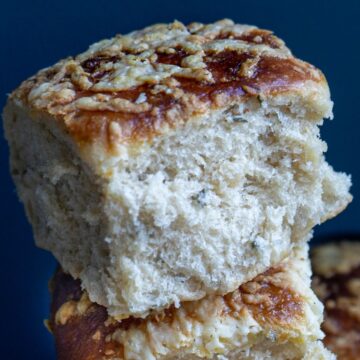
Soft and fluffy rolls✔️
Warming cheese and herb flavours✔️
Great for sandwiches✔️
Perfect with soup or as a dinner roll✔️
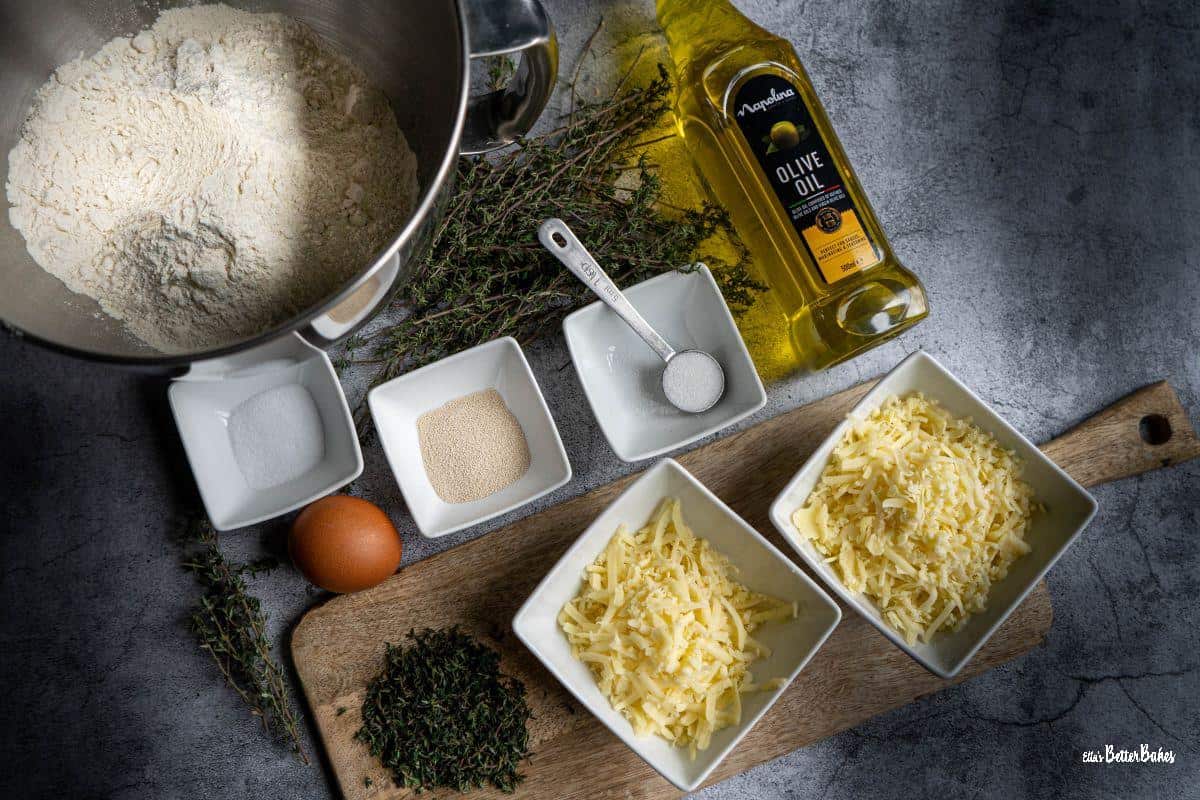
Ingredients and Substitutions
Bread flour: contains extra protein giving it more gluten than plain (all-purpose) flour, this therefore gives our cheese rolls an airy, chewy texture.
Fine salt: salt is a critical element for bread dough because it strengthens the gluten strands within the dough and thus enables them to retain carbon dioxide which ensures our dough rises.
Granulated sugar: feeds the yeast within our dough and thus helps produce more carbon dioxide to ensure a good rise.
Dried fast-acting yeast: be sure to use this type of yeast, it will ensure your bread rises sufficiently.
Olive oil: we use olive oil as it ensures our bread rolls are soft and it also adds flavour. You can replace it with 40 grams of softened butter and rub this into your flour instead.
Grated cheddar: used within the rolls and on top, try to use a medium or mature cheddar to give more flavour to these cheese rolls.
Fresh thyme: using fresh thyme gives a more mellow flavour than dried. We use just enough to allow a subtle flavouring.
Warm water: your water should be lukewarm, i.e. about 90 degrees Fahrenheit. The water needs to be warm in order to activate the yeast.
Egg yolk: is painted onto our bread rolls just before they are baked. It gives them a lovely bronzed colour. You can use milk instead.
Instructions
See end of post RECIPE CARD for precise quantities and instructions.
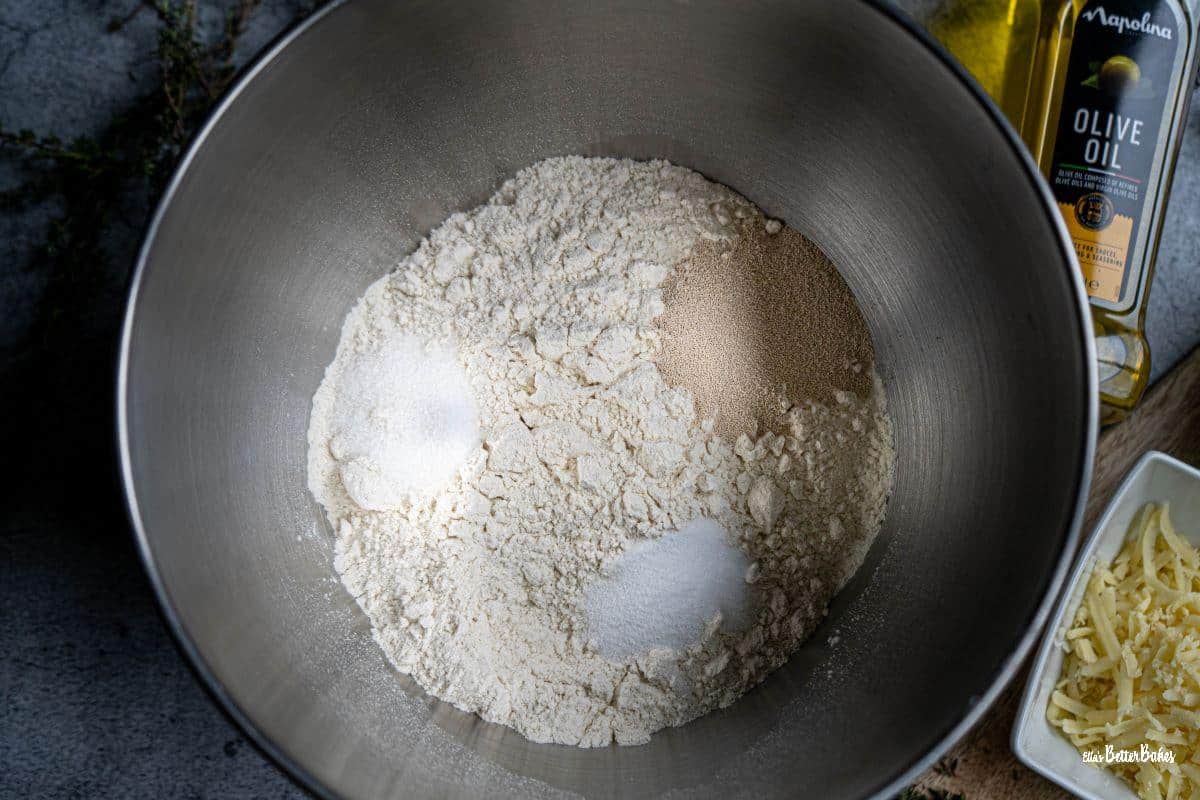
Mix together your bread flour, salt, sugar and yeast then stir in your olive oil.
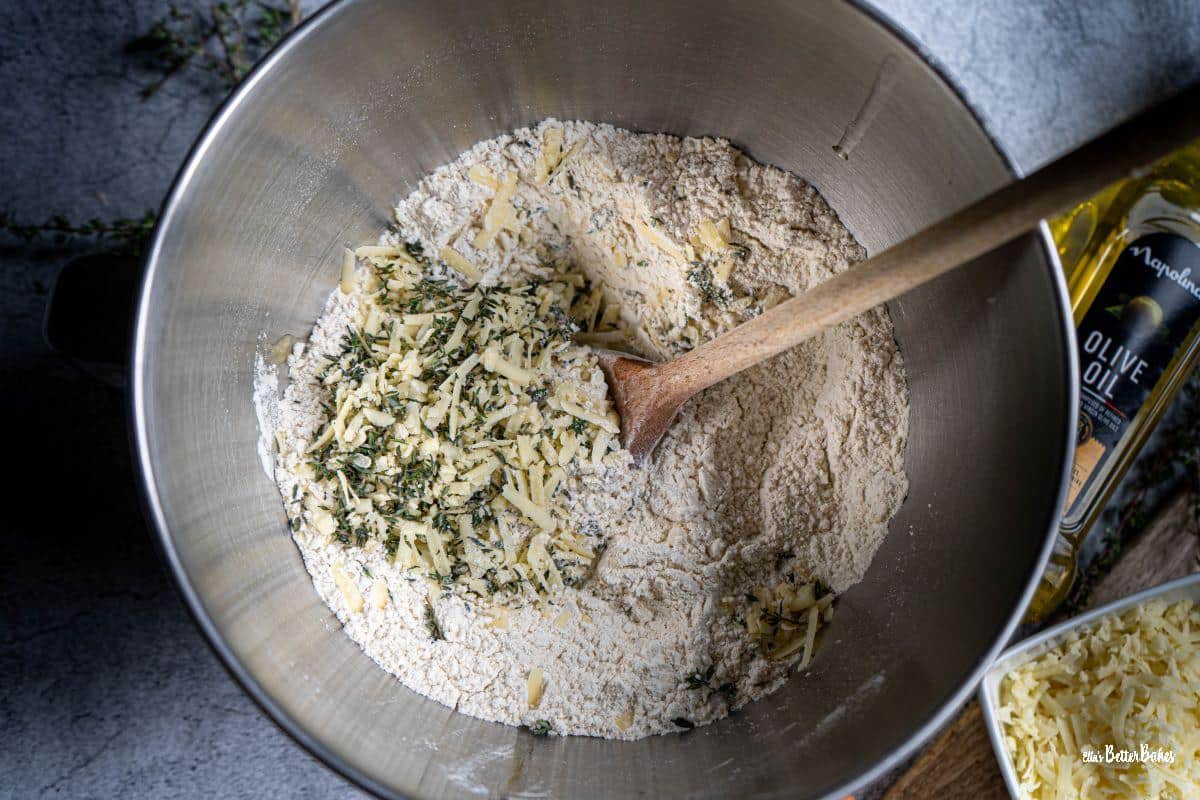
Mix your thyme and cheese together then stir into your flour mixture.
Affix the dough hook to your stand mixer and begin mixing at a low speed.
At the same time gradually drizzle in your warm water, then allow to continue kneading on the same setting for 2 minutes.
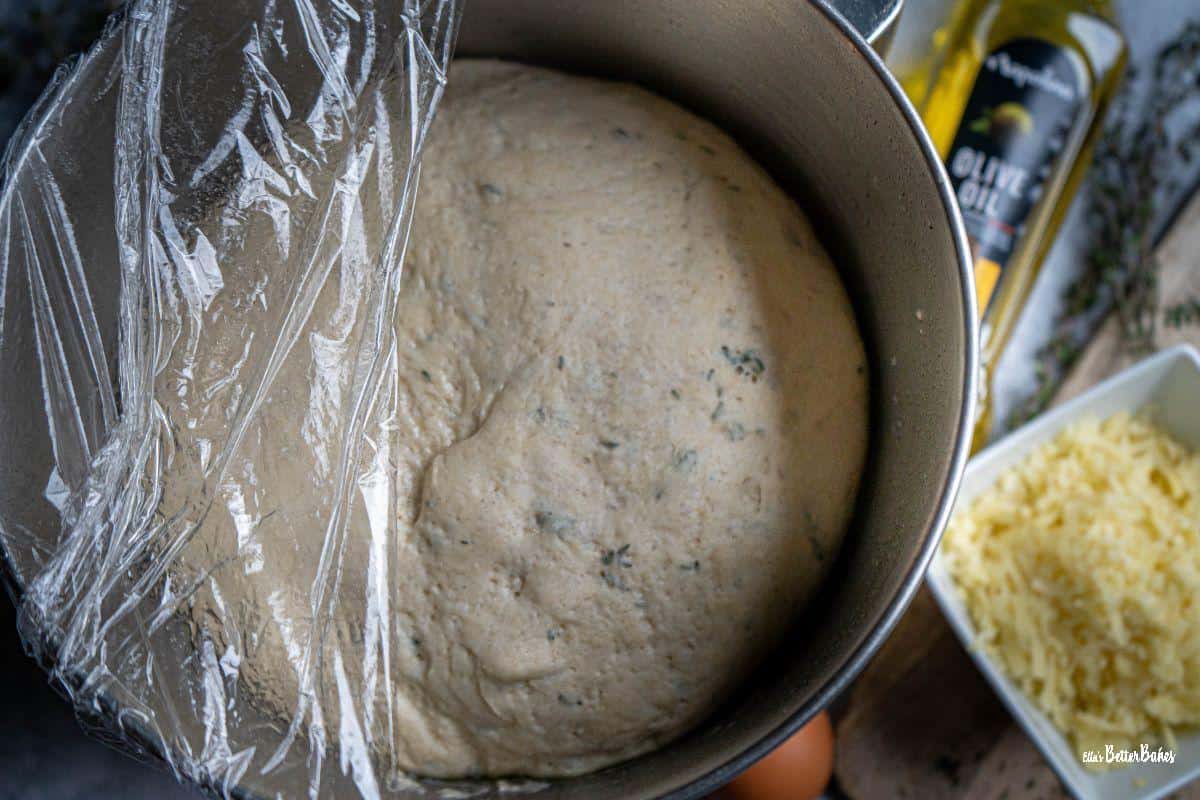
Place into a greased bowl, covered with oiled clingfilm (plastic wrap), and allow to prove for up to 2 hours, or until doubled in size.

Remove and knock back the dough.
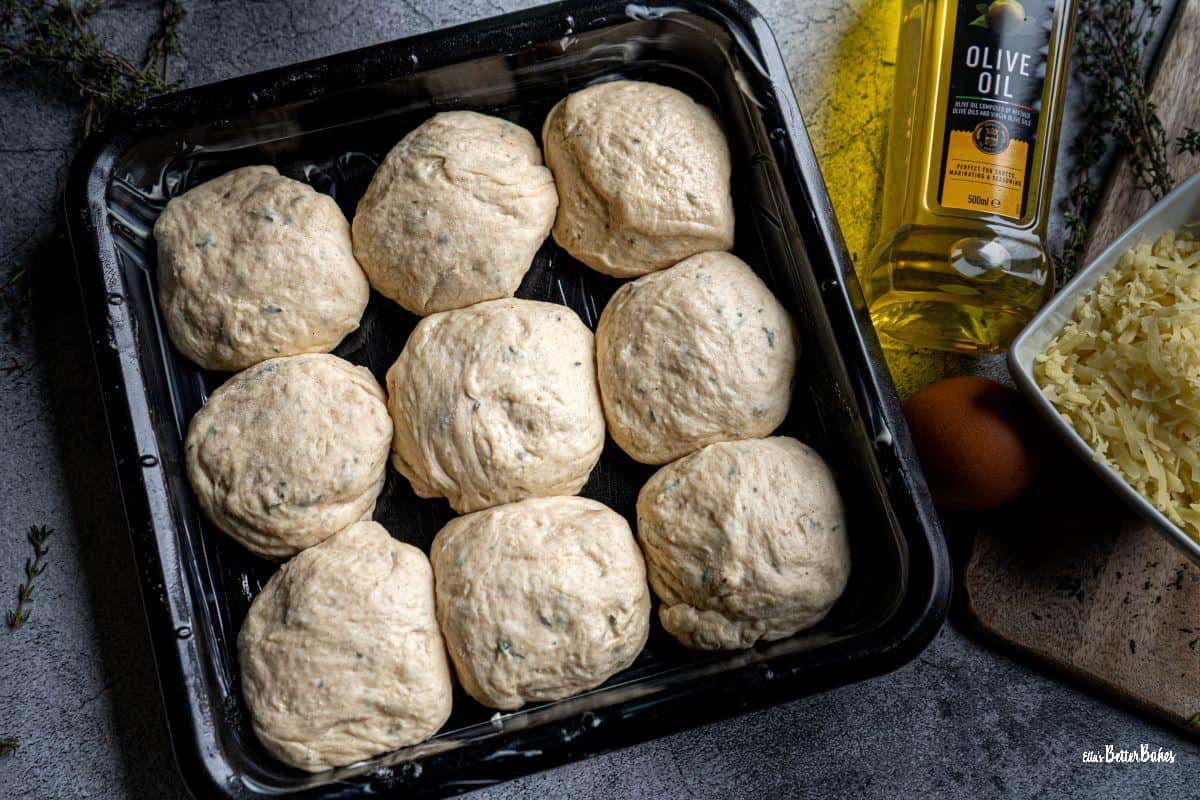
Split into 9 balls and place in your oiled tin.
Allow to prove again for 30 minutes, again covered with oiled clingfilm.
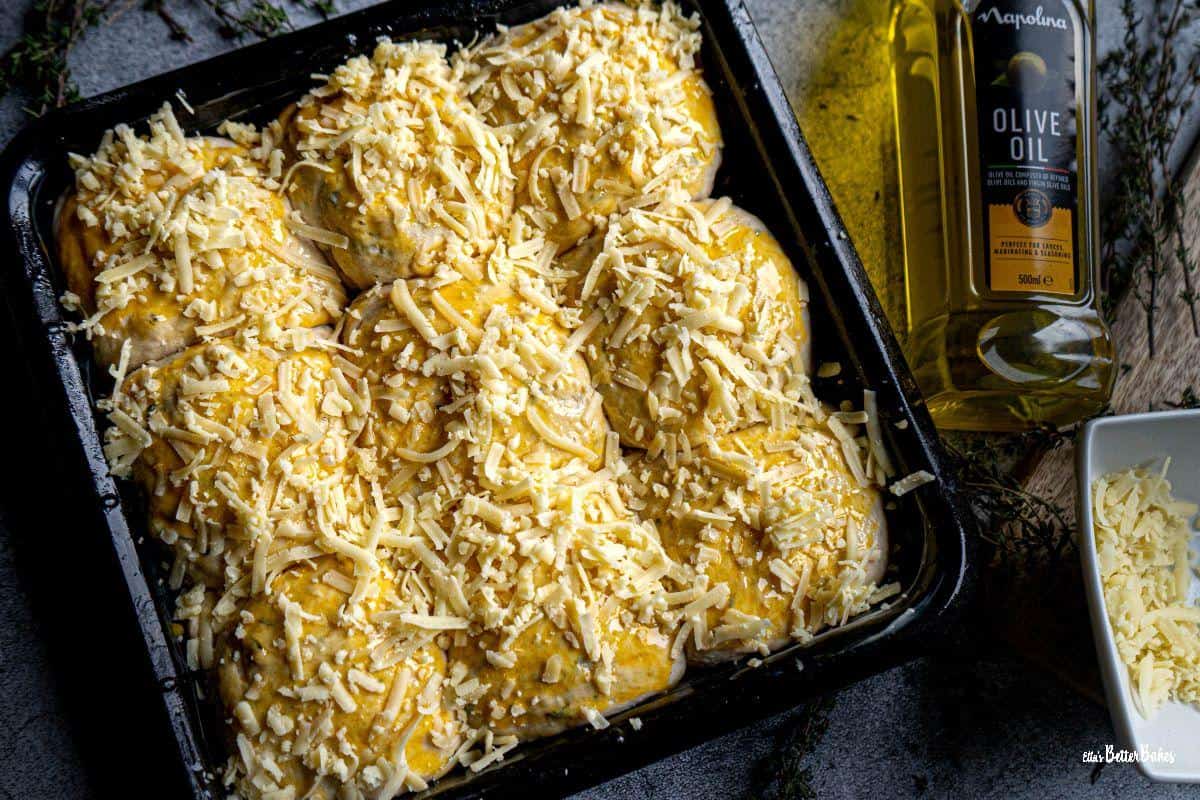
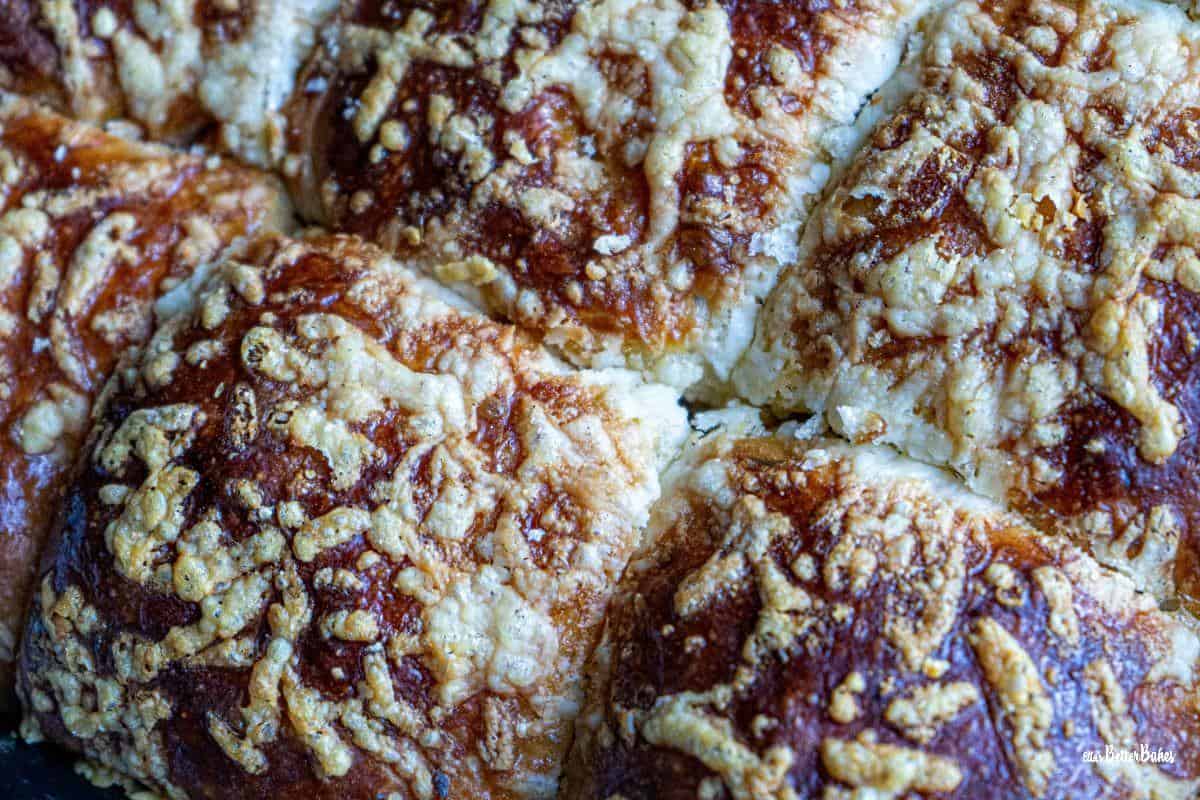
Coat with egg yolk and sprinkle over more grated cheese.
Bake for 25 minutes until golden.
Remove from the tin and place on a cooling rack to fully cool.
Top Tips
- Make sure you use the fast acting yeast, not active yeast.
- Ensure that your yeast has been kept in an airtight container and is still in date, the quality of the yeast affects the outcome of your bread.
- Ensure that your bowl is large enough to give the dough room to double in size without touching the cling film covering.
- Your dough is fully kneaded when it feels smooth and elastic.
- If the dough sticks to your hands simply coat them in some olive oil or flour.
- Your bread rolls should sound hollow when fully baked, tap the base to check.
- To ensure that your rolls come apart easily, score the tops and sides with a knife once they have come out of your oven, then leave to cool.
Variations
If you are a garlic fan, try adding 3-4 cloves of minced garlic along with your cheese and thyme.
You can replace the thyme with chopped rosemary and/or some chopped parsley. Or a mix of whatever fresh herbs you have.
You can use any cheese that will grate in these rolls instead of cheddar cheese.
Grated parmesan works very well sprinkled over the top of the rolls. Due to the high salt content, I don't recommend adding it to the bread dough itself.

Storage
Keep your rolls in an airtight container and they will last for about 5 days.
Freeze as soon as baked and cooled and use within a month.
Did you try this recipe?
Please leave a ⭐⭐⭐⭐⭐ rating in the Recipe Card below.
FAQ
Bread dough is left to prove in order for carbon dioxide to form, which in turn allows the dough to increase in volume. However, the gluten structure in the dough needs to be strong enough to keep the carbon dioxide safely within. If the dough is allowed to keep proving then the carbon dioxide creates too much pressure for the dough to withstand and it therefore deflates. The dough will also then not expand when baked and the taste and texture will be compromised.
In order for bread to prove, the yeast needs to be activated. Using warm water activates the yeast. The water should be lukewarm, so around 105-115 degrees Fahrenheit. So not hot, just nicely warm.
Linked Recipes

📖 Recipe
Cheese and Thyme Rolls
Here's what you'll need...
- Stand mixer with bread hook attachment (or your can knead by hand)
- Pastry brush (optional)
- Cheese grater
- Clingfilm (plastic wrap)
- Dough cutter (optional, you can use a knife otherwise)
Ingredients you'll need...
Cheese and Thyme Rolls
- 500 g Strong white bread flour (US = 3 cups and 4 tablespoon)
- 1 teaspoon Fine salt
- 1 teaspoon Granulated sugar
- 2¼ teaspoon Fast action yeast (7 gram sachet)
- 2 tablespoon Olive oil plus extra for greasing bowl and tin
- 300 ml Warm water (US = 1 Cup + 4 tablespoons)
- 50 g Cheddar cheese grated (US = 6 tablespoons)
- 2 tablespoon Fresh thyme finely chopped
Topping
- 1 Egg yolk
- 50 g Cheddar cheese grated (US = 6 tablespoon)
Here's what we do...
- (I recommend reading the NOTES below first).
- Add your bread flour, salt, sugar and yeast to your stand mixer bowl and mix together with your wooden spoon.
- Stir in your olive oil.
- Mix your grated cheese and chopped thyme together and then stir into your flour mixture.
- Place your bowl onto your stand mixer and fit the bread hook, start mixing on a low speed.
- As your flour is mixing, slowly drizzle in your warm water.
- Once all of the water has been added, leave to knead for 2 minutes on the same low setting (number 2 if using a KitchenAid). Don't worry about scraping your bowl down, the kneading hook will find all of the loose mixture itself and incorporate it. If kneading by hand this will take you 8-10 minutes.
- Remove your dough from your mixer bowl. It should be smooth and elastic in texture and a bit tacky and sticky.
- Grease your mixer bowl with some olive oil.
- Take a large piece of cling film, big enough to cover your bowl, and grease with olive oil.
- Return your dough to your greased bowl, cover with your oiled clingfilm and leave to prove for 1½-2 hours or until doubled in size. My kitchen is very warm so mine only took 1 hour.
- Grease your baking tin with more olive oil (or butter).
- Remove your dough and knead 3 times just to knock the air out, then split into 9 segments (mine weighed about 100grams each) and roll into balls. Add a bit of flour to your hands if your dough is sticky. Try to ensure the surface of each roll is smooth, but don't handle the dough more than you have to in order to keep it aerated.
- Place your dough balls into your tin in rows of 3 x 3, they should be just touching each other.
- Cover again with your oiled clingfilm and leave to rise for another 30 minutes.
- Heat your over to 200°C/220°C/430°F/Gas mark 7.
- Spread your egg yolk over the top of your rolls with your pastry brush, or you may find this easier to do with your fingers so that you can be gentle and thus avoid deflating your cheese rolls.
- Sprinkle over your cheddar cheese.
- Bake your rolls for 20-25 minutes, or until golden. When ready, your rolls should sound hollow when you tap the base.
- Remove the whole lot in one go onto your cooling rack. Leave to cool before tearing apart.
Supporting Notes
- Make sure you use the fast-acting yeast, not active yeast.
- Ensure that your yeast has been kept in an airtight container and is still in date, the quality of the yeast affects the outcome of your bread.
- Ensure that your bowl is large enough to give the dough room to double in size without touching the cling film covering.
- Your dough is fully kneaded when it feels smooth and elastic.
- If your dough sticks to your hands simply coat them in some olive oil or flour.
- Your bread rolls should sound hollow when fully baked, tap the base to check.
- To ensure that your rolls come apart easily, score the tops and sides with a knife once they have come out of your oven, then leave to cool.


Comments
No Comments