Seeded Granary Bread


With a malted nutty flavour and a springy light texture this seeded granary bread recipe makes the easiest and tastiest loaf, all with natural ingredients and free of additives 🍞

When you make your own bread, the first thing that hits you is just how simple it actually is.
Then you will wonder why you don't make it way more often!
It is literally a case of mixing the dry ingredients together then adding the mixed wet ingredients and kneading. Leave it to prove a couple of times and then bake.
What could be easier?! 🍞

I think there is a lot to be said for the peace of mind that baking your own bread brings, too. You know exactly what has gone into it, you know it is not packed full of additives, the likes of which you've never heard of, let alone know what they are there for.
I now make this loaf once a week, along with homemade soup, it is absolutely gorgeous.
Jump to:

Why make this Easy Seeded Granary Bread?
Malted nutty flavour 🍞
Dark treacle for depth of flavour 🍞
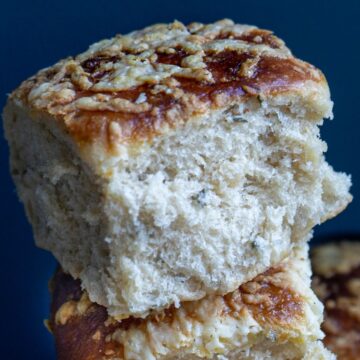
Soft springy interior 🍞
Delicious crunchy seeded crust 🍞
Egg wash crust for extra crunch and flavour 🍞
No additives 🍞
Made with oil, which means it keeps longer 🍞
VERY easy! 🍞
Ingredients and Substitutions
See the Recipe card below for the exact quantities.

Dry ingredients
- Granary flour and strong white bread flour
You can replace the granary flour with seeded or wholemeal flour.
White granulated sugar - substitute with honey
Sugar helps to retain moisture in the dough as well as giving it a good crust. Sugar speeds up the fermentation of the dough as the yeast will feeds off it. - Fine salt
Salt is a vital ingredient in any bread dough because it controls the yeast and thus stabilises the fermentation process. Think of it as the yeast police to stop the bread from filling with too much gas and thus over-proving. - Mixed seeds
I use supermarket mixed seeds, as they include pumpkin seeds, golden flax seeds, sesame seeds and sunflower seeds - Dried fast-acting yeast
You can buy yeast in 7-gram packets or in a tin. Out-of-date yeast is often the culprit of a loaf that does not rise. You can substitute with 25 grams of fresh yeast.

- Diastatic malt powder
Now this is a bit of a secret ingredient.
One large bag will make about 100 loaves.
Diastatic malt powder.....
- is a natural ingredient
- contains enzymes and vitamins which increase the nutritional value of your seeded granary loaf
- improves the flavour of the bread
- gives the loaf a finer texture
- helps the yeast to work more effectively
- helps the dough to rise more quickly
- helps to keep the loaf fresher for longer
- gives the bread a deeper colour
- flavours the loaf with a malty flavour and slight sweetness
Wet ingredients
Black treacle substitute with honey and omit the sugar
Tip: Grease your measuring spoon first so that the treacle easily slides off.

- Vegetable oil - substitute with olive oil
Using oil in bread dough helps to keep it moist and keep for a little longer. It will ensure that your bread is soft with a tight crumb. - Warm water
At the point you add the water mixture to the flours it needs to be at about 43 degrees centigrade. If the water is too cold, it will not activate the yeast and therefore not prove, and if it is too warm, it will kill the yeast. - Egg yolk
Used as an egg wash.
Instructions
See Recipe card for exact instructions.

Mix together your flours and malt powder (if using). Make a well in the centre. Place your salt, sugar and dried yeast on opposite sides of each other.

In a jug, mix together warm water, treacle and oil. The mixture should be tepid, around 42-43 degrees centigrade.

Pour your wet mixture into the well within the dry mixture and then, with your dough hook fitted and on a low setting on your KitchenAid, start kneading. Leave to knead for 5 minutes uninterrupted. Kneading by hand, this will take 8-10 minutes.
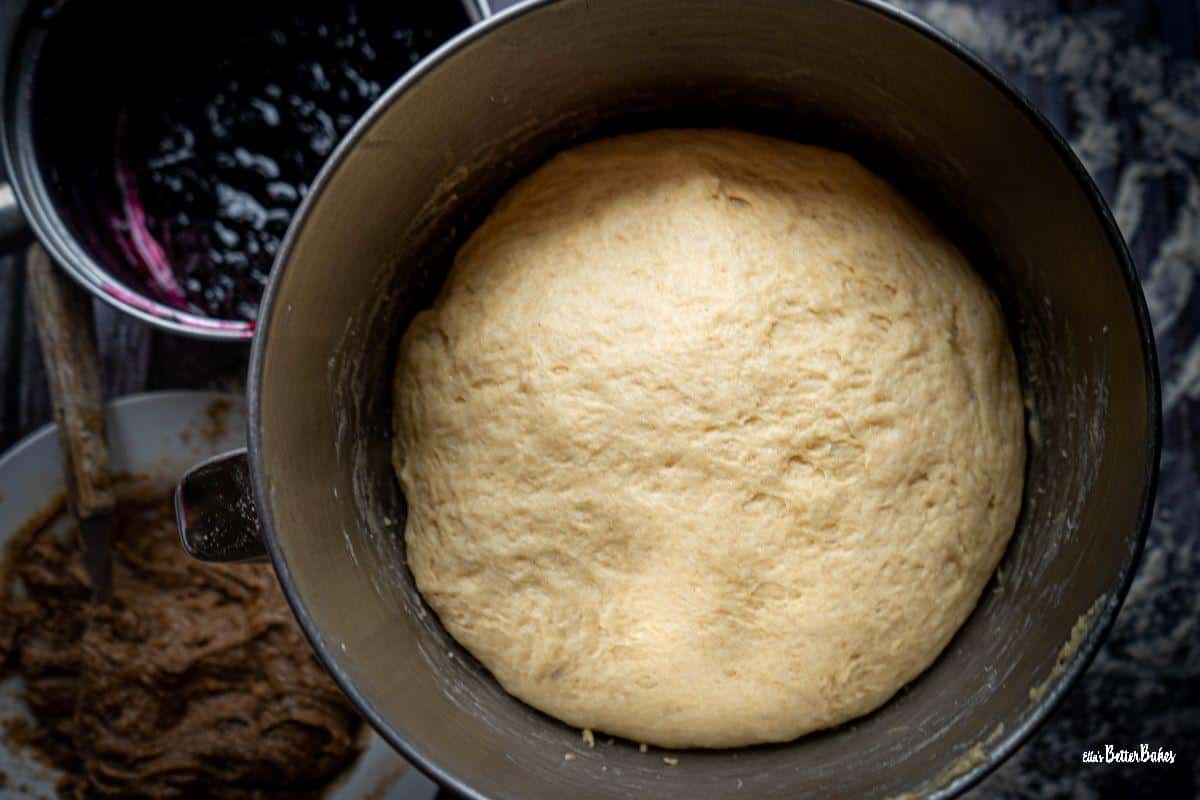
Leave the dough to prove in the bowl covered with a damp clean tea towel and leave to prove for an hour or until doubled in size.

Grease your 2-pound loaf tin and then sprinkle it with flour, then place the dough into the tin. Sprinkle over your seeds.

Leave to rise for another 45 minutes to an hour, until the dough has risen above the edges of the tin.

Bake for 40 minutes until deep brown on top and the base sounds hollow when tapped. Your bread needs to be well-baked to ensure it is not gummy inside.
Storage
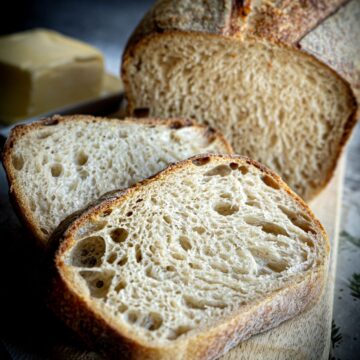
Seeded Granary Bread will keep for 2-3 days in an airtight tin.
It is at its best on the same day as baked.
Try not to be tempted to cut the bread whilst it is still hot because the hot steam inside the bread will render it a little gummy. Ideally, leave the bread to fully cool for a few hours before cutting.

FAQ
Bread can be a little gummy due to several reasons, such as the second proof being left for too long, the oven not circulating heat properly, the bread being baked at too high a temperature, or the bread being taken out of the oven too soon.
To prevent the dough from drying out whilst it proves, cover it with a clean, damp tea towel.
When properly baked, your bread should have a deep brown crust and also sound hollow when the base is tapped.
Related
Looking for other recipes like this? Try these:


📖 Recipe

White Bread Loaf
Here's what you'll need...
- Stand mixer with bread hook attachment (or your can knead by hand)
- Bread sling optional
Ingredients you'll need...
- 500 g Strong white bread flour plus extra for rolling out the dough (4 Cups)
- 7 g Fast action dried yeast or 2 level teaspoons
- 1½ teaspoon Fine salt
- 1 teaspoon White granulated sugar
- 1½ tsp Diastatic malt powder optional
- 300 ml Luke warm pre-boiled water at about 36-37℃
- 30 ml Olive oil plus extra for greasing the bowl
- 1 Egg beaten
- 3 tablespoon Mixed seeds
Here's what we do...
- Mix together your flour, yeast, salt, sugar and malt powder (if using) in your stand mixer bowl.
- Add your olive oil to your lukewarm pre-boiled water and mix.
- Fit your dough hook to your stand mixer and start mixing the flour mixture on a low setting (I use the lowest setting on my KitchenAid).
- Immediately begin slowly trickling in your water and oil mixture whilst the mixer is running.
- Leave your dough to mix for 5 minutes.
- Remove your dough from the bowl. The texture should be slightly sticky, and the dough should be smooth. If not, then mix for another couple of minutes.
- Shape your dough into a ball.
- Lightly oil your mixer bowl with a little extra olive oil, then place your ball of dough into it. Cover with cling film (plastic wrap), or I find using a new clear shower cap works very well.
- Allow the dough to rise and double in size. This usually takes about 1-1½ hours, depending on how warm your kitchen is. My kitchen about 23-25℃ and I find an hour is plenty.
- If using a bread sling, place it into your 2-pound loaf tin and lightly flour it. If not, grease the tin instead with some extra olive oil or butter, then sprinkle over a light layer of flour.
- Lightly flour your work surface and then tip your dough out onto it.
- Spread the dough into a rectangle, the length of which should match the length of your tin.
- Taking one of the shorter sides of your rectangle, fold it over into the middle, then fold the other side on top of it. This will give you 3 layers (see blog post for a picture). Then roll the dough up, starting from the shortest end.
- Place the dough in your prepared loaf tin. Whisk your egg and use a pastry brush to paint the egg over. Then sprinkle on your mixed seeds.
- Cover it again with cling film and let it rise for another 30-45 minutes until it fills the tin and has a smooth domed top.
- Whilst your dough is rising, preheat your oven to 190°C Fan/210°C/410°F/Gas Mark 6.
- Sprinkle a little flour over your dough and then bake in the centre of your oven for 30-35 minutes until golden all over. To double-check your loaf is fully baked, place a temperature probe into the centre of the loaf. If it is between 205-210℃, then it is fully baked.
- Remove your bread from the tin and allow it to fully cool before slicing up.


When do you add the seeds, and do you soak these in advance?
Hi Sharon, my apologies it seems I left this out of the recipe card. For the second rise you cover the loaf with egg wash and then sprinkle the seeds over it. Hope that helps.